I know it’s not spring, and I really shouldn’t be cooking out of season, but I saw a lovely package of freshly shelled peas at the market, and I couldn’t stop myself. I knew I already had some mushrooms at home, and I always have pancetta in the fridge….so, this is what I came up with for dinner. It came together so quickly! Honestly, by the time the pasta was done cooking, the rest of the dish was ready and waiting in the skillet.
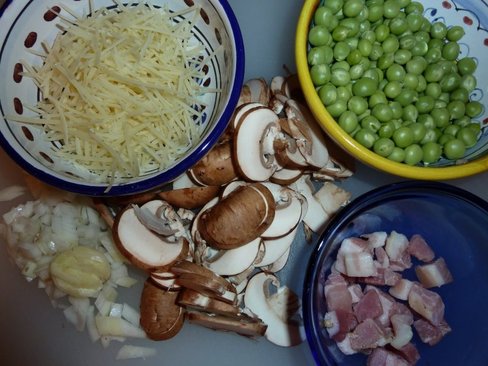
Here’s your list of ingredients:
a little olive oil
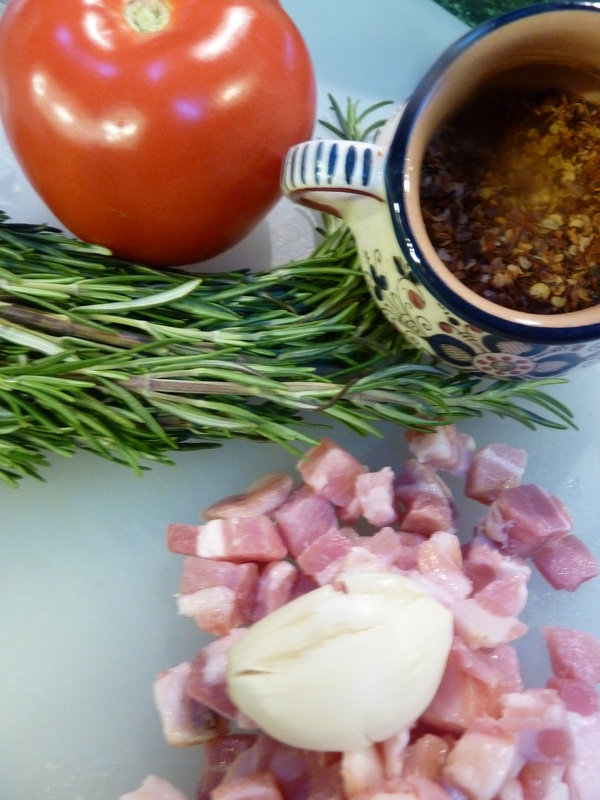
Pancetta, diced
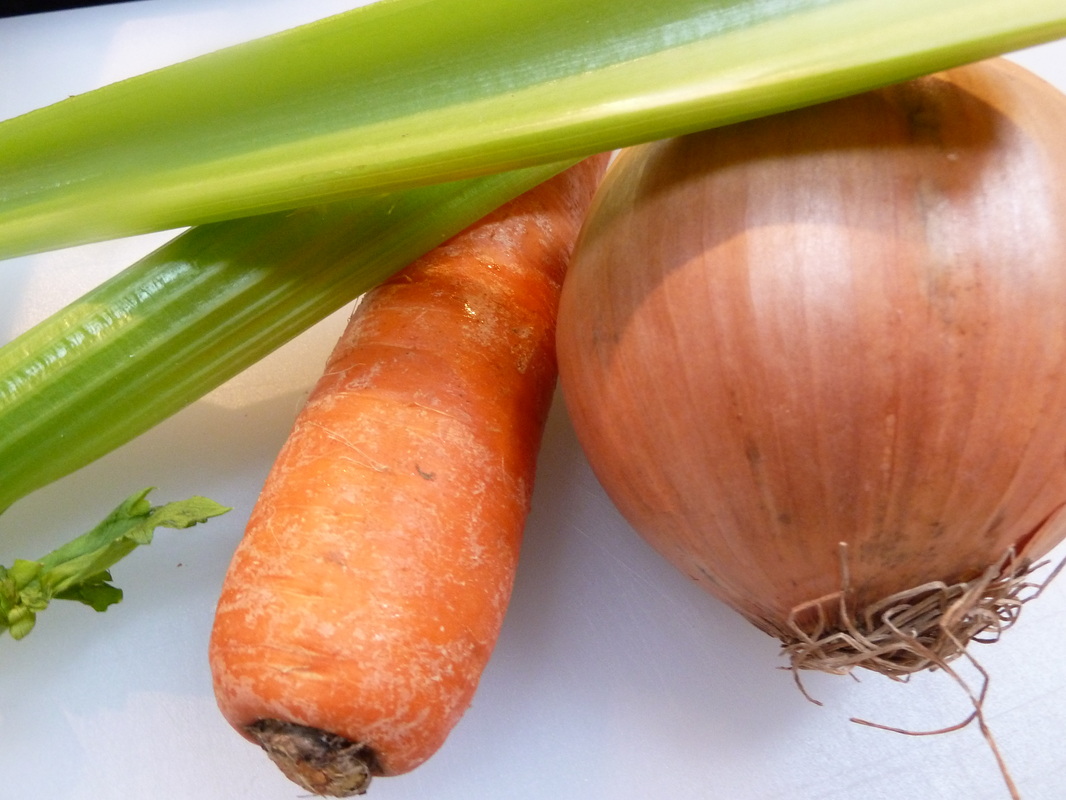
Onions, diced
A smashed garlic clove
Mushrooms, sliced
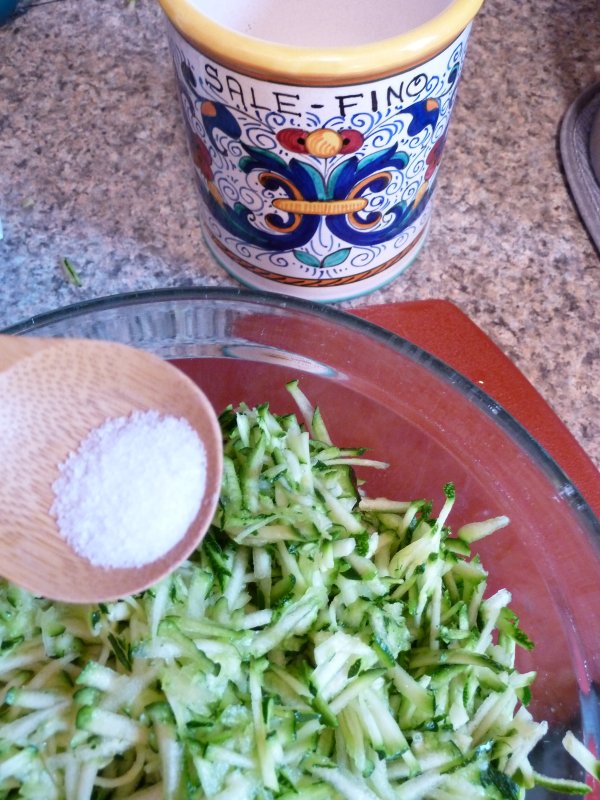
Freshly shucked peas
A slosh of white wine
Pasta of your choice ( I used “dischi”), cooked al dente
Parmesan, grated to garnish
Let’s get started!
Put your pasta water on to boil.
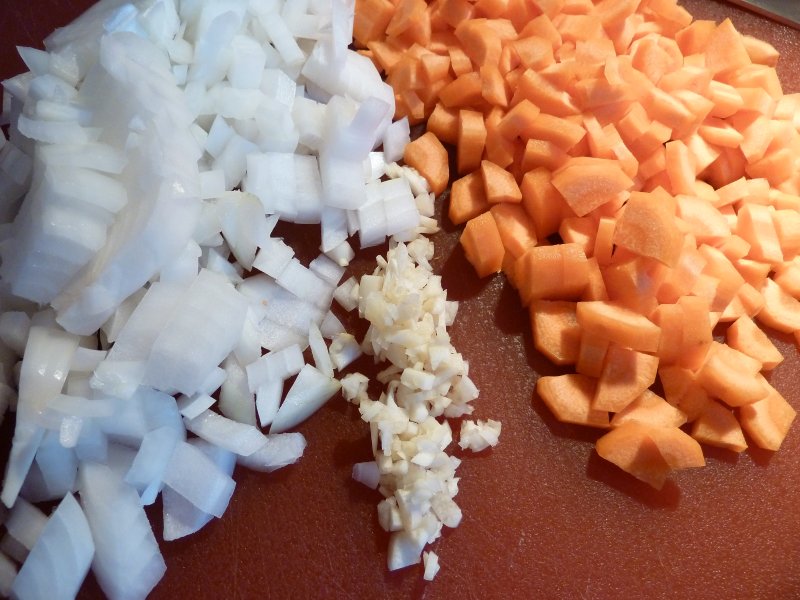
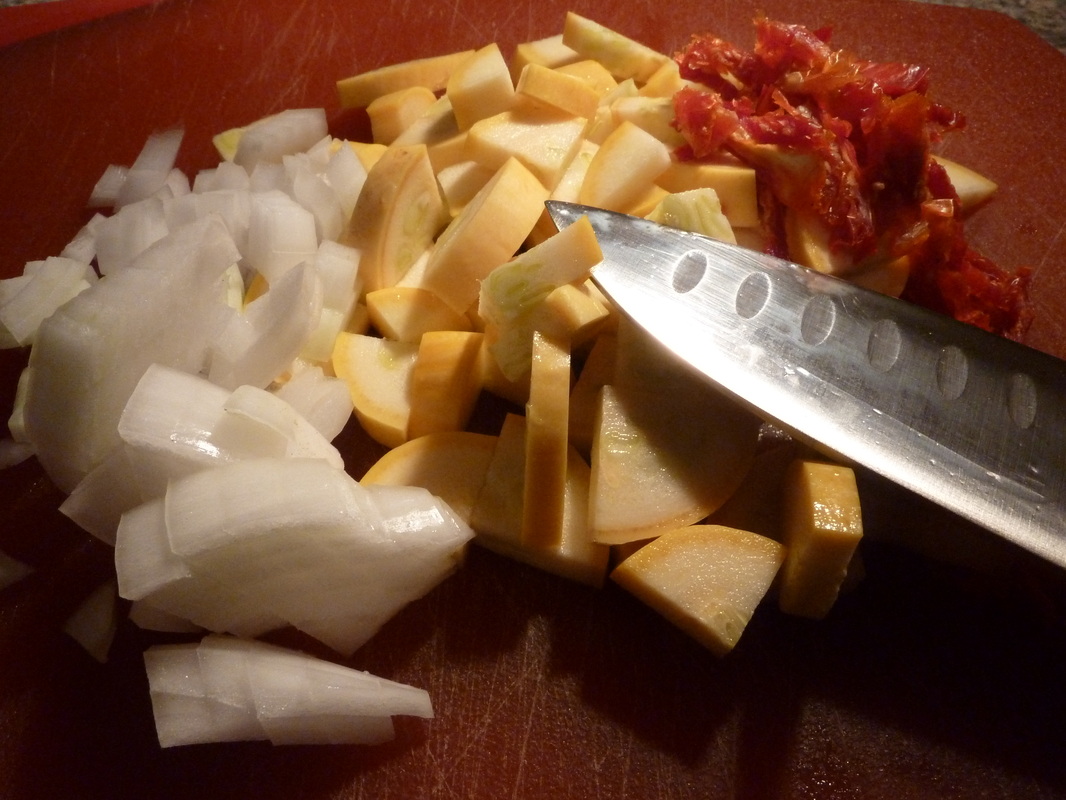
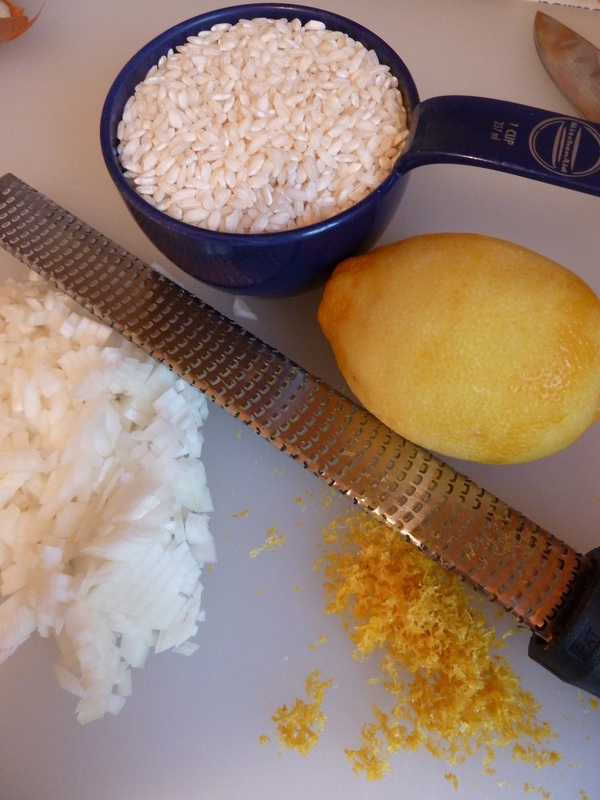
Meanwhile, dice your onions, and slice your mushrooms.
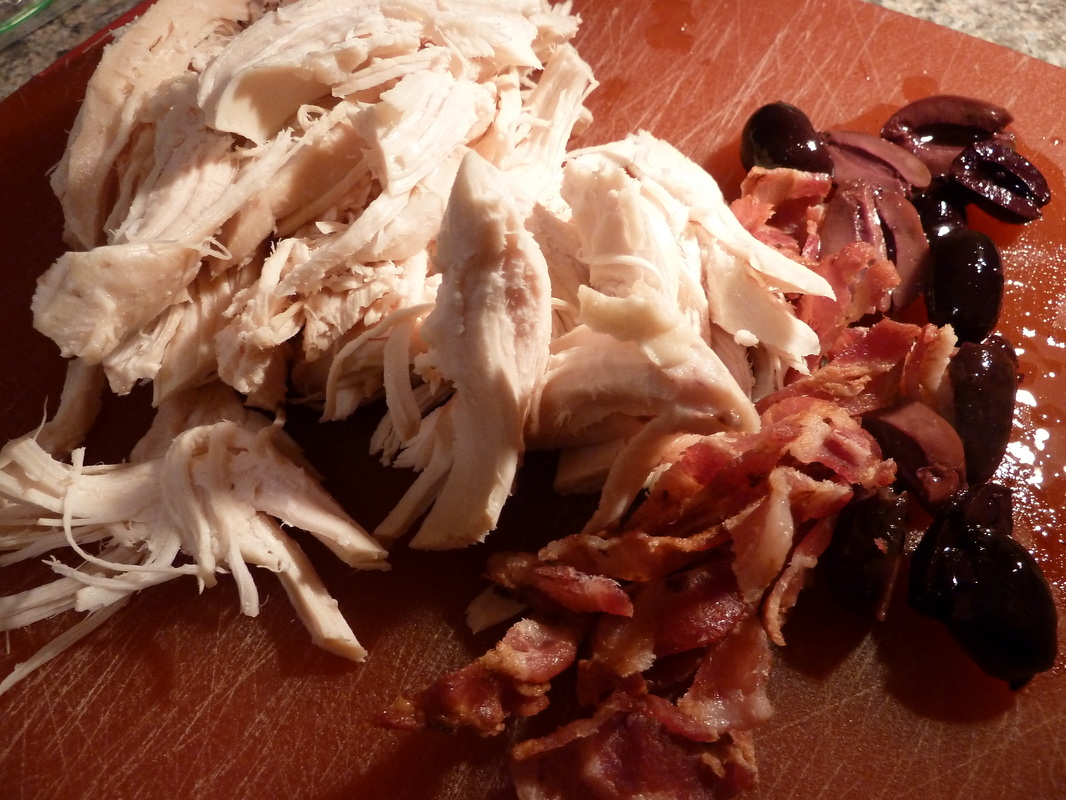
I buy my pancetta already diced, so nothing to do there.
Smash your garlic clove, remove and discard the papery skin.
a little olive oil
Pancetta, diced
Onions, diced
A smashed garlic clove
Mushrooms, sliced
Freshly shucked peas
A slosh of white wine
Pasta of your choice ( I used “dischi”), cooked al dente
Parmesan, grated to garnish
Let’s get started!
Put your pasta water on to boil.
Meanwhile, dice your onions, and slice your mushrooms.
I buy my pancetta already diced, so nothing to do there.
Smash your garlic clove, remove and discard the papery skin.
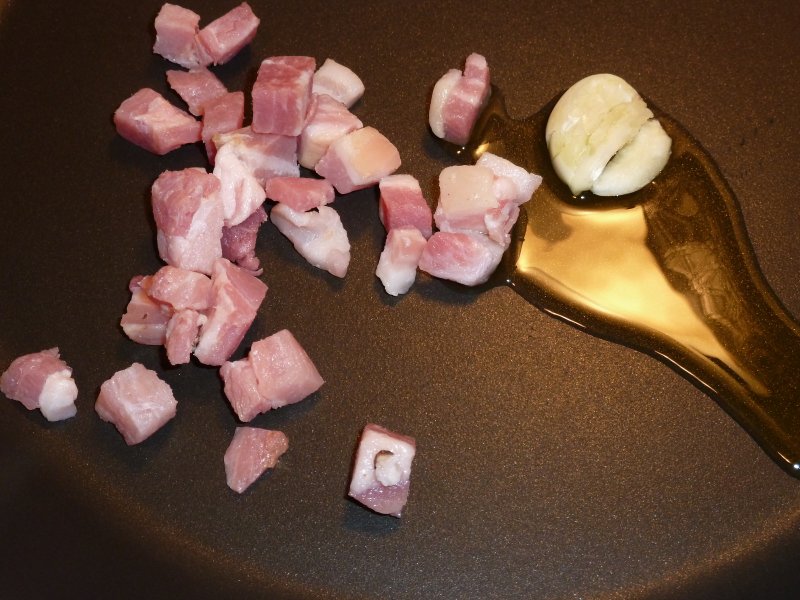

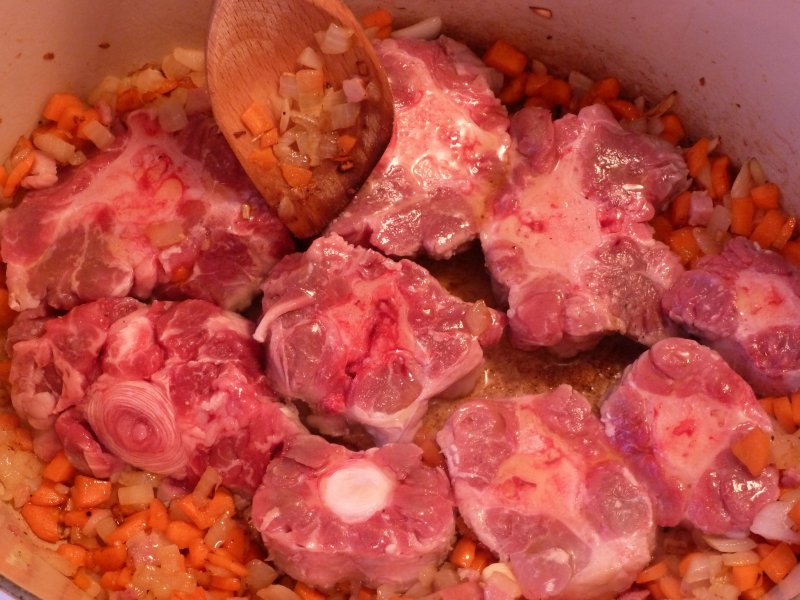
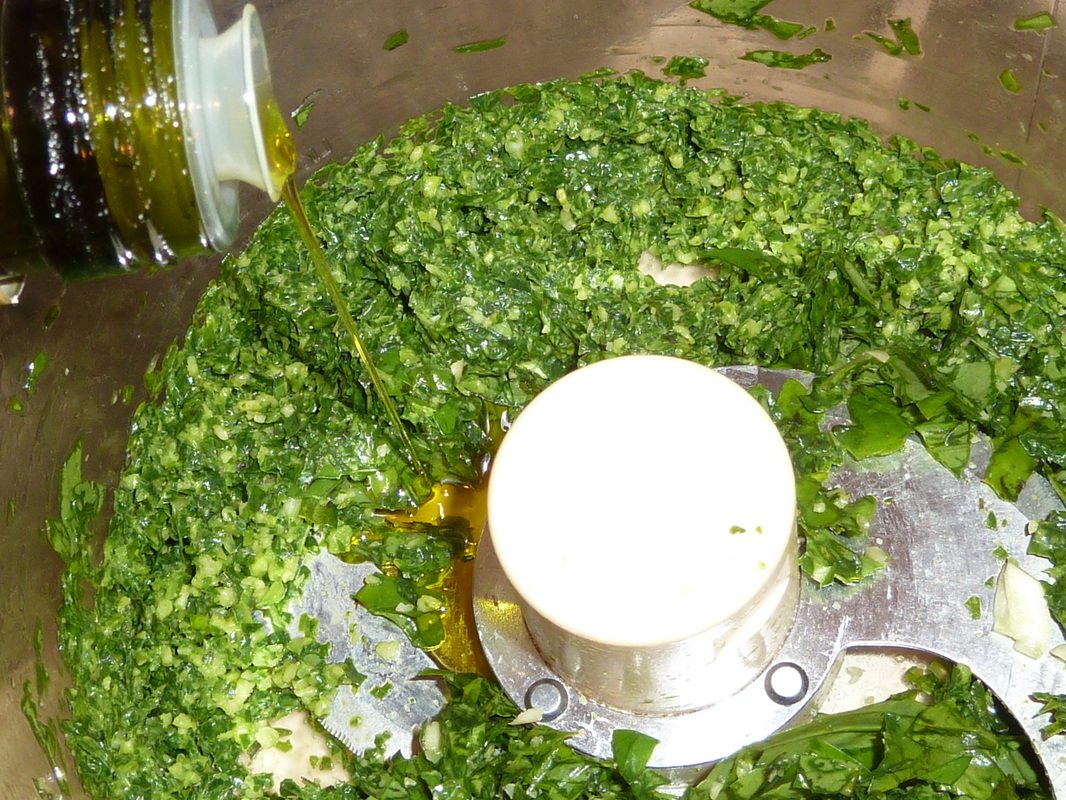
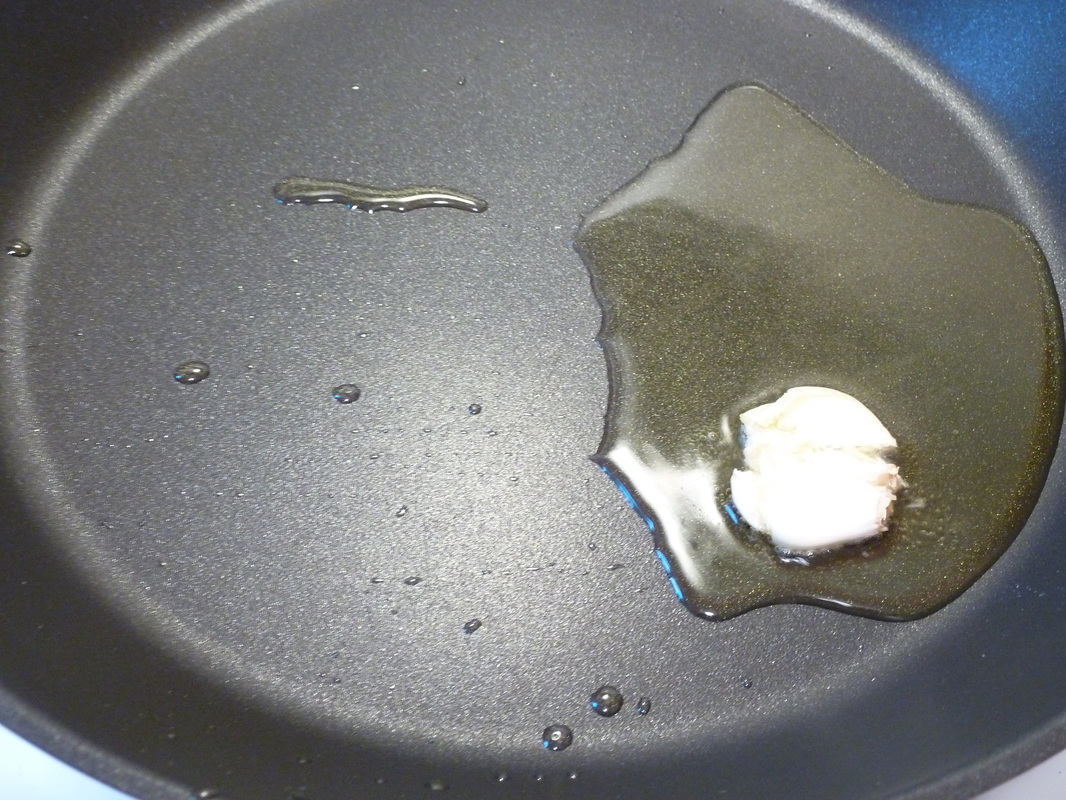
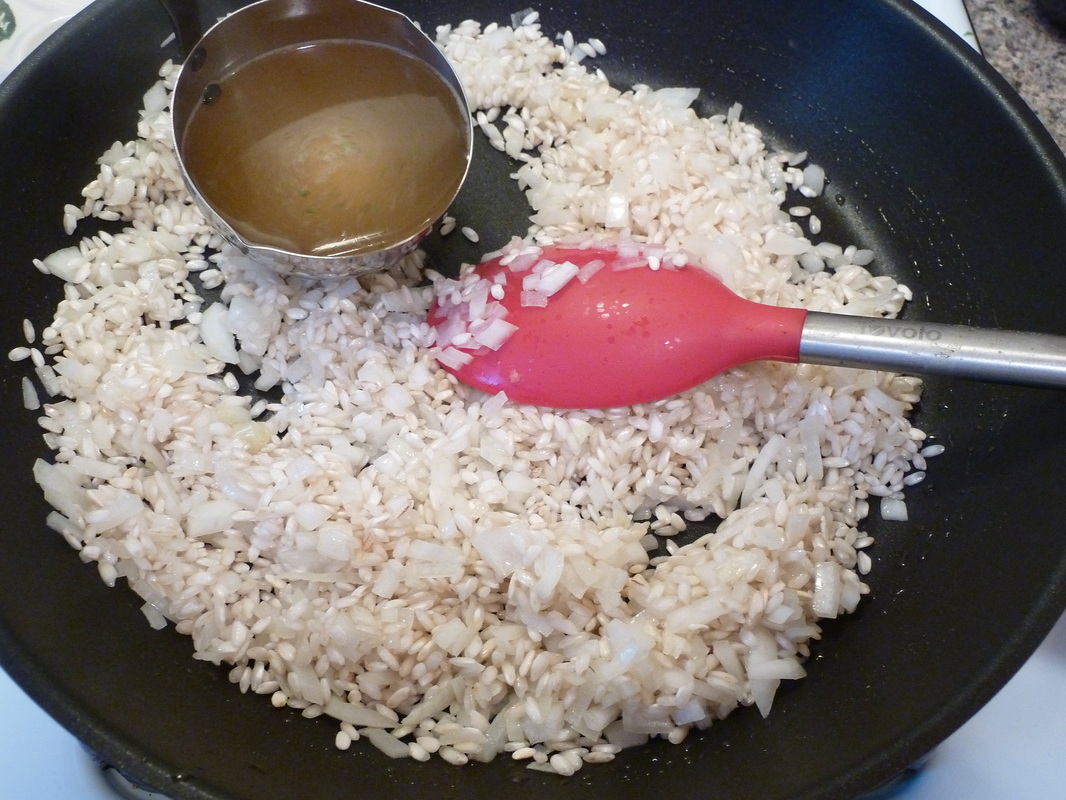
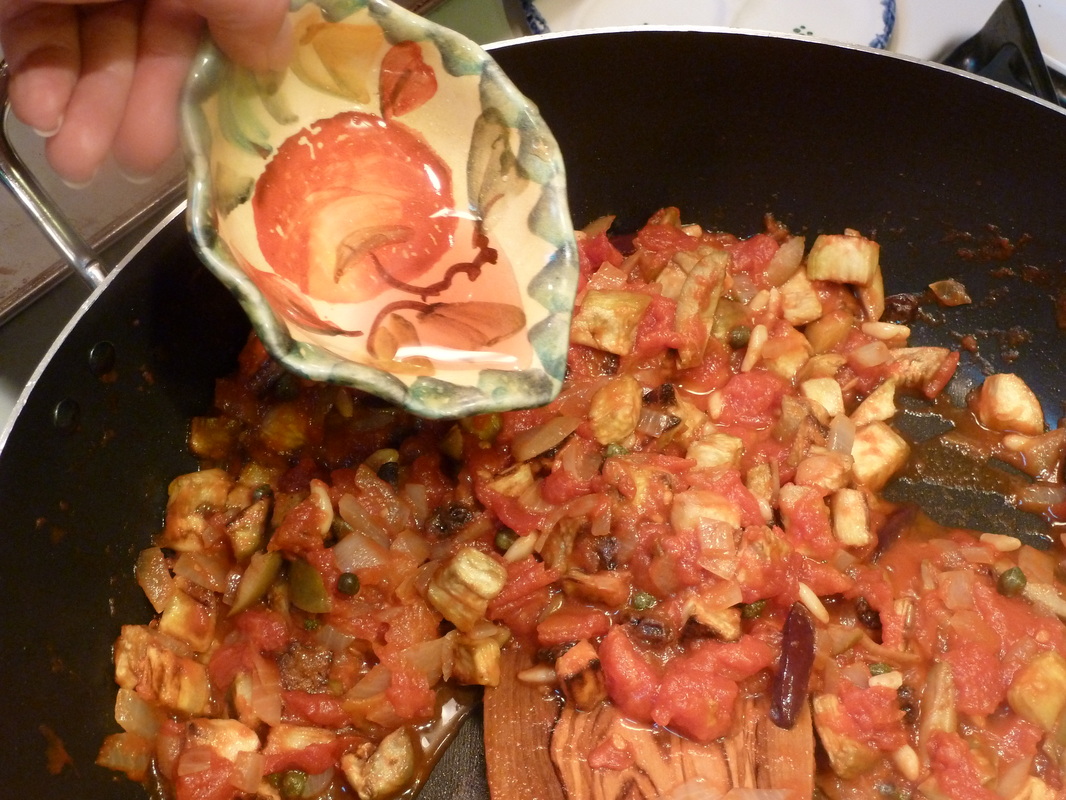
Heat just a wee bit of olive oil in a skillet. You won’t need much as the pancetta will release a little fat as well. Add the smashed garlic clove and pancetta, and sauté to add garlic flavor to the oil, and render the fat from the pancetta.
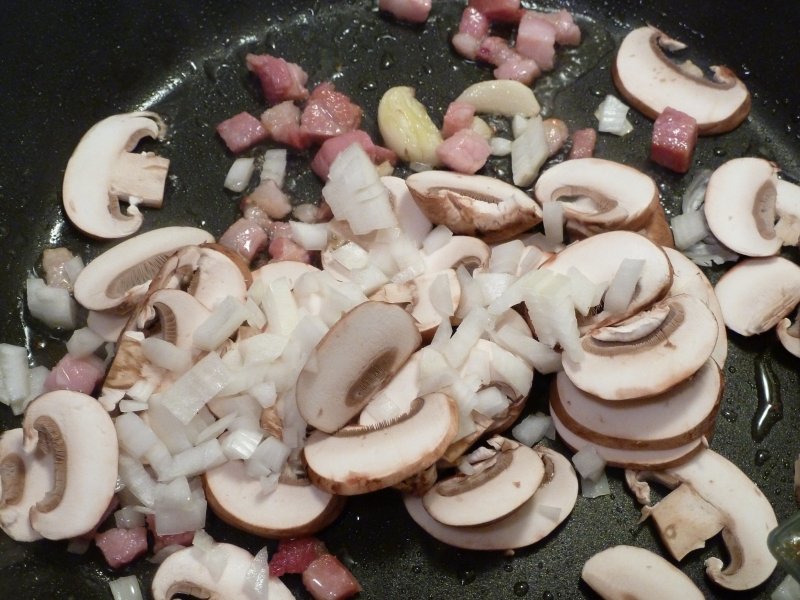
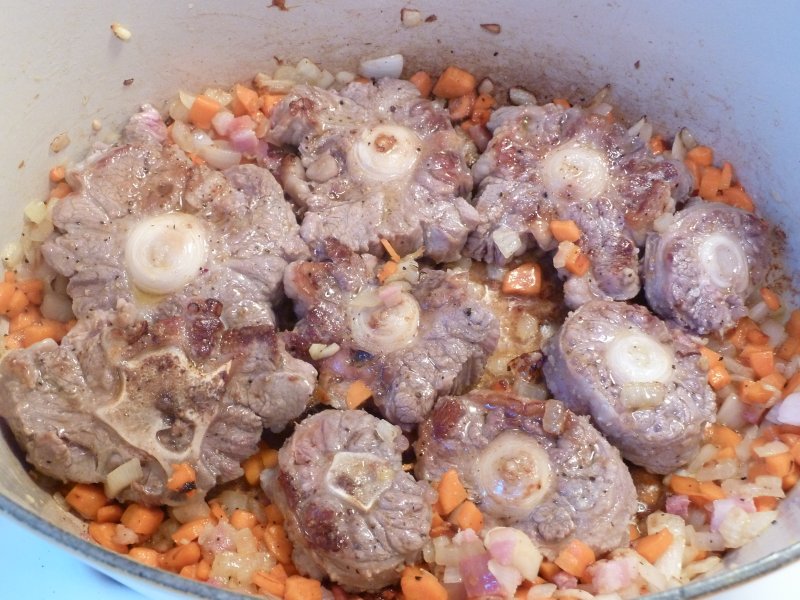
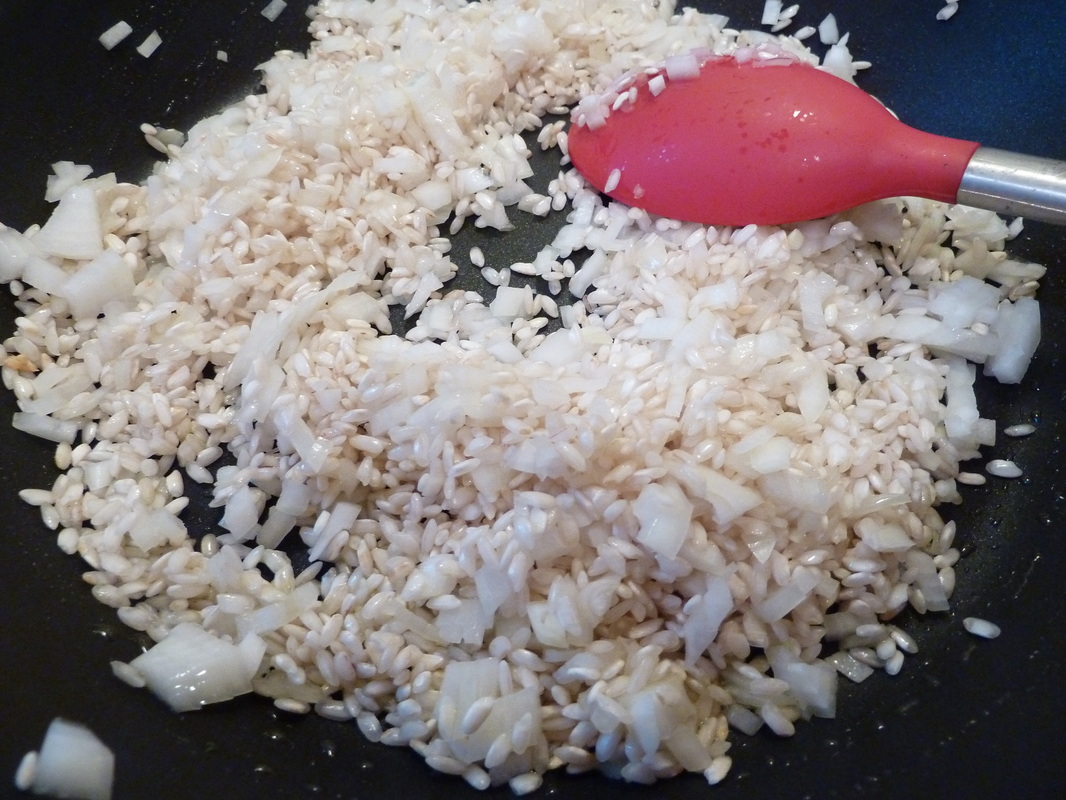
Now add the diced onions and sliced mushrooms. Saute to wilt the onions and to get the mushrooms to release their liquid. Toss out the garlic clove.
Now add the diced onions and sliced mushrooms. Saute to wilt the onions and to get the mushrooms to release their liquid. Toss out the garlic clove.


*Is your pasta water boiling yet? If so, toss in a goodly amount of coarse salt, let it melt away and add your pasta of choice. I would choose a short pasta for this dish like orchiette, dischi, penne or rigatoni.
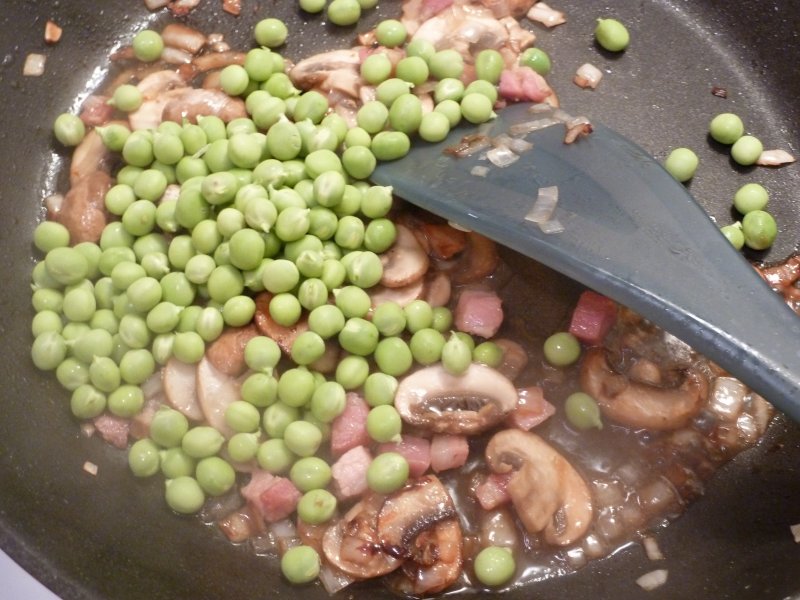
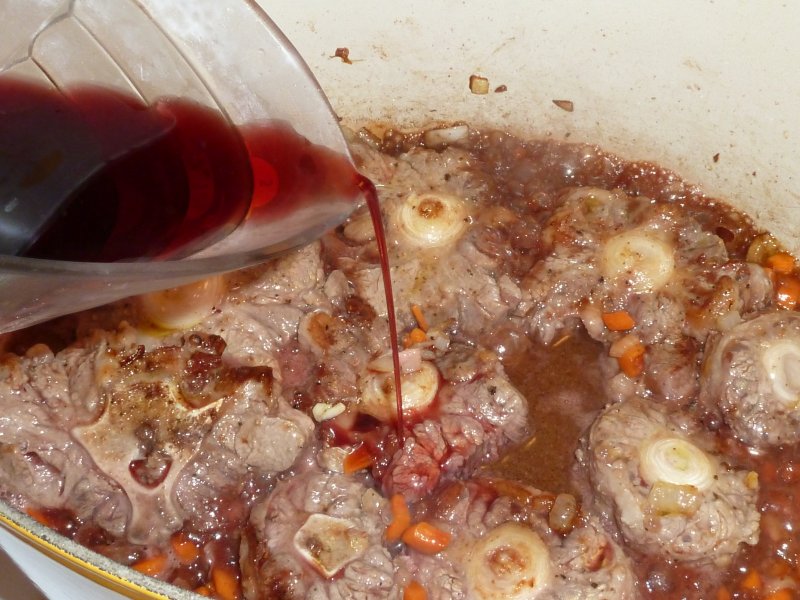
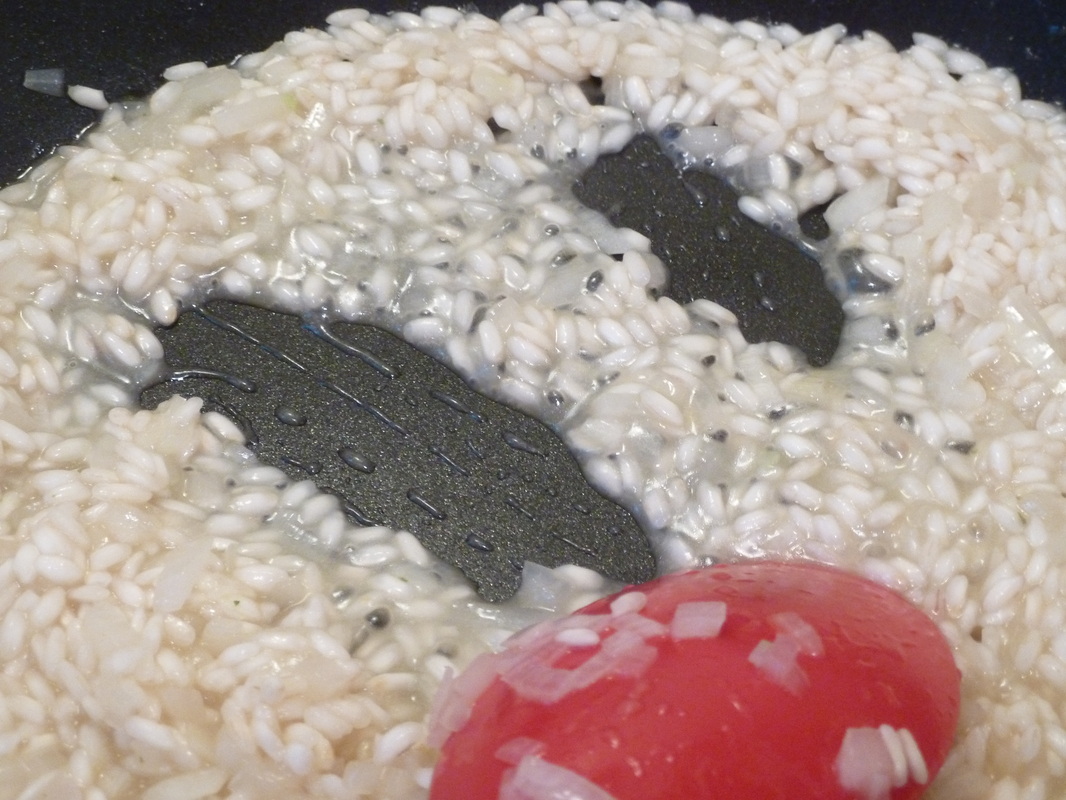
Back to your skillet: As it’s about to run dry, add a nice slosh of white wine, and let the alcohol cook away.
Time to roll in your peas. Give them a good swish about in the pan to cover them with the skillet juices and wine.
Back to your skillet: As it’s about to run dry, add a nice slosh of white wine, and let the alcohol cook away.
Time to roll in your peas. Give them a good swish about in the pan to cover them with the skillet juices and wine.
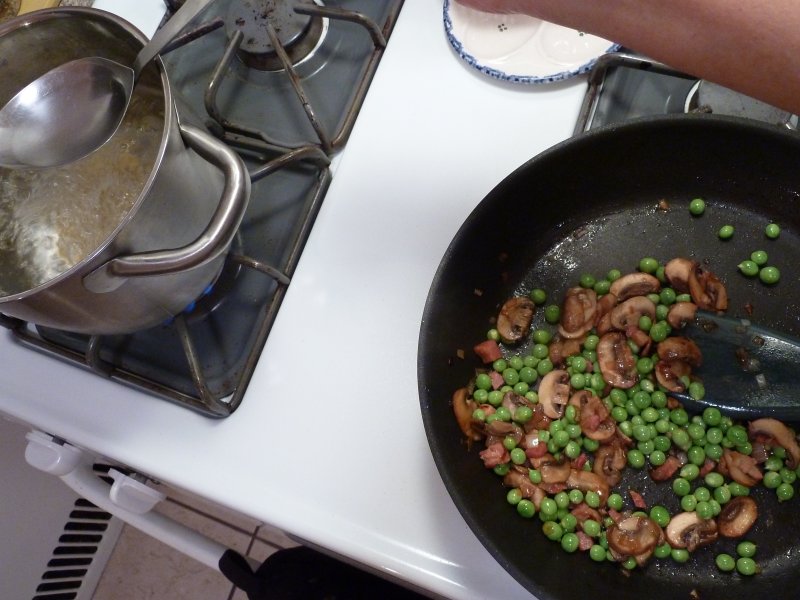

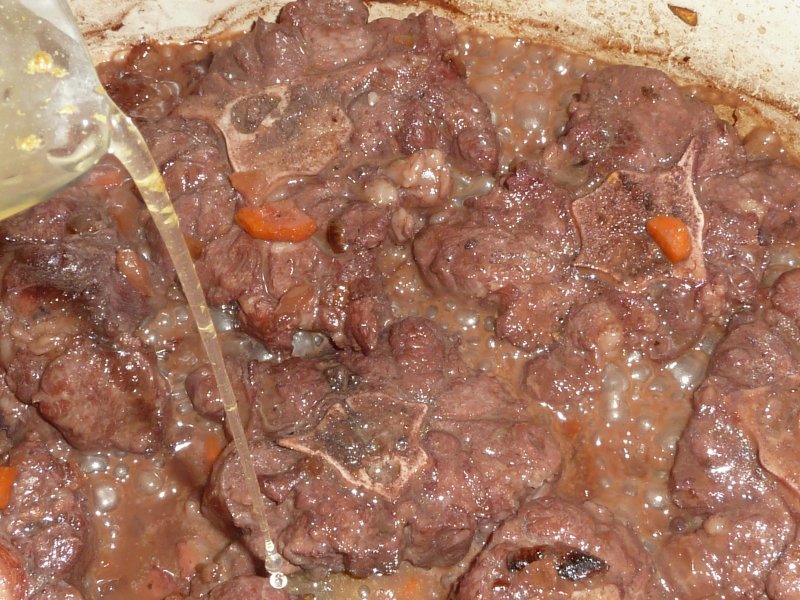
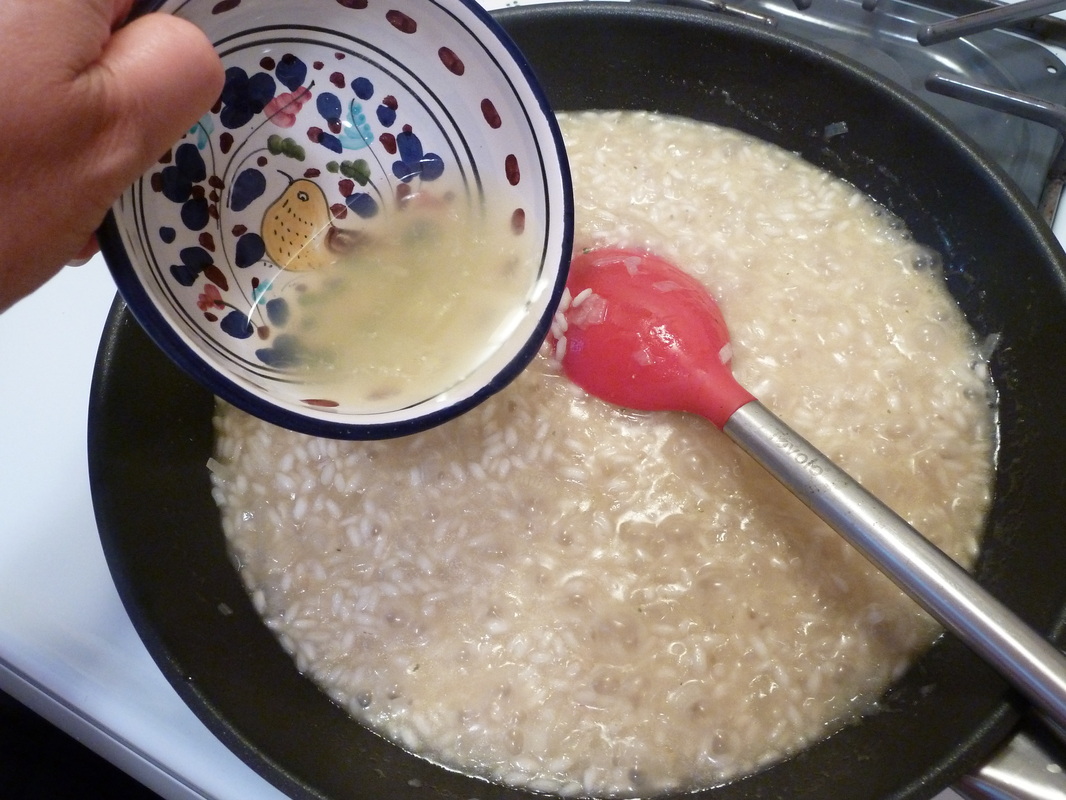
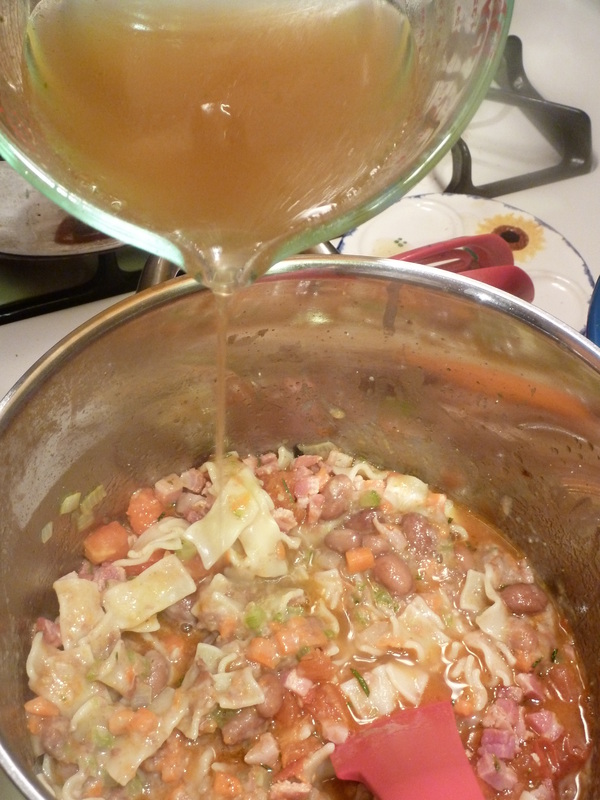
Add a cooking spoonful of starchy water from the pasta pot. This starchy water will not only help steam the peas, but will also serve to loosen the yummy bits that have stuck themselves to the bottom of the skillet.

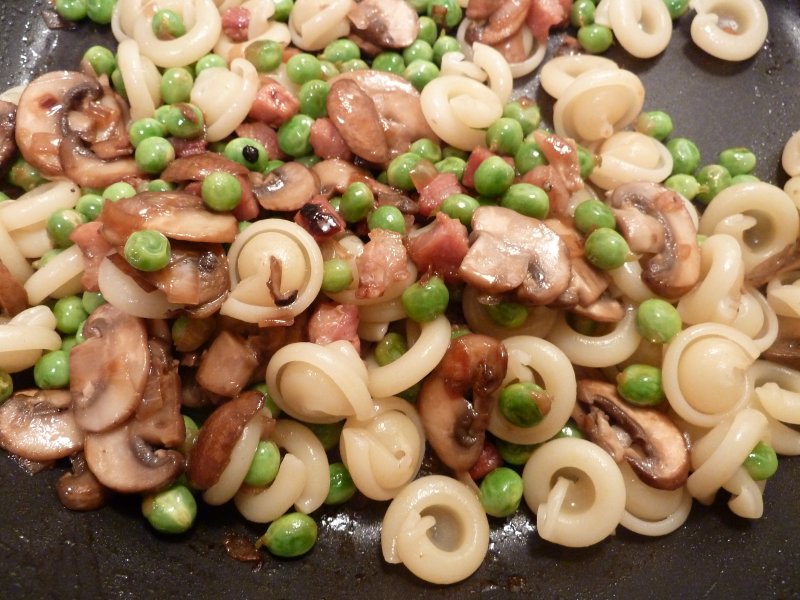
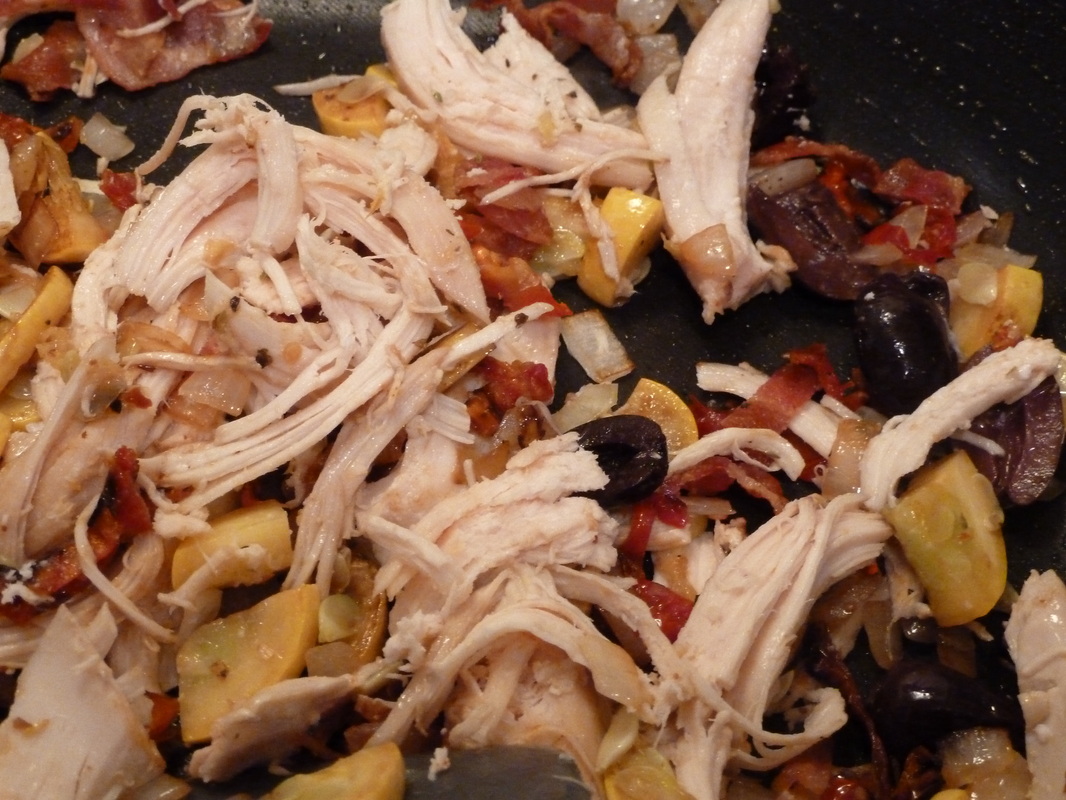
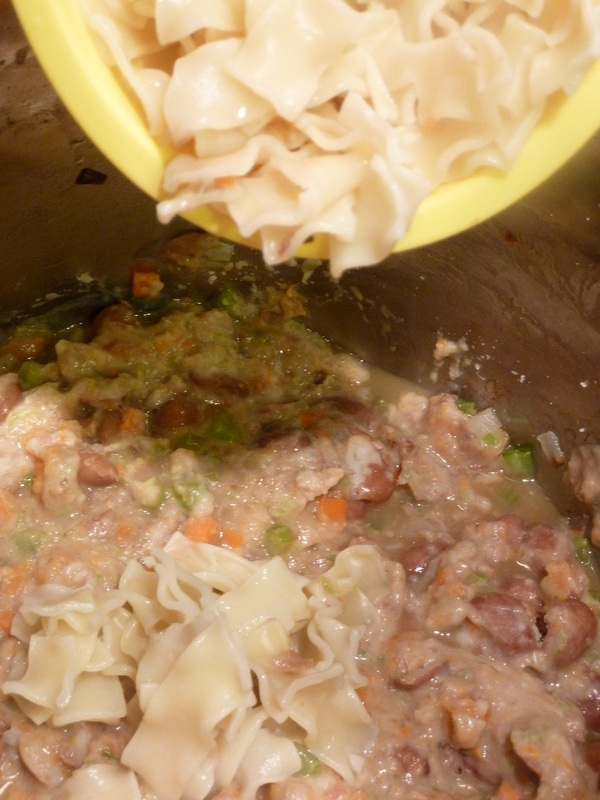
By this time, your pasta should be close to done. Taste a pea to be sure they’re cooked to your liking, and then add the drained pasta to the skillet. Again, give it a good tossing to be sure the pasta gets coated with all the goodness that's in the skillet.

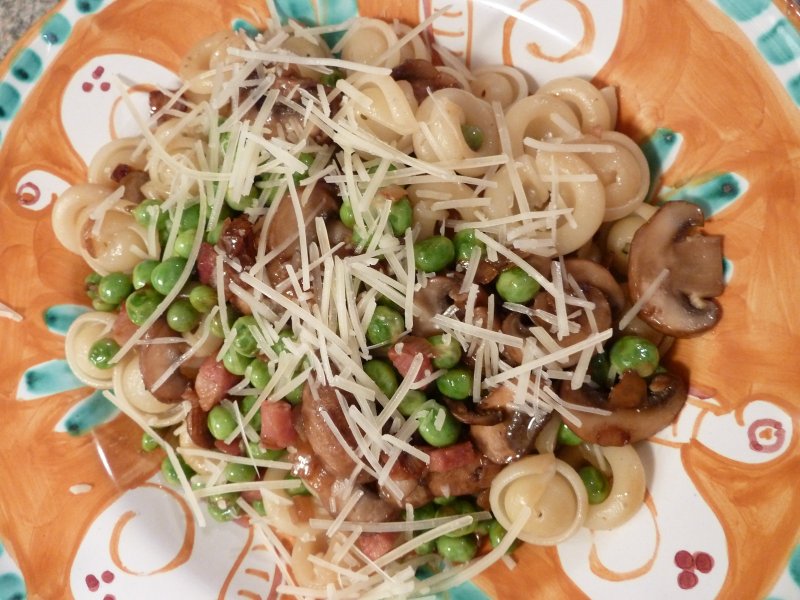
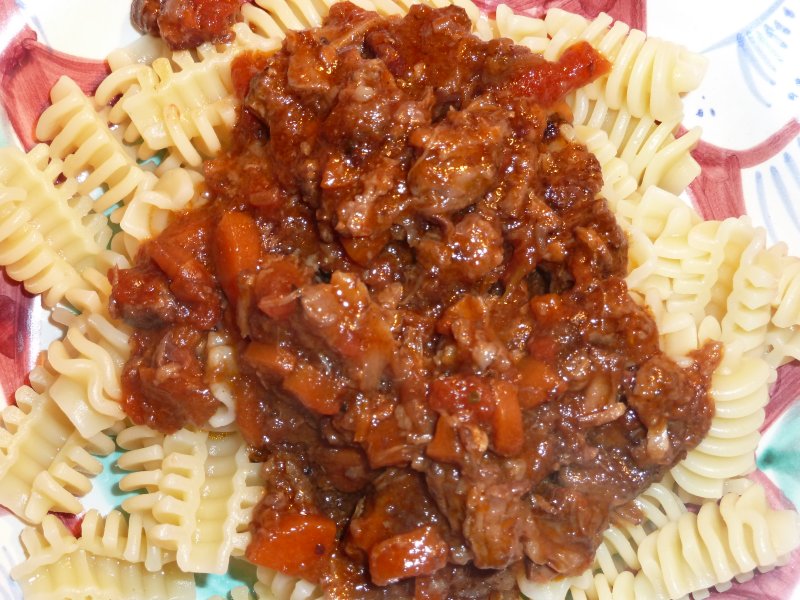
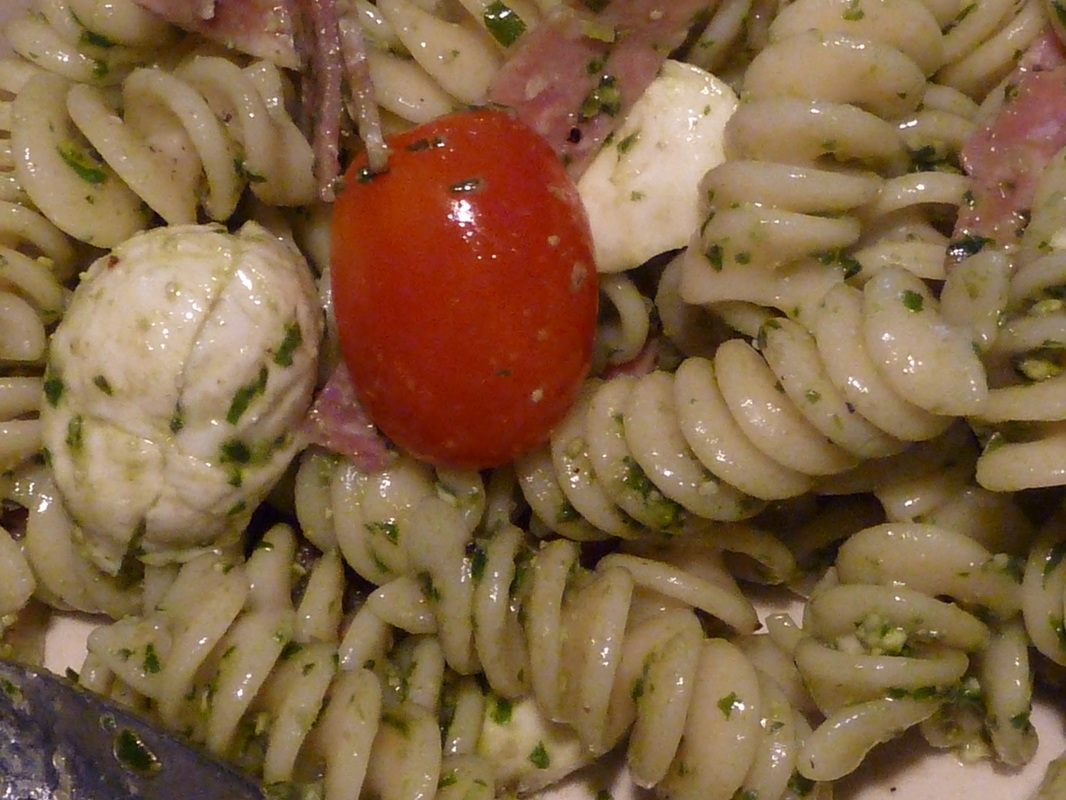
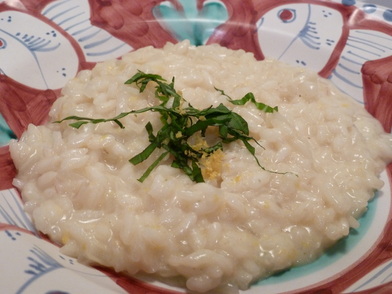
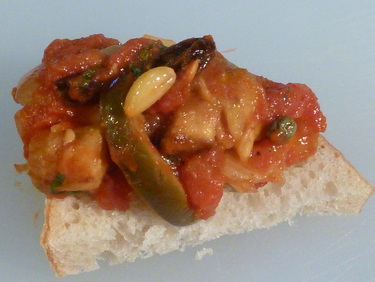
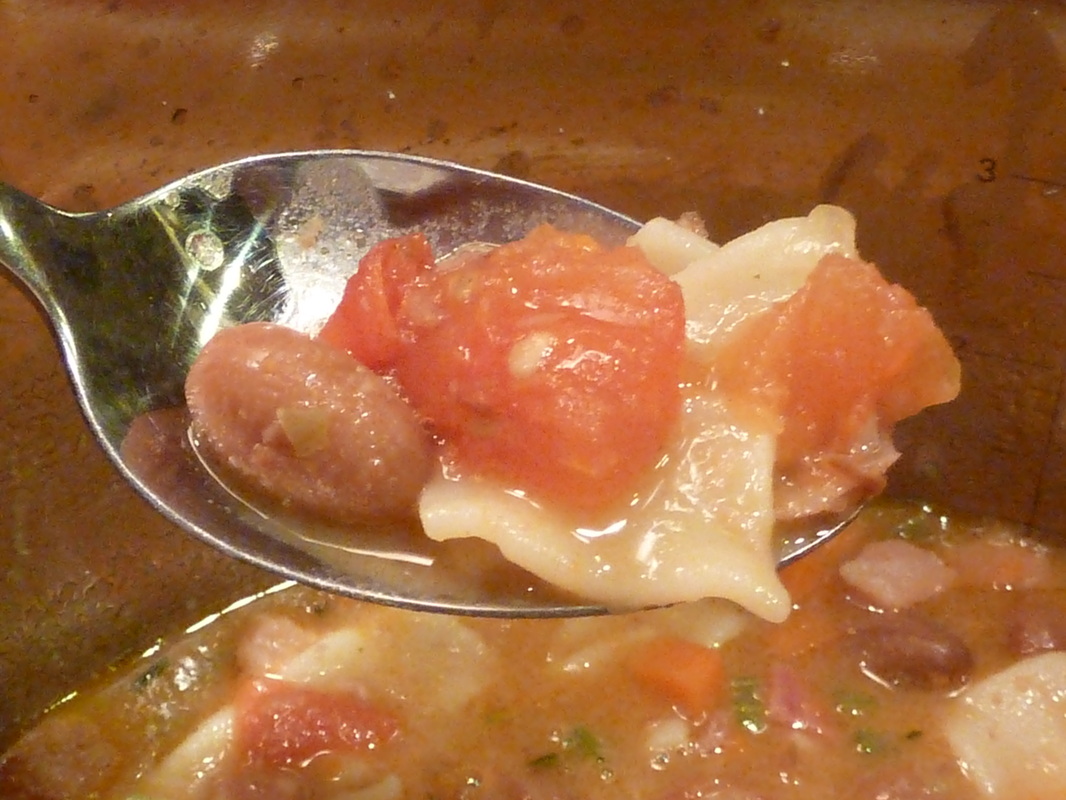
Slide it all into a pasta bowl, and top with grated cheese. Delizioso! (And so quick!)
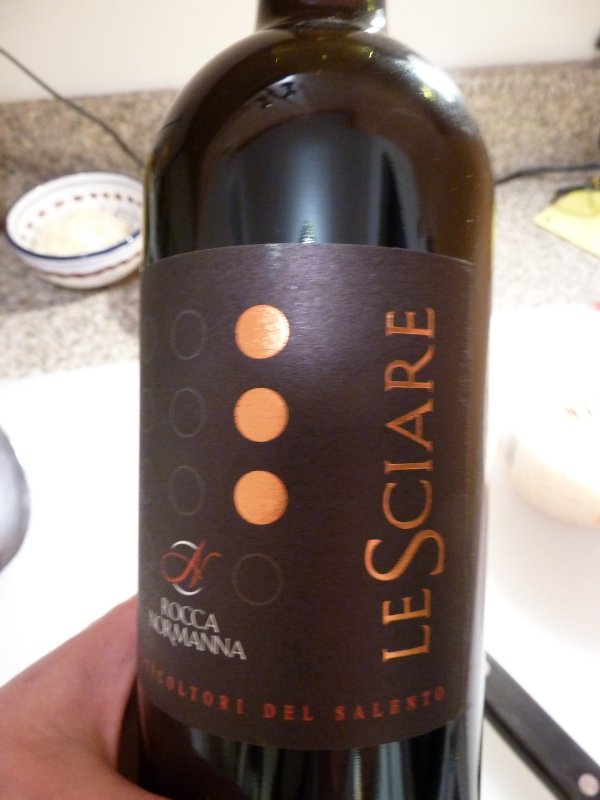
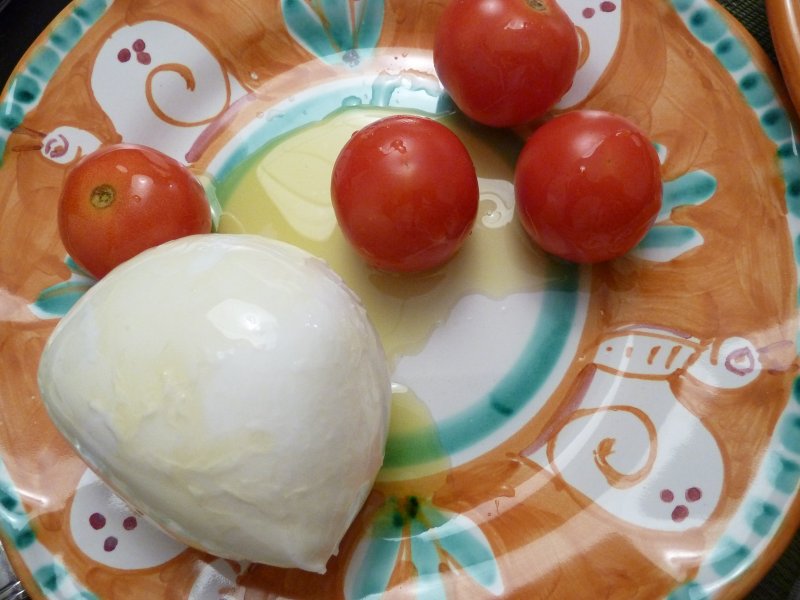
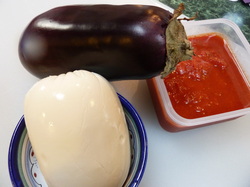
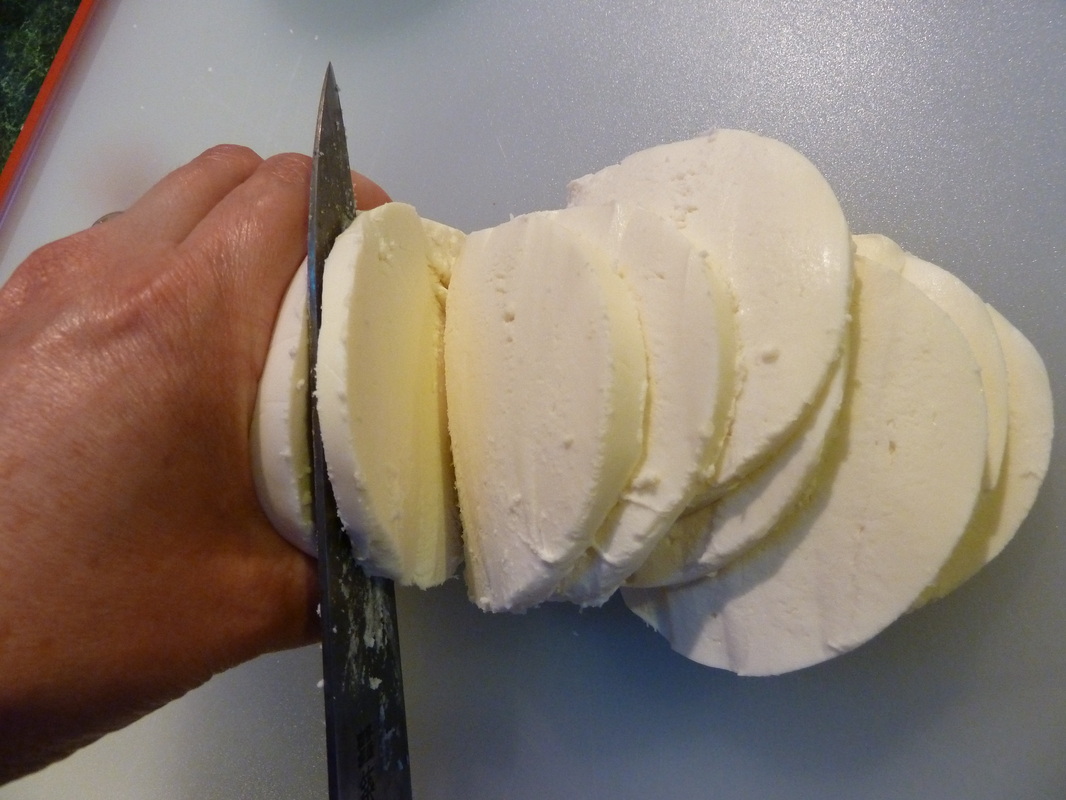
This pasta dish would have been nice with a cool glass of pinot grigio. But, since all I had on hand was red, I chose a primitivo that I'm loving called LeSciare. At a mere $10 a bottle, it has a lot of flavor, but it's not too heavy. And can you believe my "caprese"? I was so hungry, I couldn't be bothered to make a real salad! That's a lovely ball of buffalo milk mozarella, a few tomatoes, a nice drizzle of Ersilia's olive oil and a sprinkle of sea salt. Dinner was SO good!


 RSS Feed