Bella Giornata Tours
  • Home
  • About Us
  • Contact Us
  • BLOG
  • Tours Booking Now!
    • Booking NOW! Rome and Tuscany!
    • Booking NOW-Amalfi Coast!
    • Girlfriends on the Go!
    • Rome, Lower Tuscany and Umbria
    • Build Your Own Tour!
  • Client Buzz
  • Irene's wine rack...
    • Italian Wines
    • Pacific Northwest Wines
    • South American Wines
    • French Wines

A Farm to Table Day

11/8/2014

1 Comment

 
(Still trying to catch up on blogging my most recent tour....)
Today was simply all about food. That’s not bad, is it? Seeing as this is billed as a “food and wine tour”, that’s actually pretty, darn good in my book.
Picture
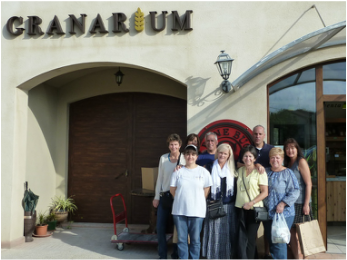
We start the day at Granarium. This is a place I have blogged about before. It’s a place I love, and will continue to return to. Granarium is a farm, flour mill, bakery and storefront all rolled into one. It’s amazing isn’t it? In order to create delicious bakery products, the folks at Granarium start with growing the wheat. It’s kind of like the story of the Little Red Hen….they grow the wheat, turn the wheat into flour, use the flour to make fantastic doughs for pizza, cookies and cakes, and then sell it all in their tiny little shop.  Notice our shopping bags :)

Tiziana is our tour guide today, and she explains to us how the process works. 
Picture
Picture
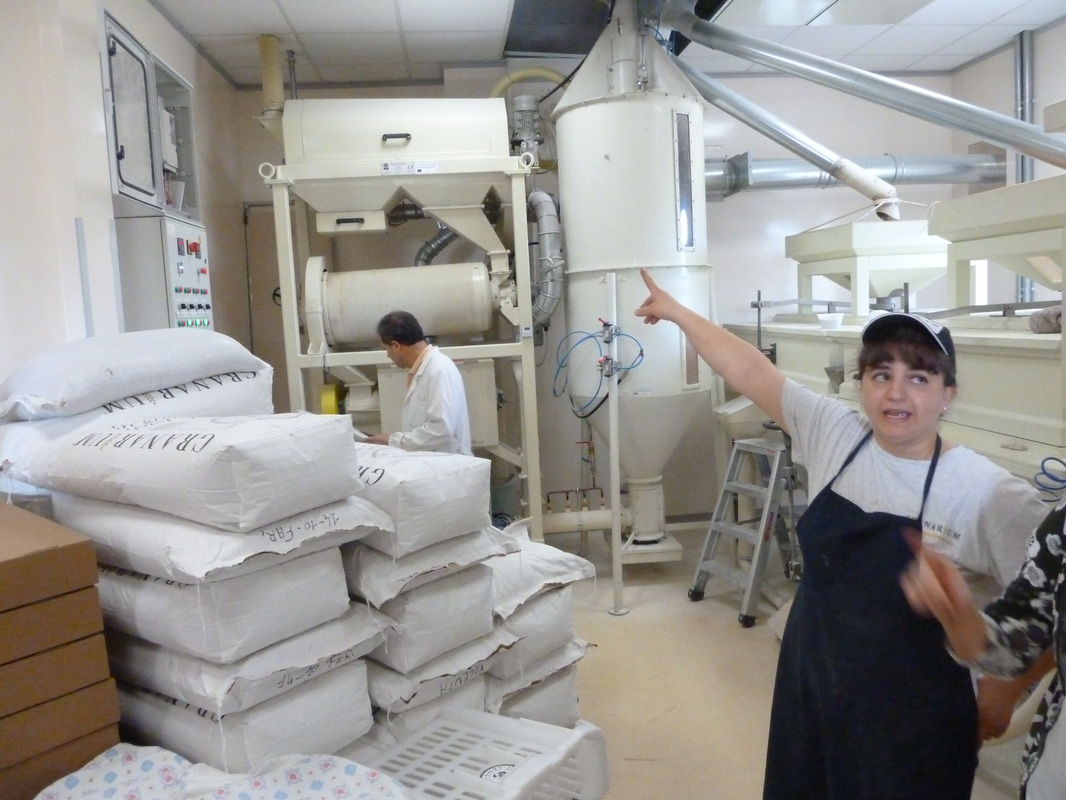
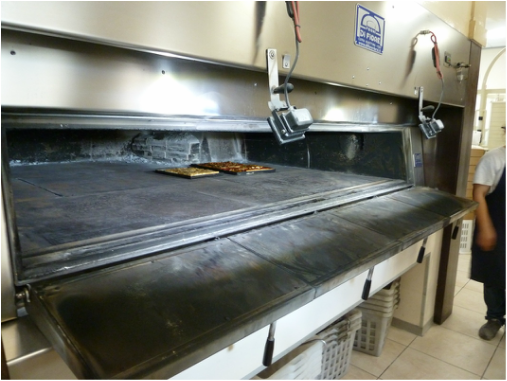
After she shows us how the flour is made, she opens their amazing oven so we can have a look. This is the biggest wood-fired oven I have ever seen. Yes, it is wood-fired! Can you believe it?! Every day, they churn out a huge array of delicious products from this oven; the only oven they have in the place. 
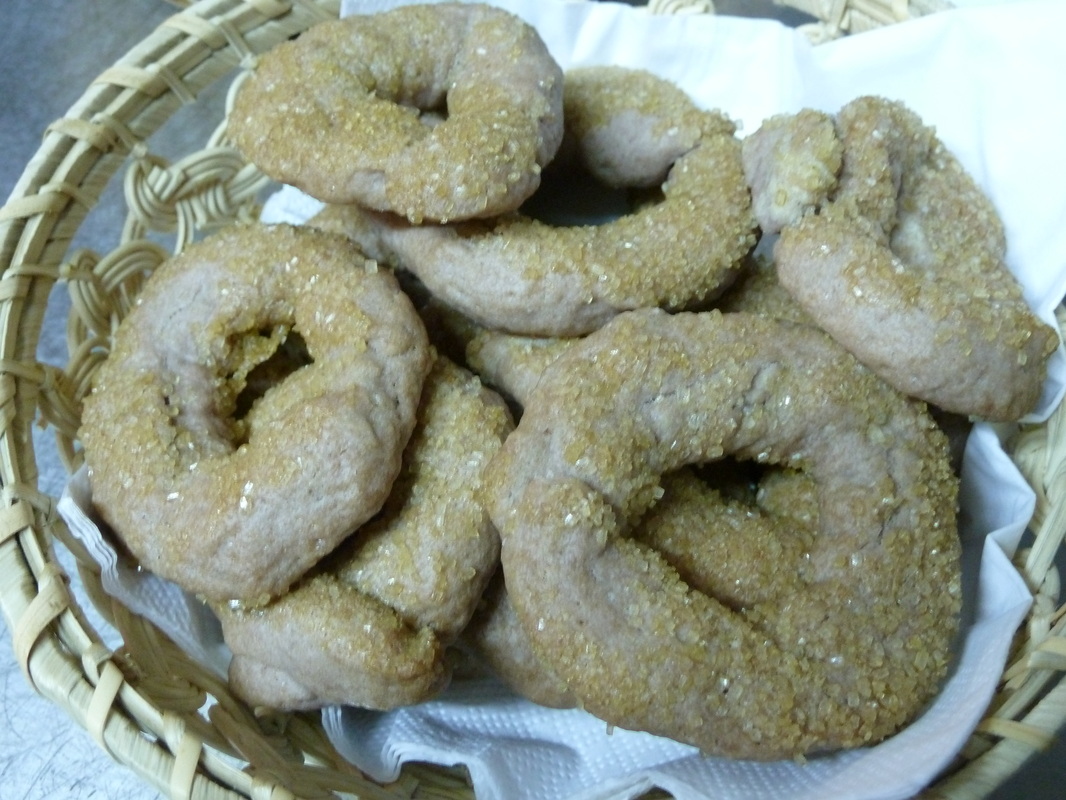
At the end of our tour, we find that Tiziana has set out a huge variety of samples for us to try. And then we all cram into the tiny shop and make so many purchases because it’s all simply so good. Their whole wheat biscuits are my morning go-to staple with a cappuccino. When I eat one, it holds me until lunch, it’s so filling, and just so darned tasty. (That's them in the upper, right hand corner of the photo.)

Picture
Picture
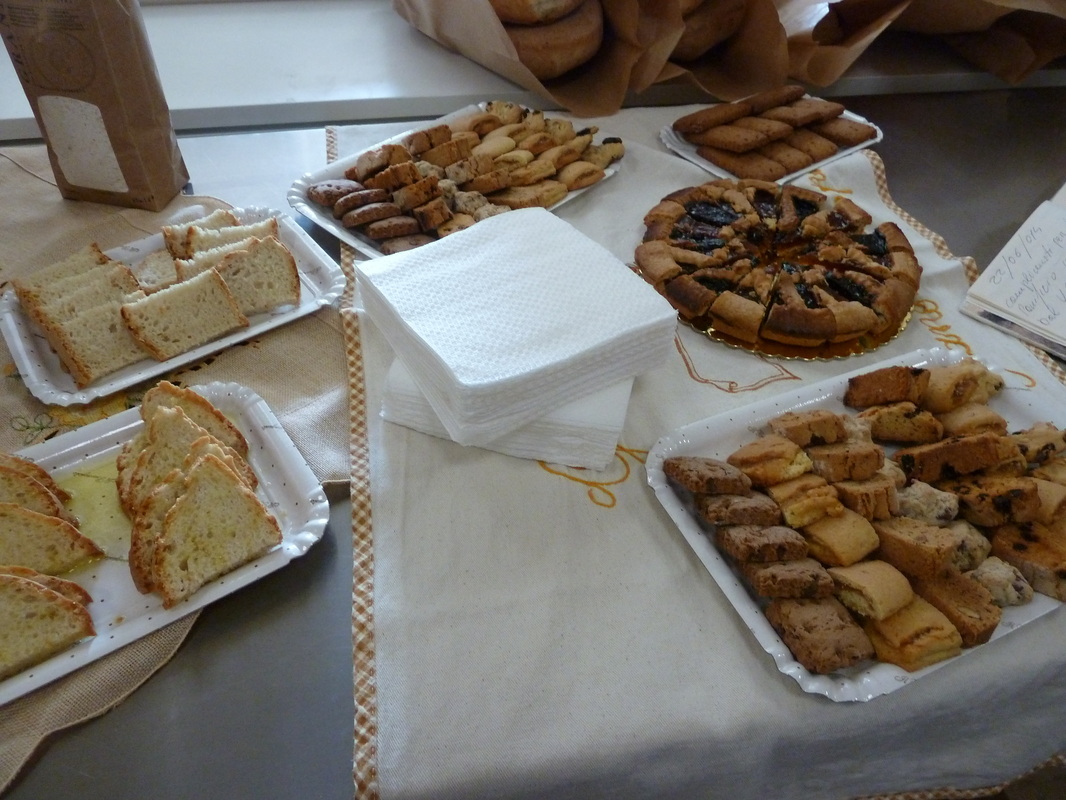
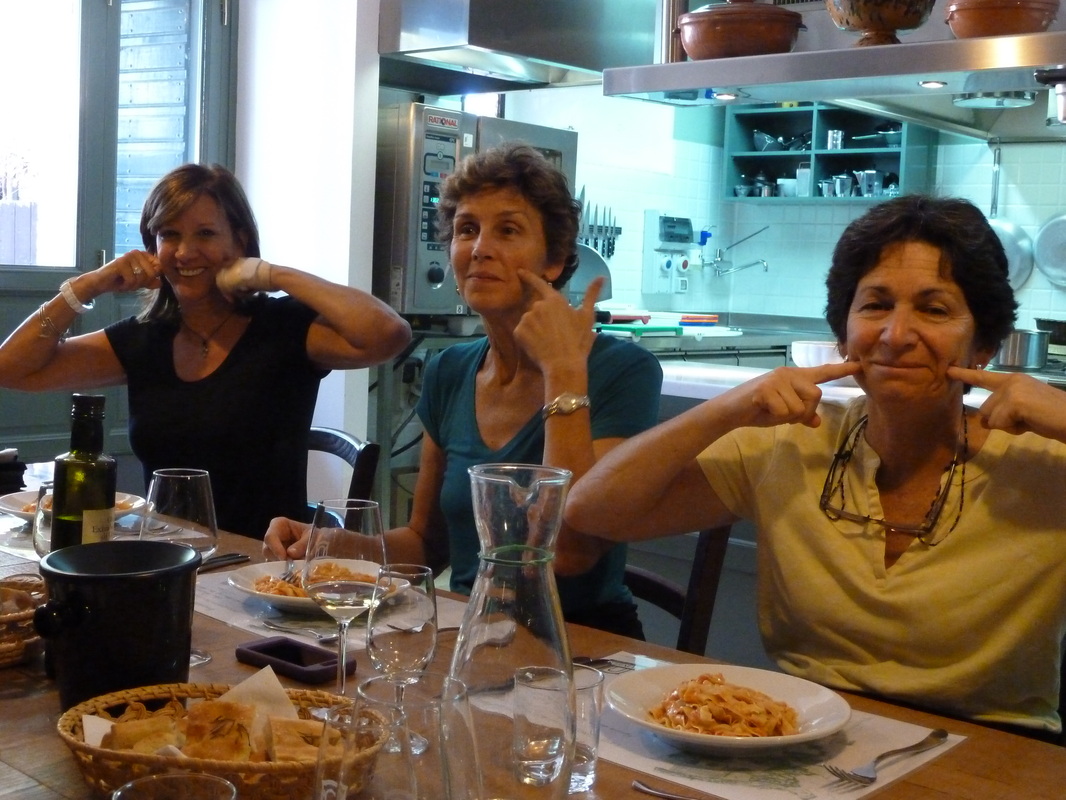
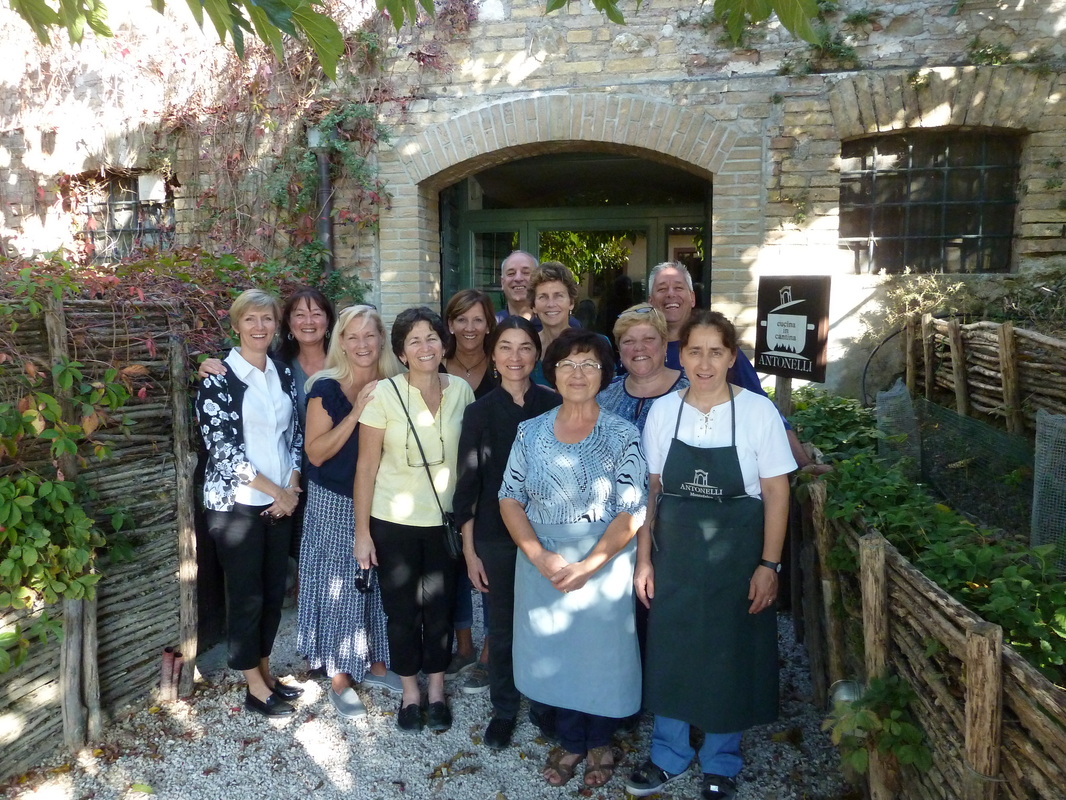
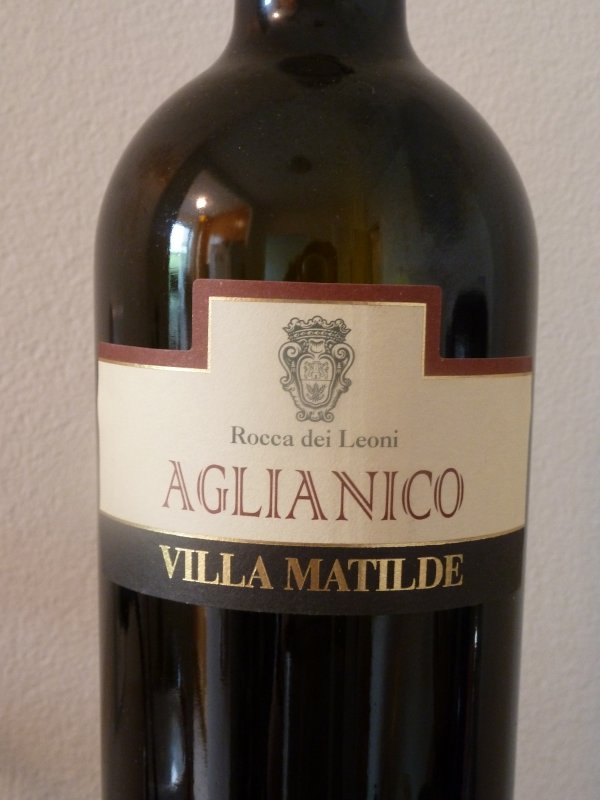
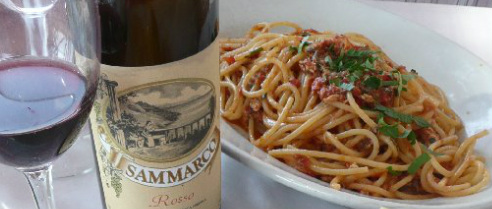
After good-byes at the mill, we are off to our next food destination; cooking class! Yes, this is our second cooking lesson after our earlier wood-fired pizza making lesson. Today, we’ll be cooking an entire classic Umbrian meal under the tutelage of Wendy Aulsebrook and her local helpers at Antonelli winery. 

We have so many dishes to prepare, it’s nearly mind-boggling, but the group is so excited for today, and everyone is ready for our hands-on lesson. Here's our menu:
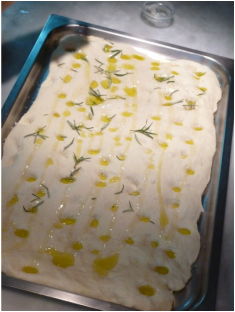
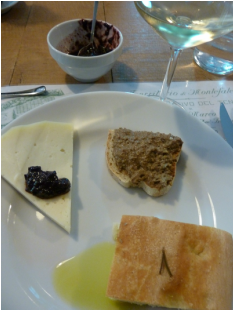
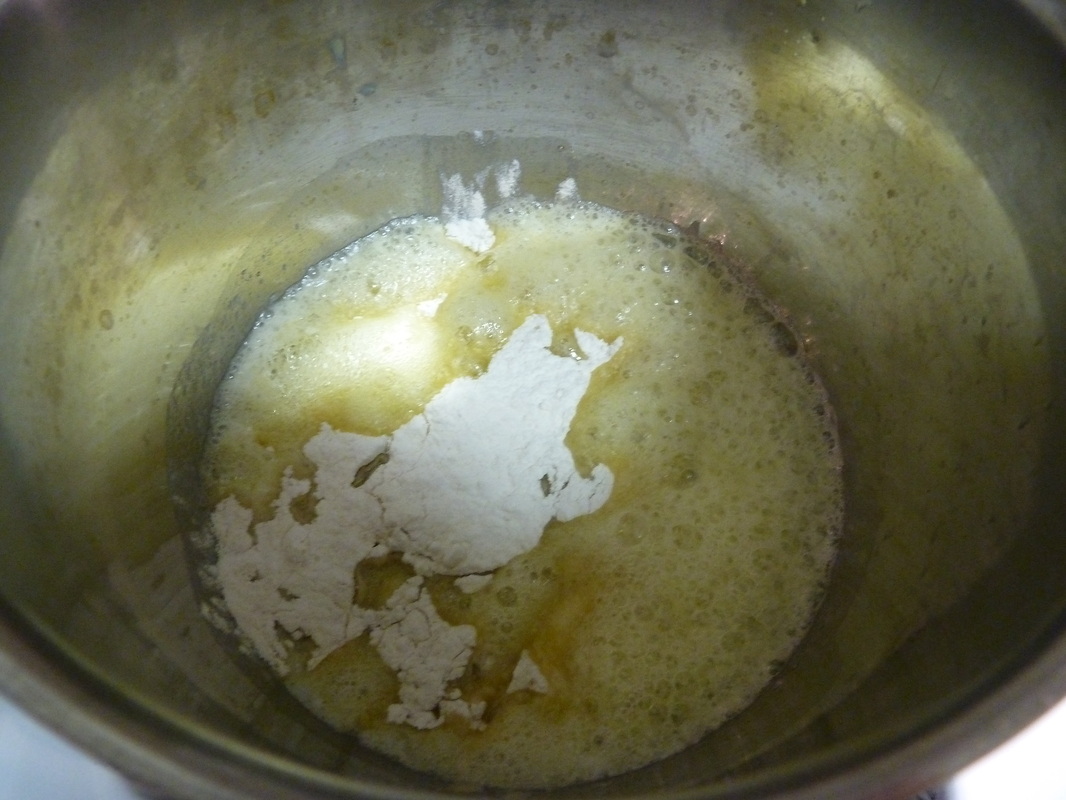
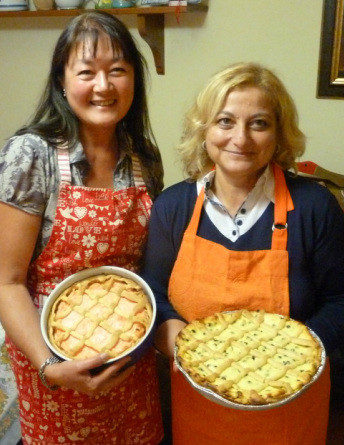
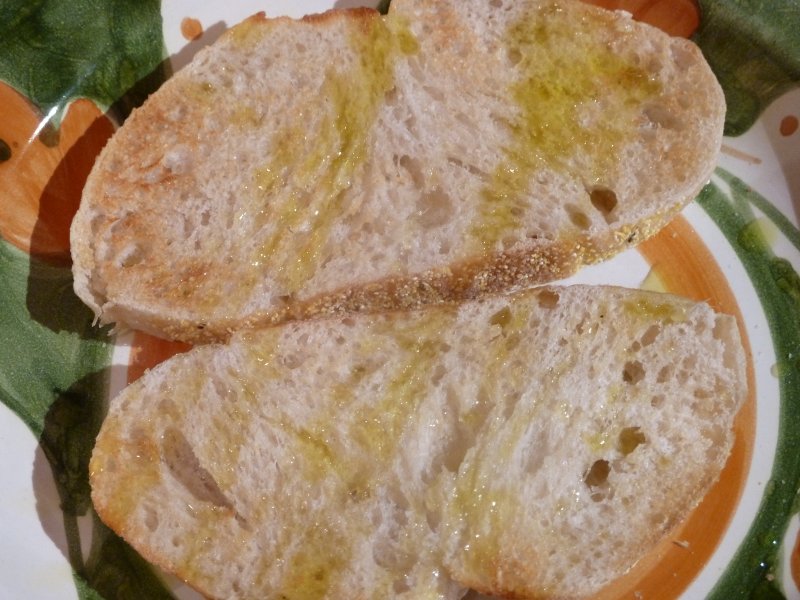
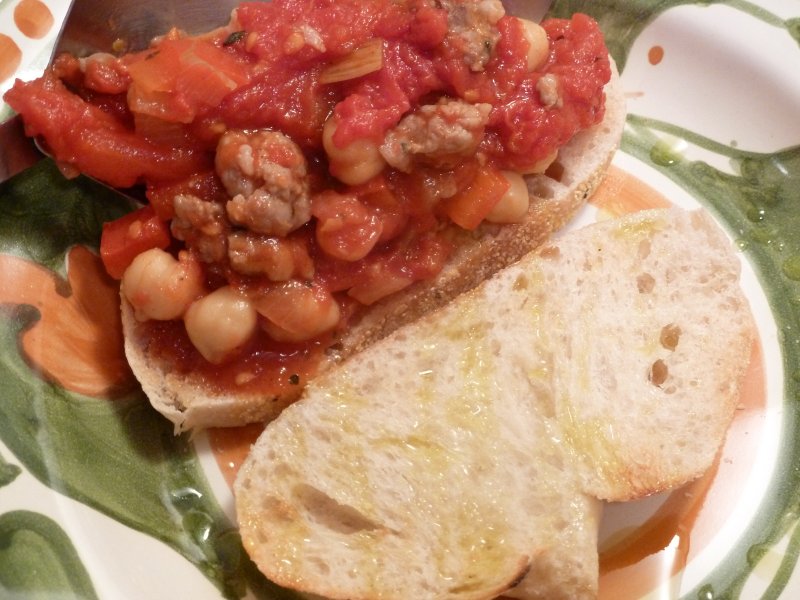
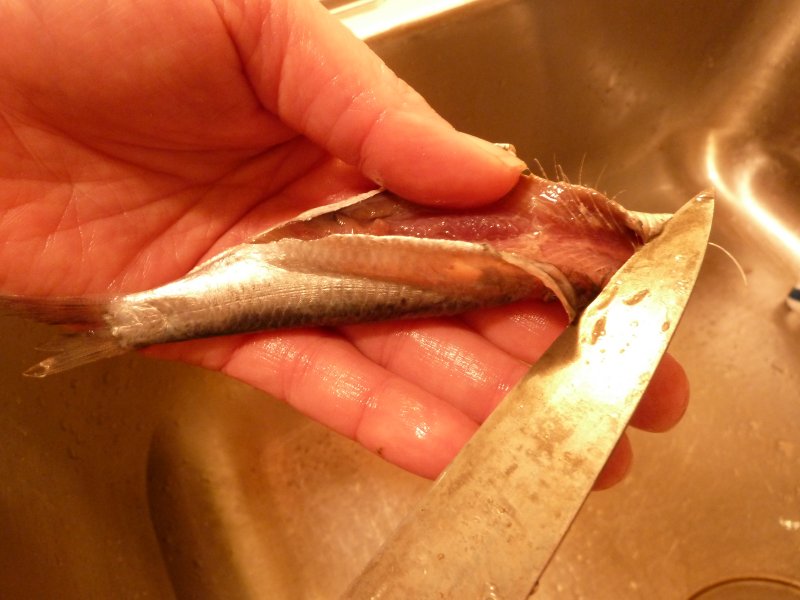
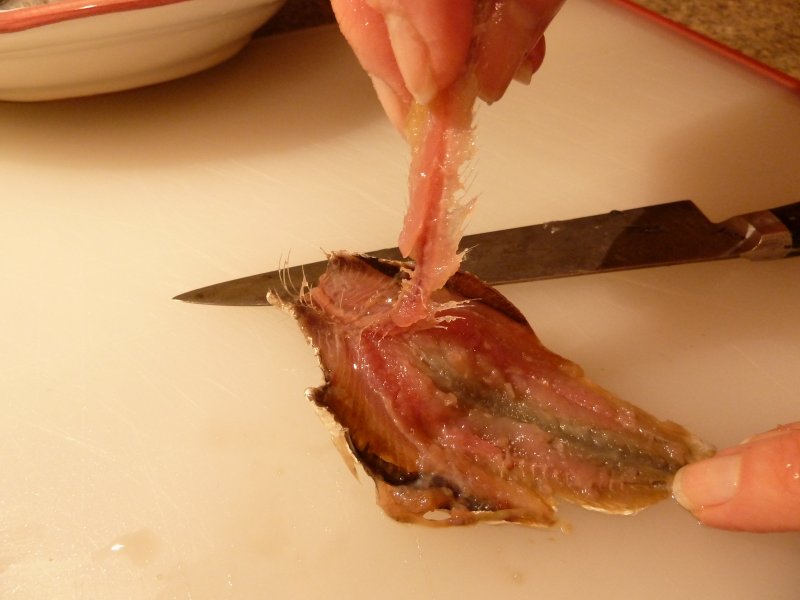
We start with appetizers: We make focaccia bread with fresh rosemary from scratch. On the right, you see the finished focaccia bread. It's served with local cheese and the winery's own jam made from Sagrantino grapes. In addition, we've made our own liver pate which you see served on some crusty local bread. This first course is served with Antonelli's white wine. 
Picture
Picture
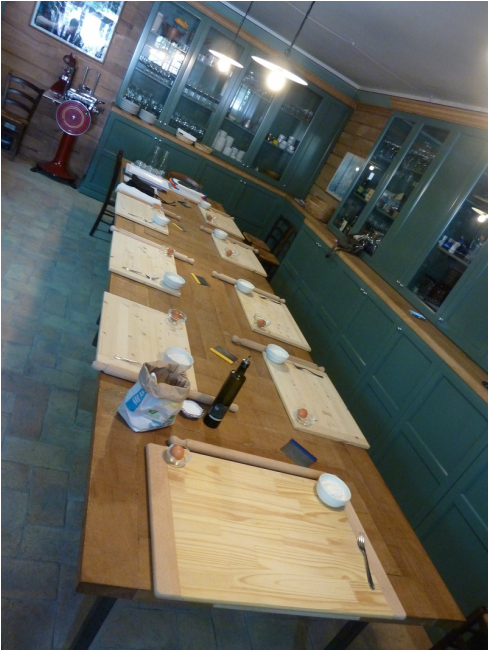
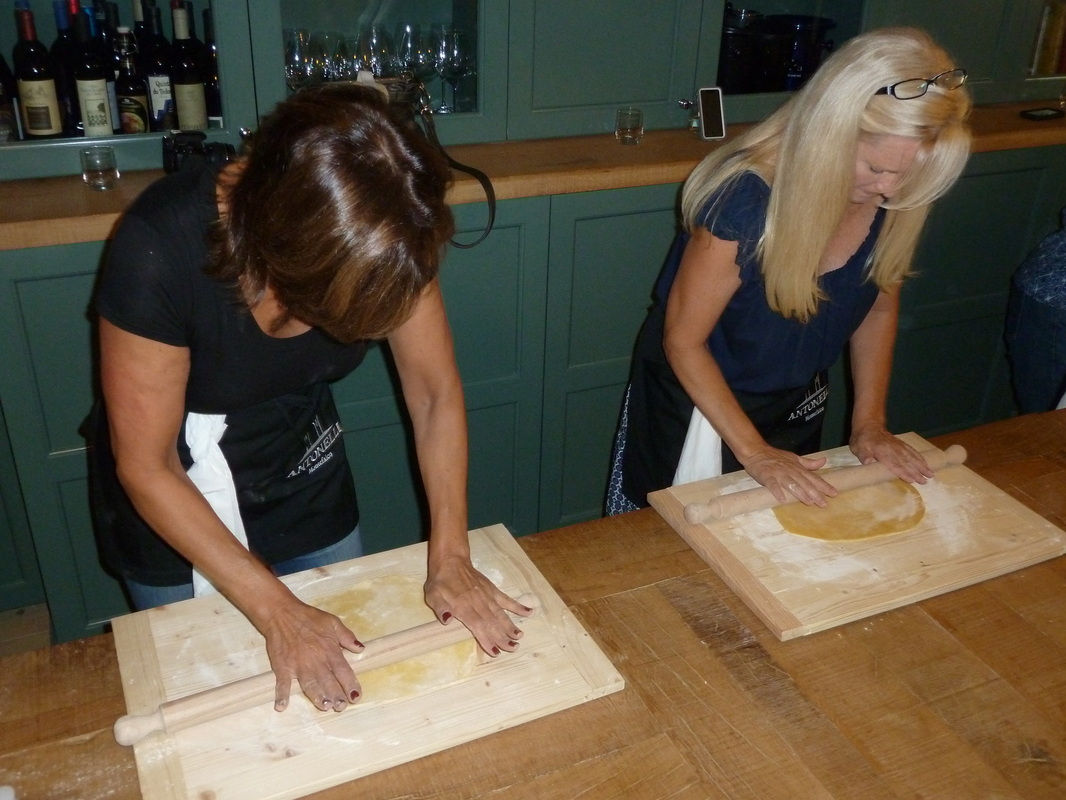
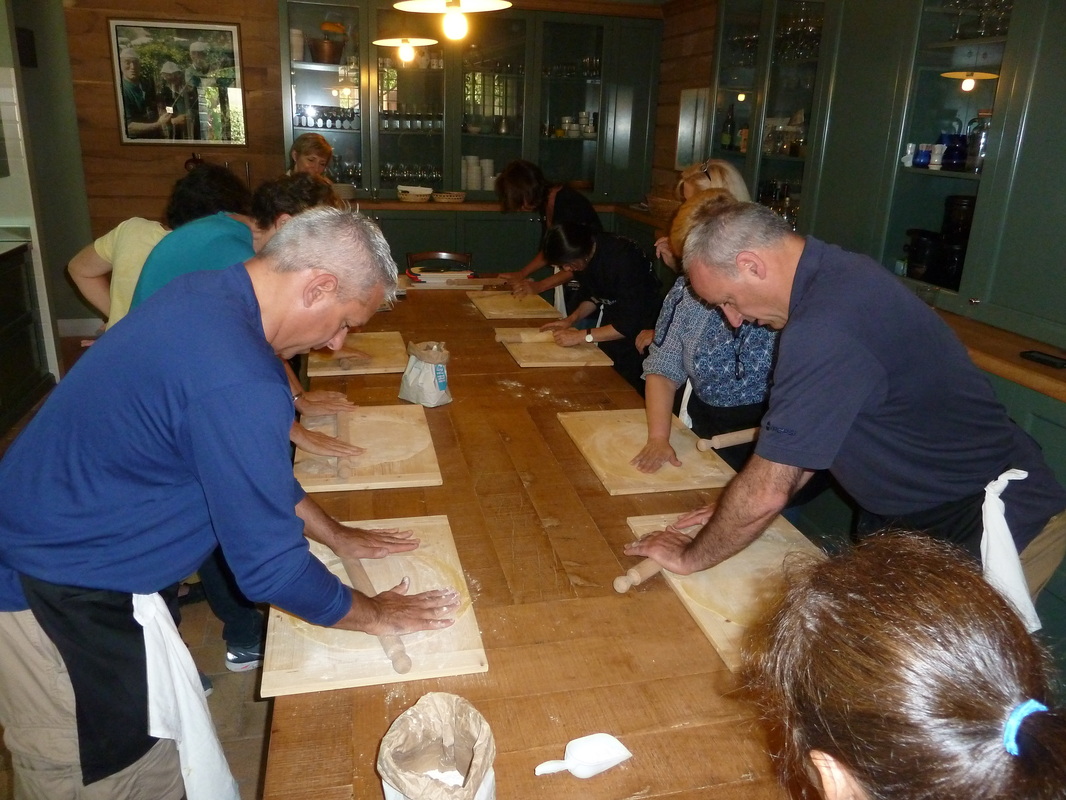
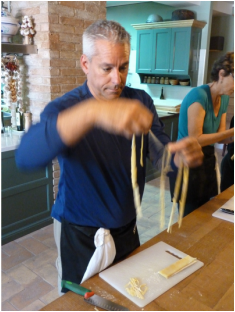
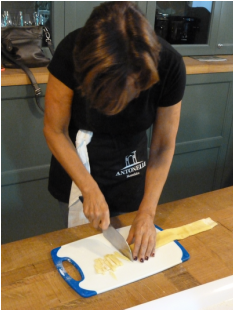
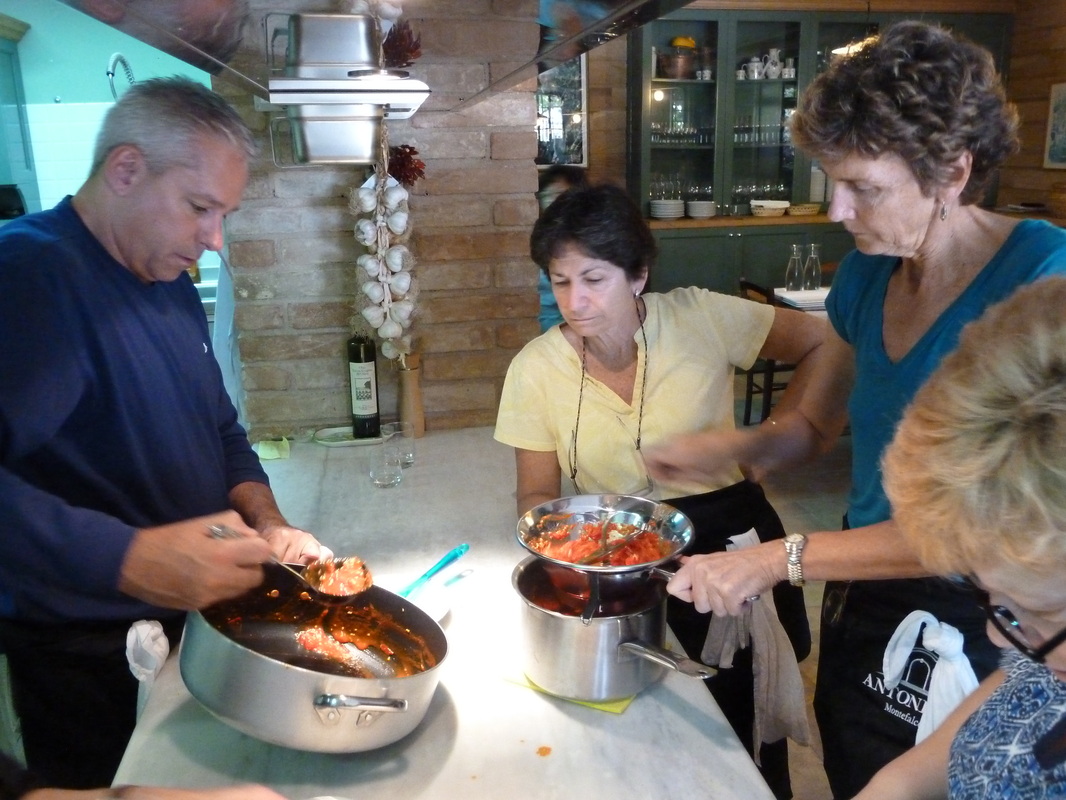
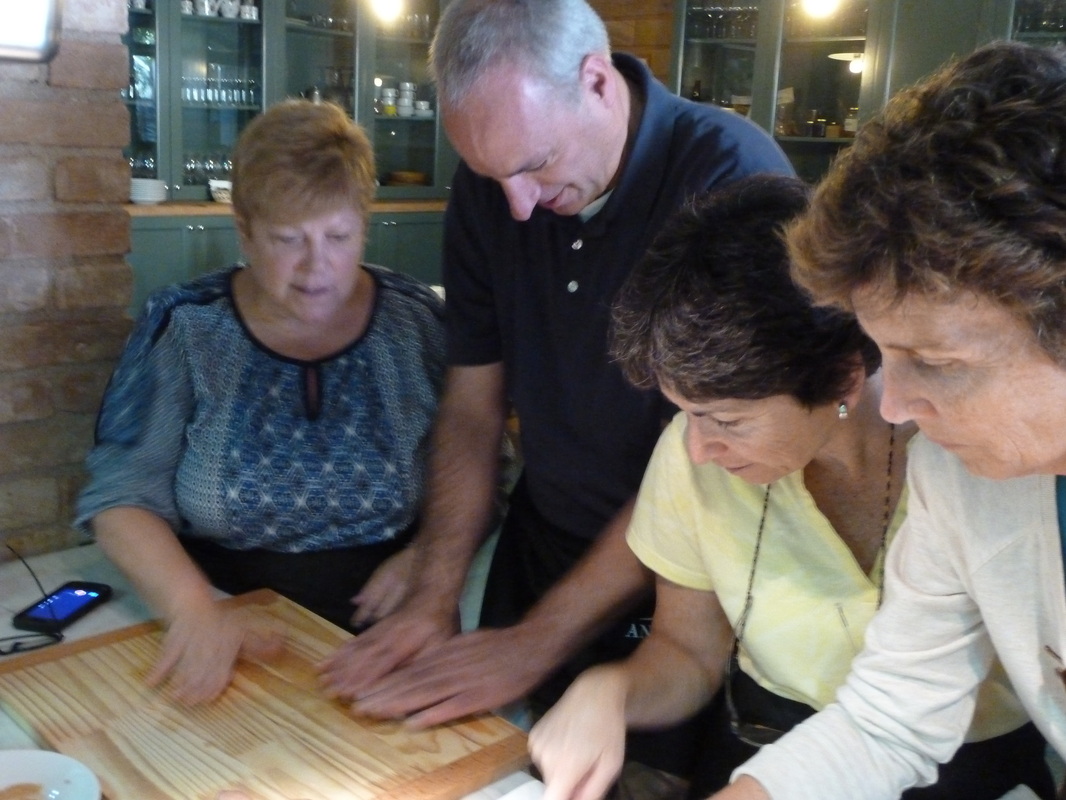
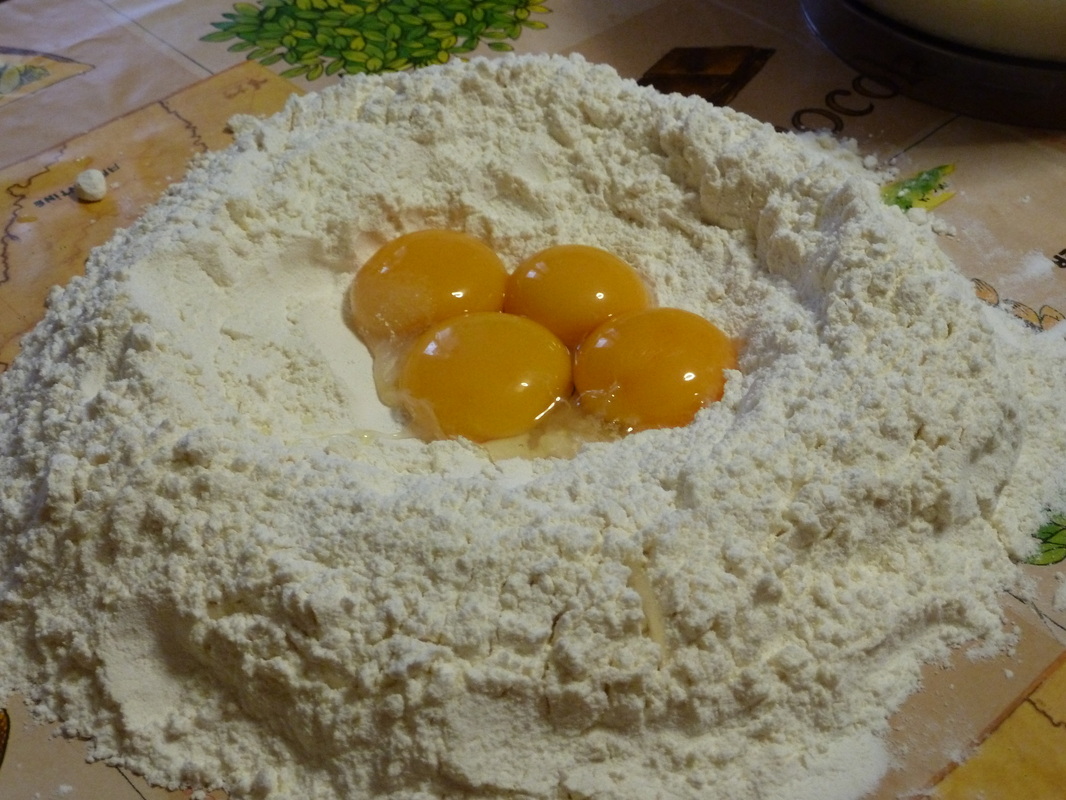
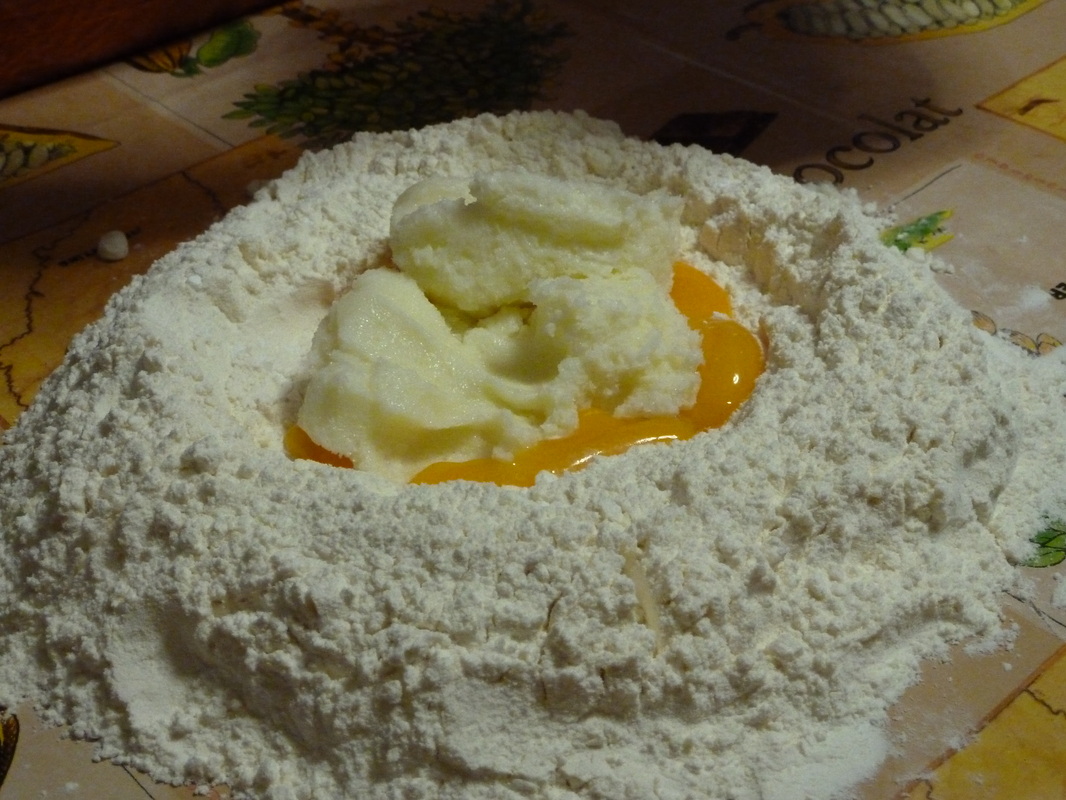
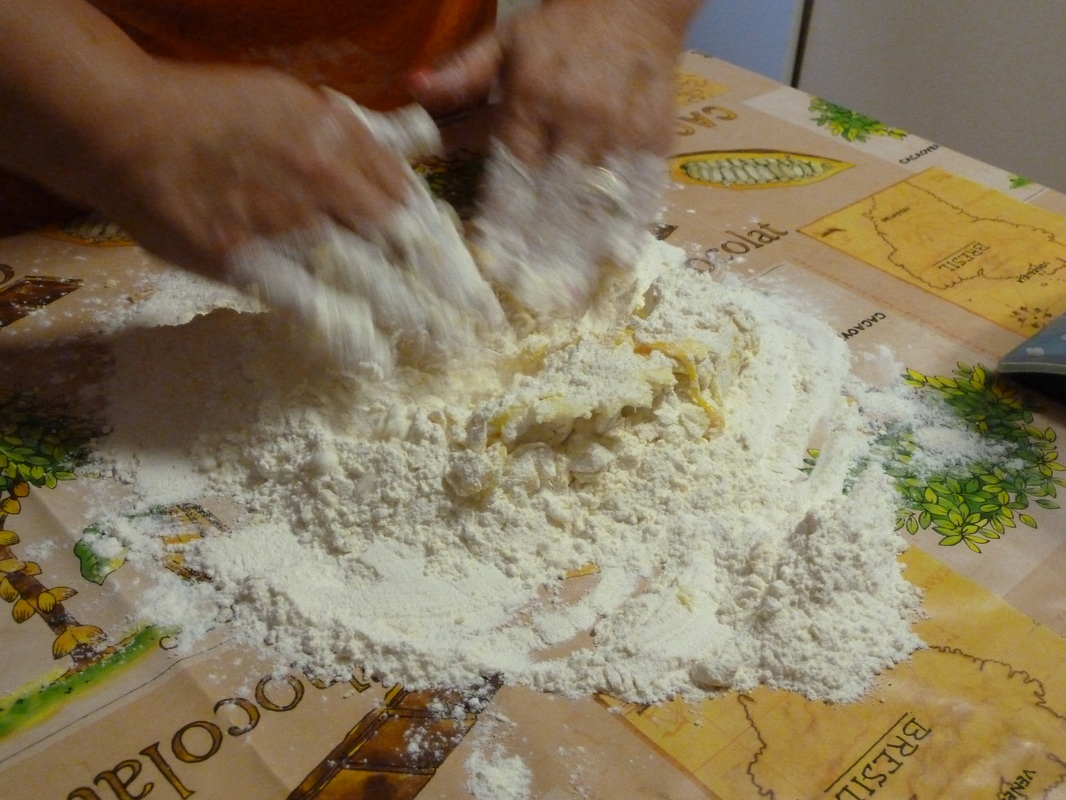
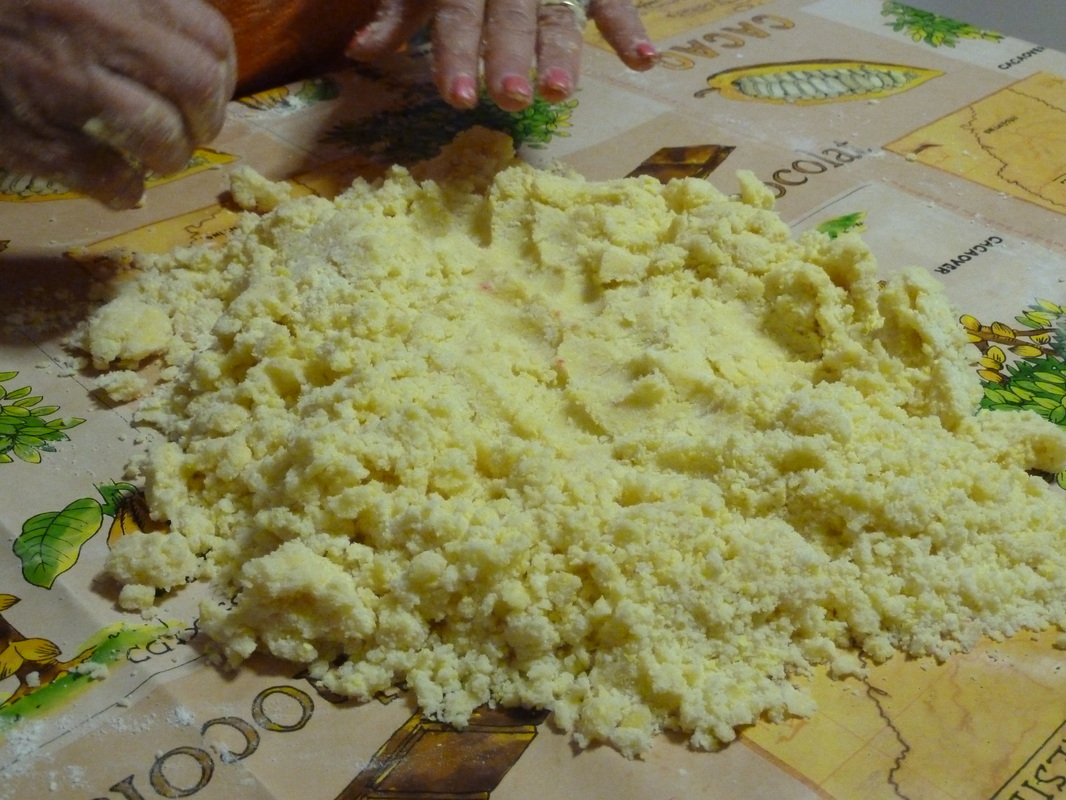
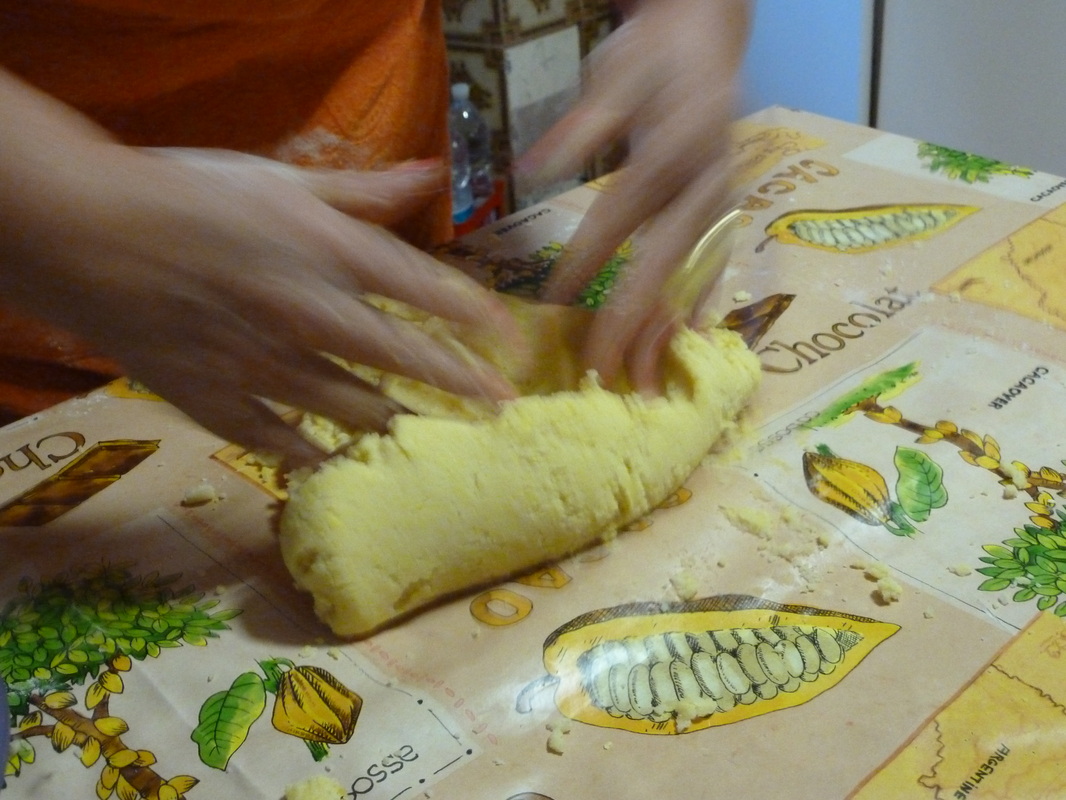
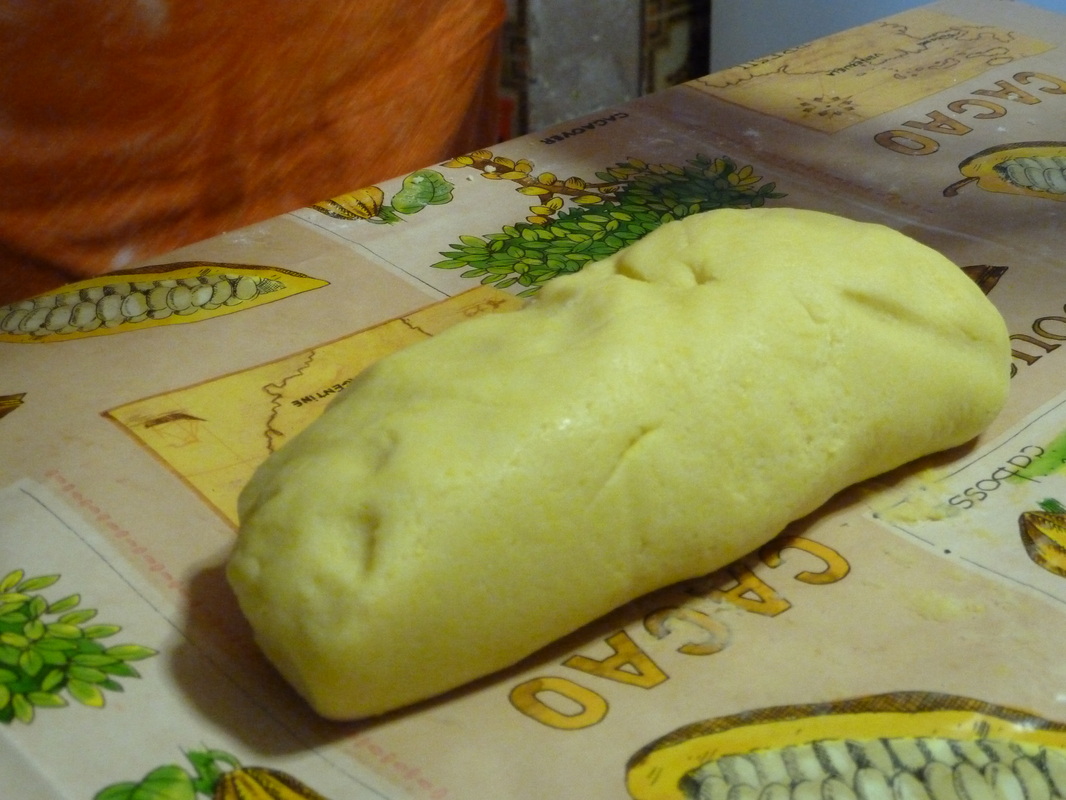
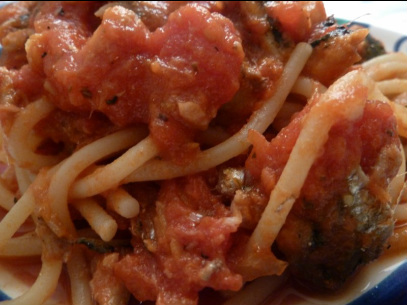
Next comes the classic first course. Our "primo" is homemade pasta with a basic tomato sauce. The table is set for pasta making.....and everyone works hard for their lunch!
Picture
Picture
Picture
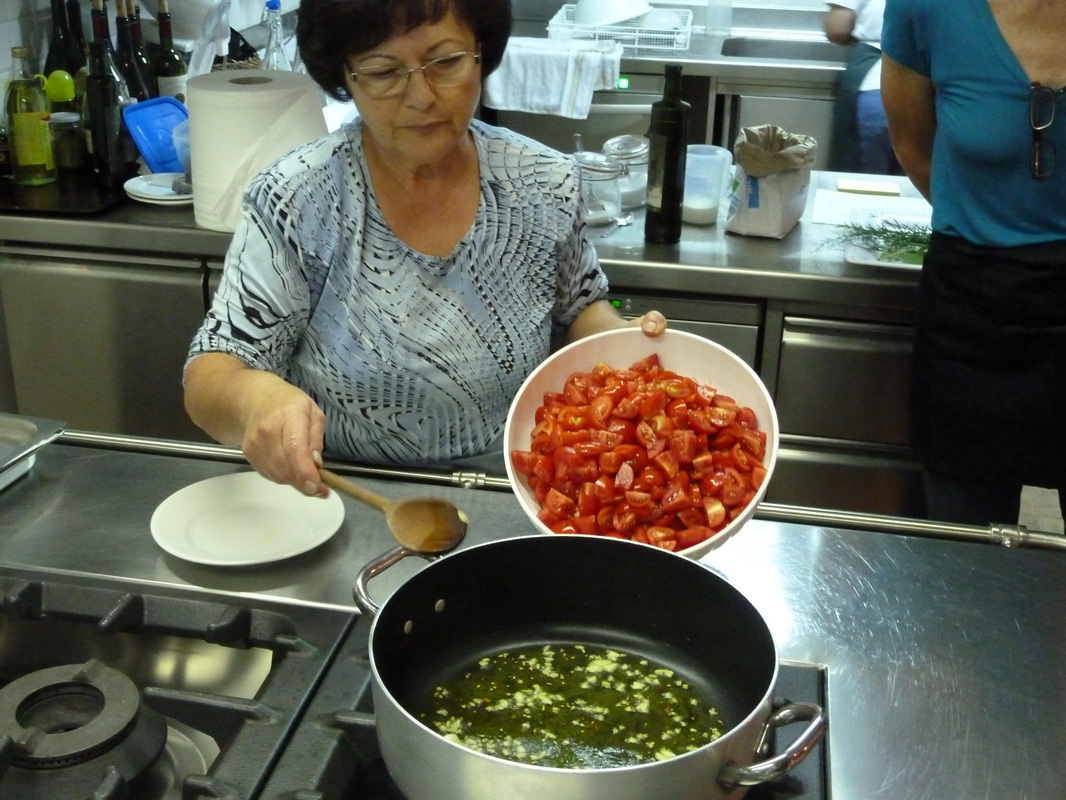
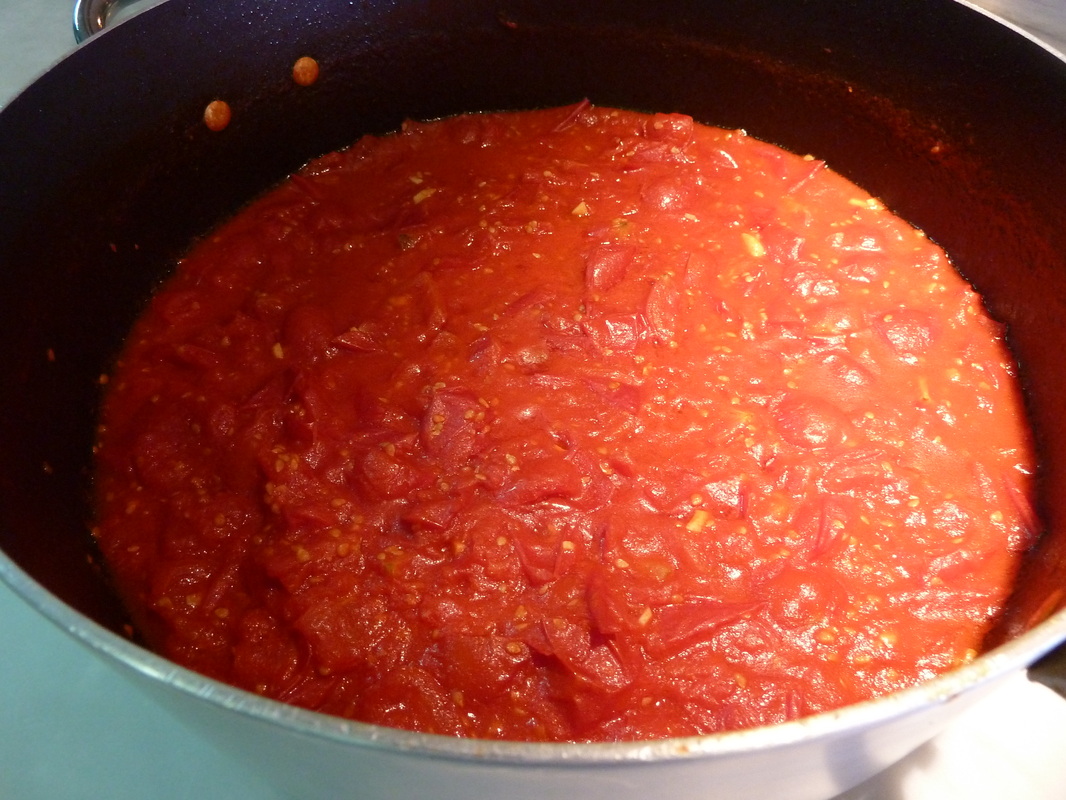
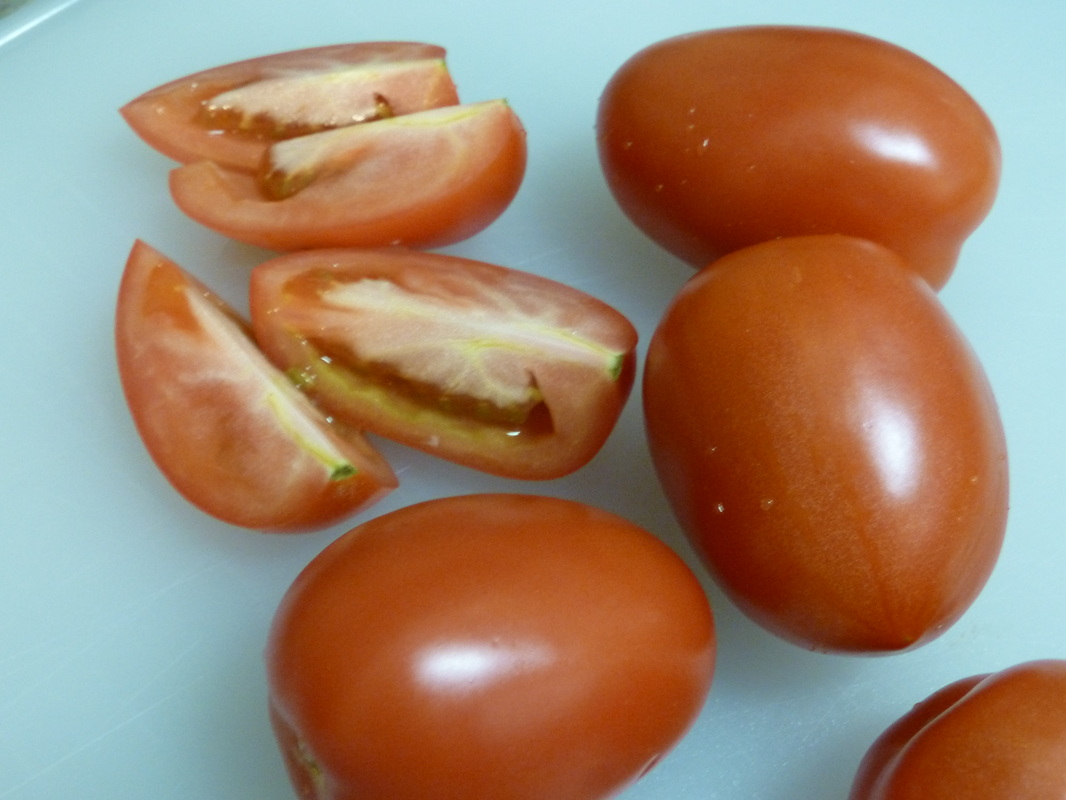
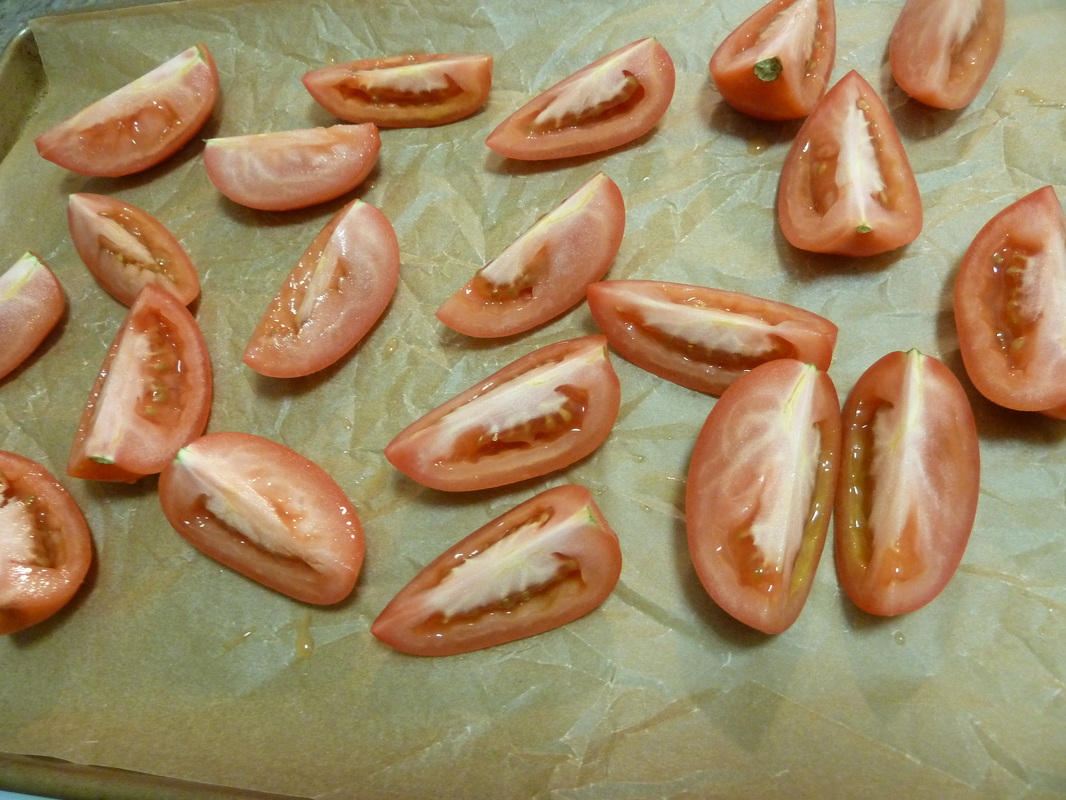
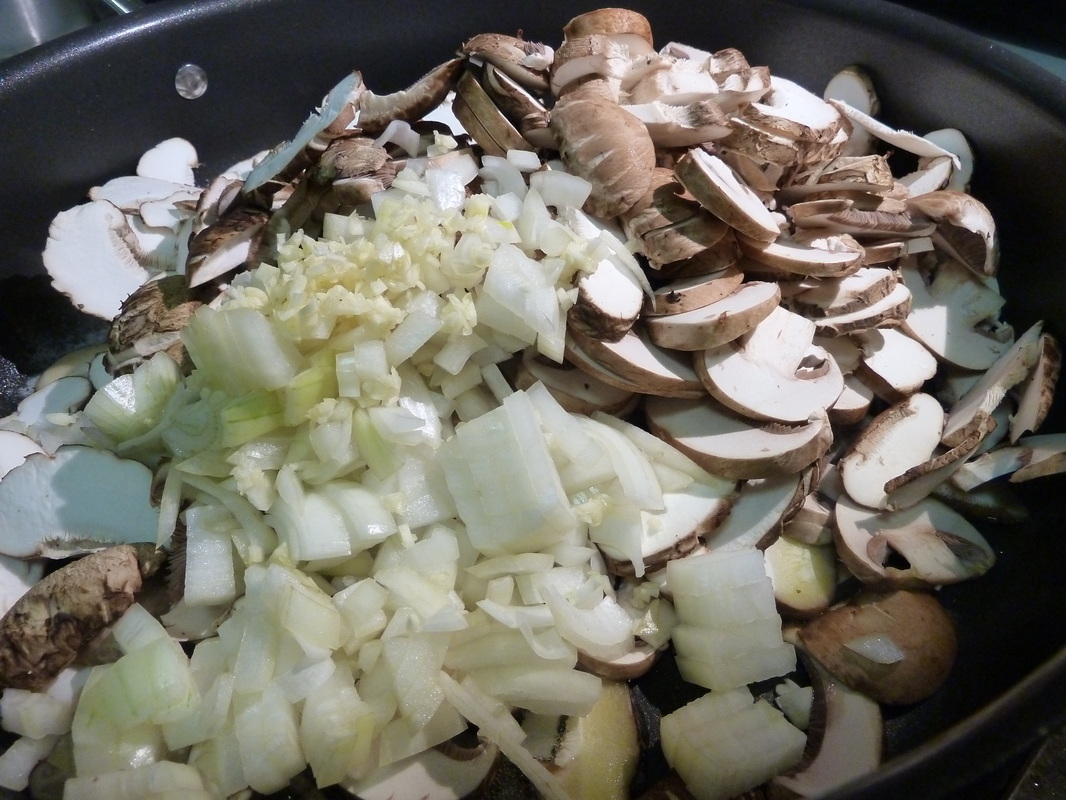
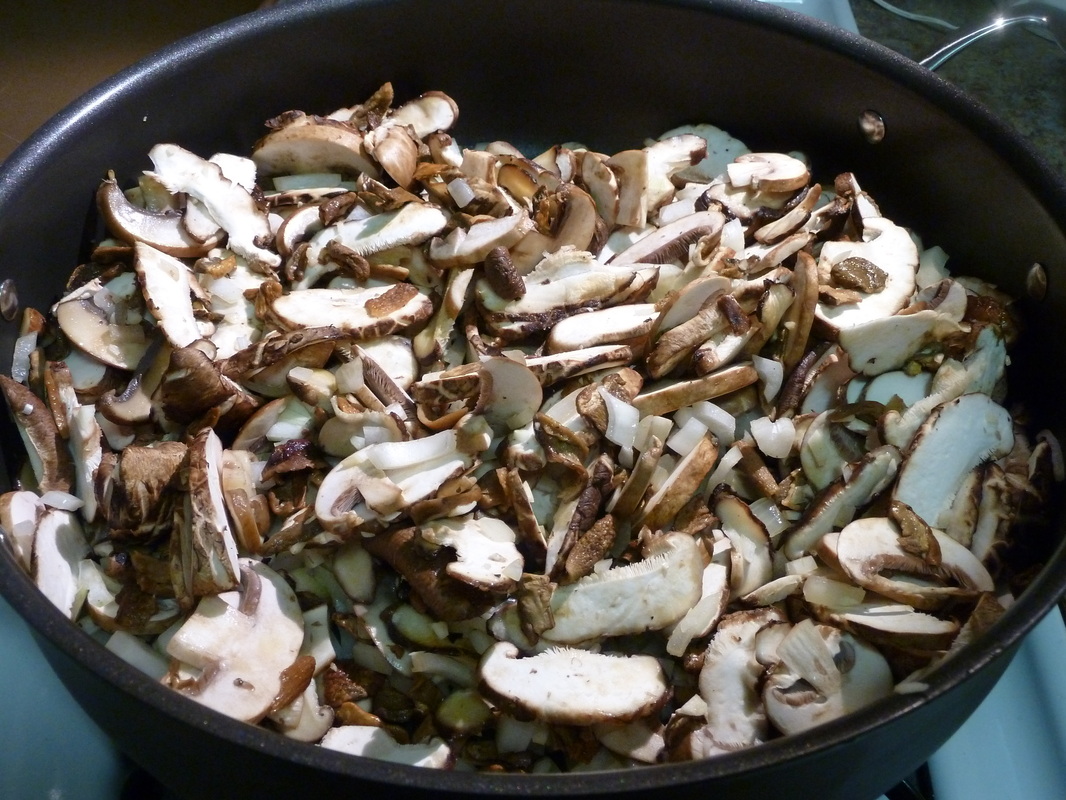
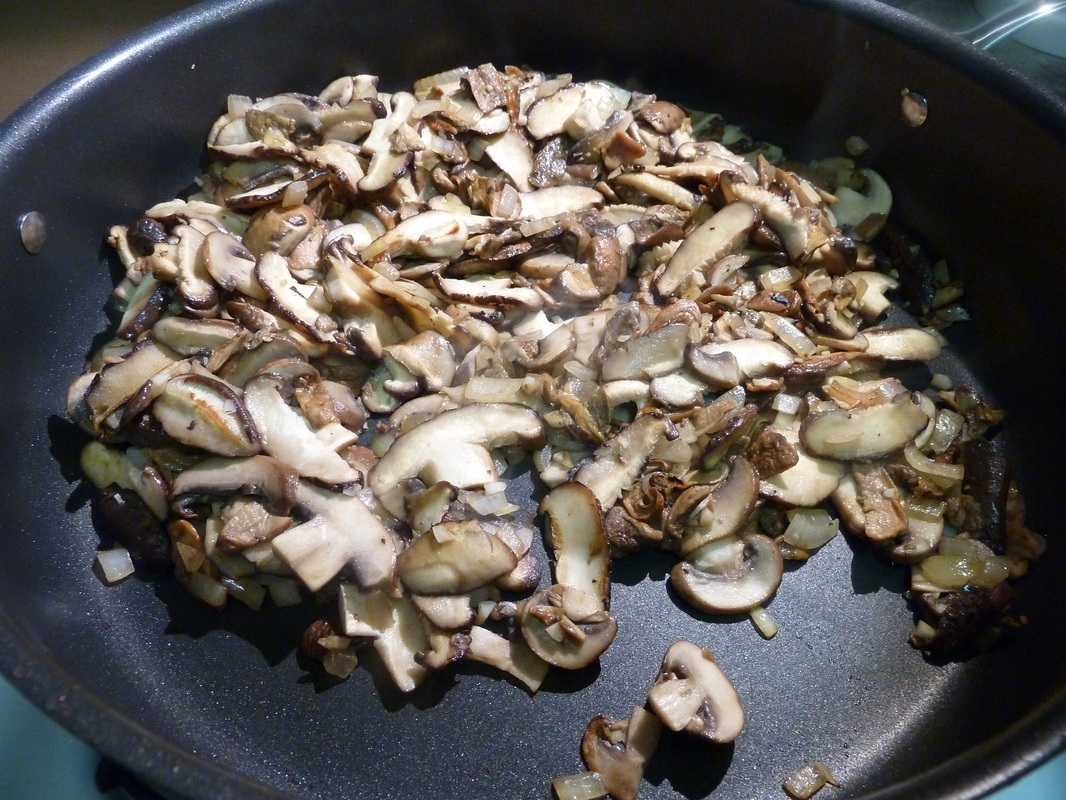
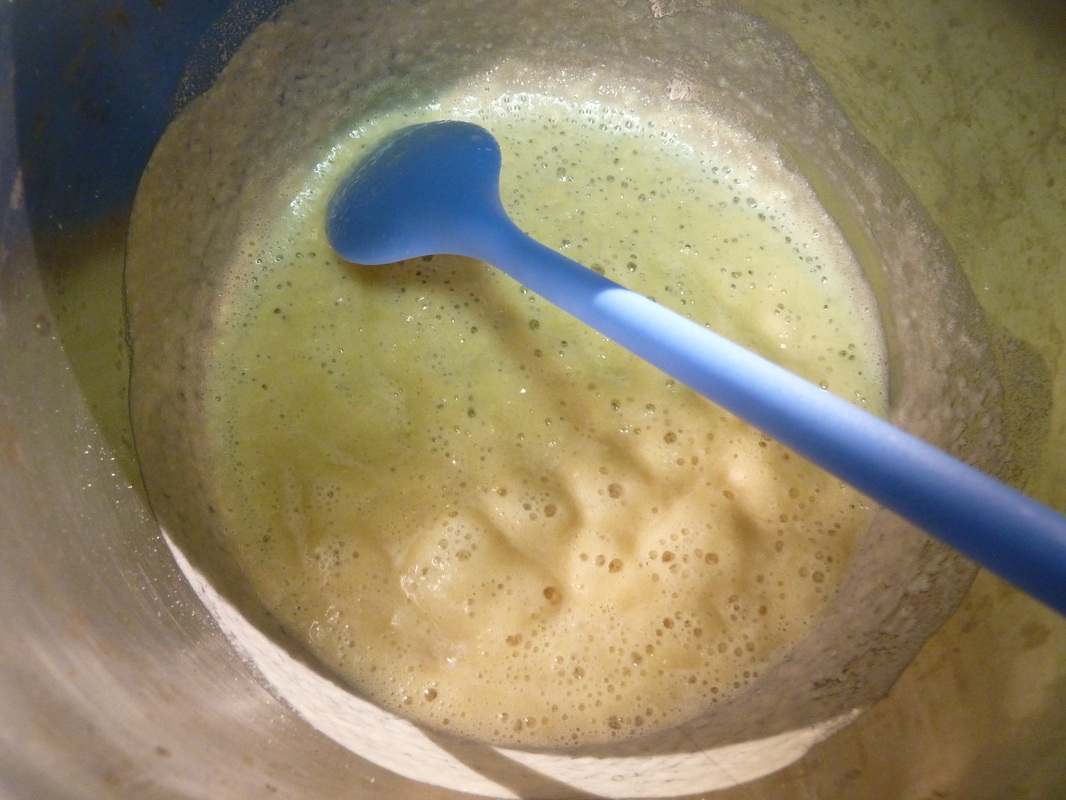
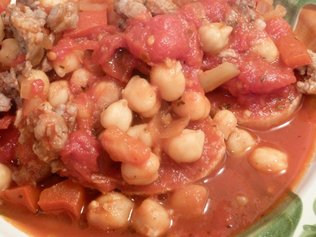
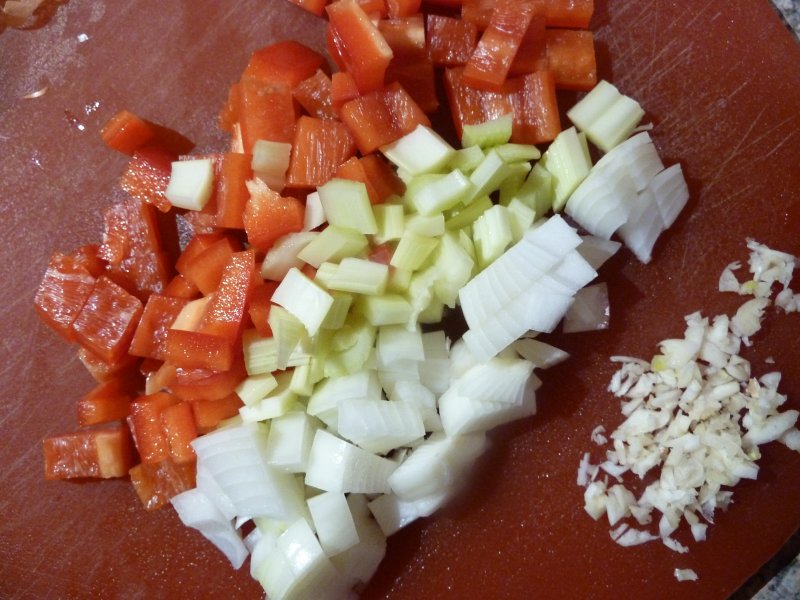
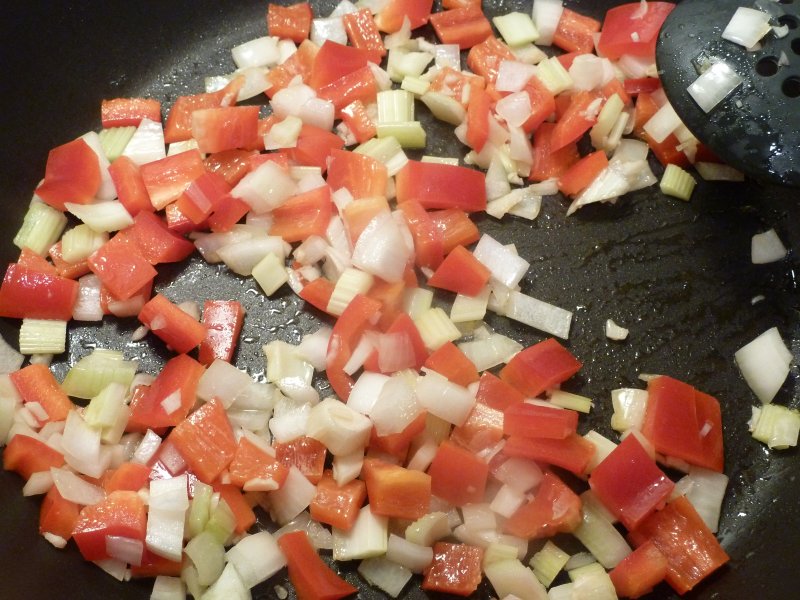
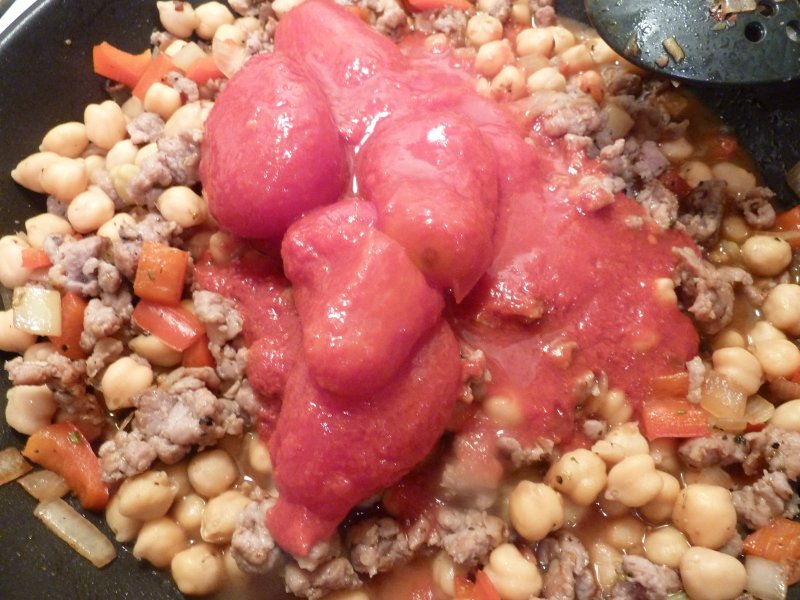
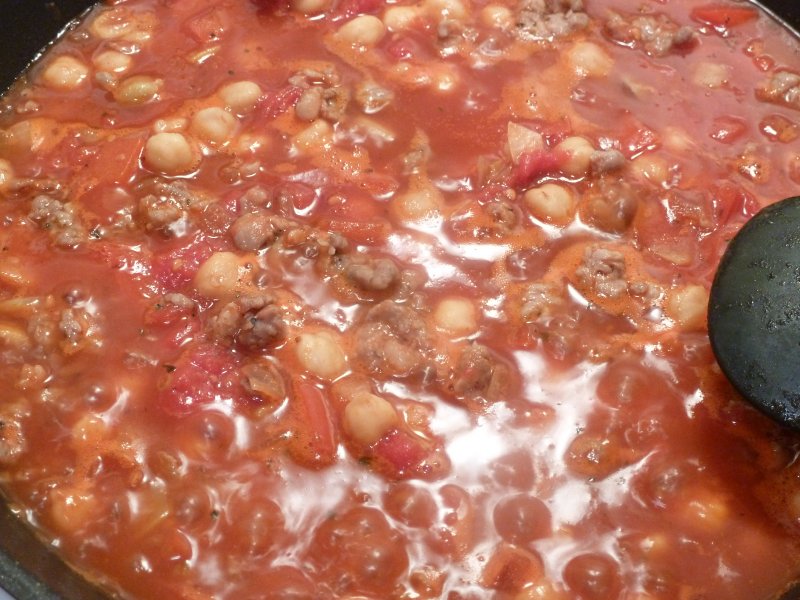
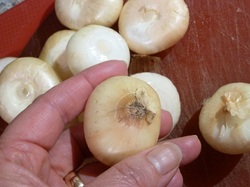
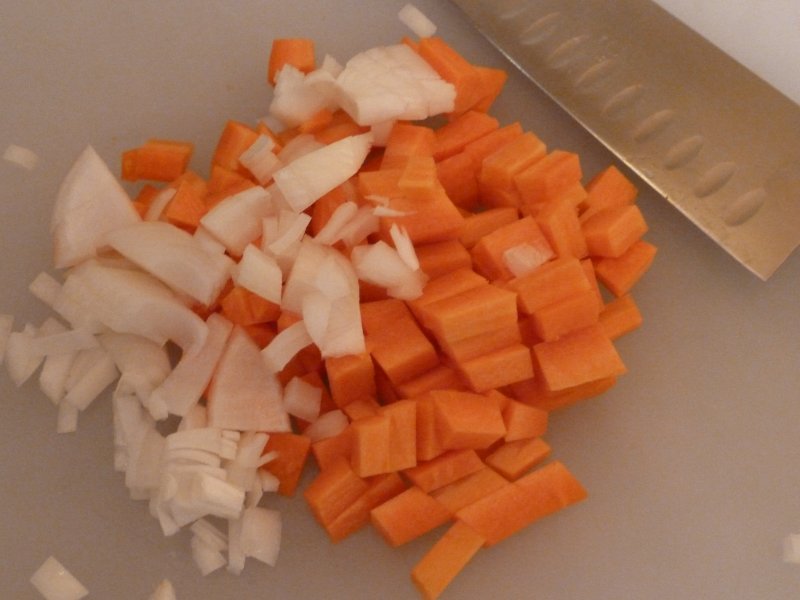
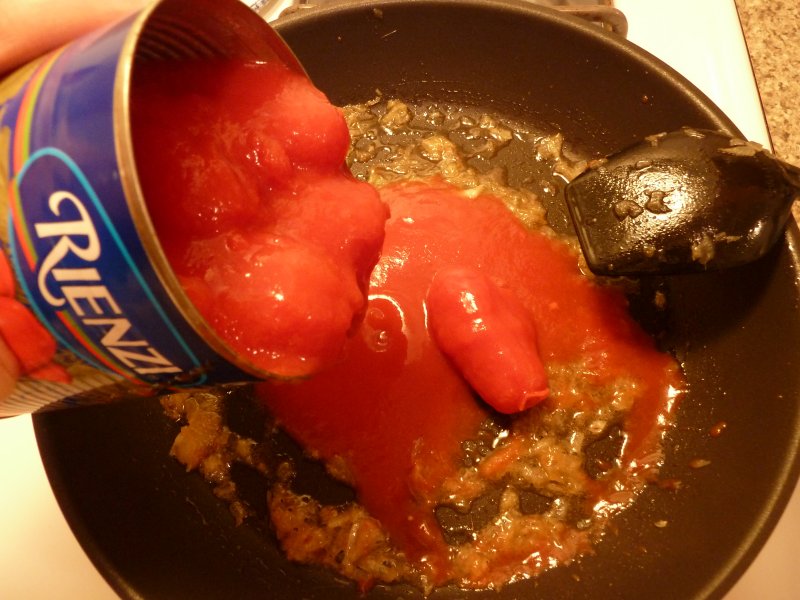
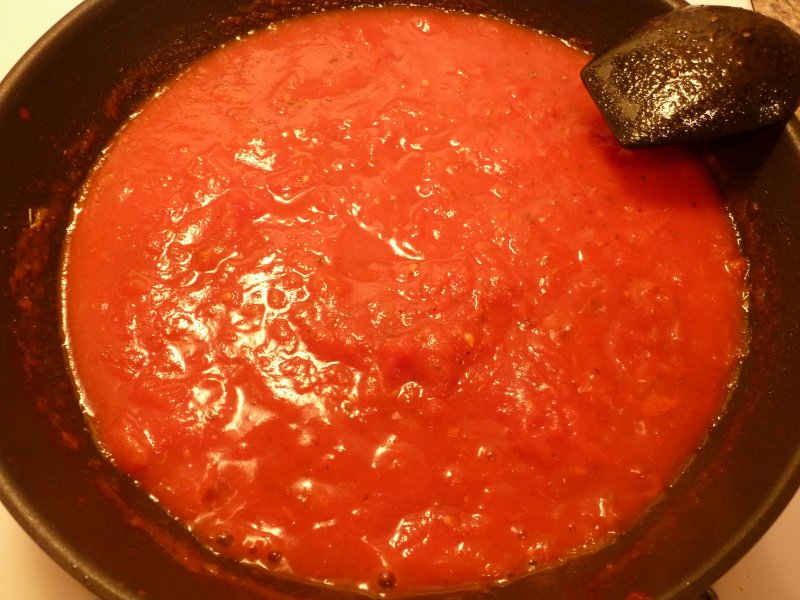
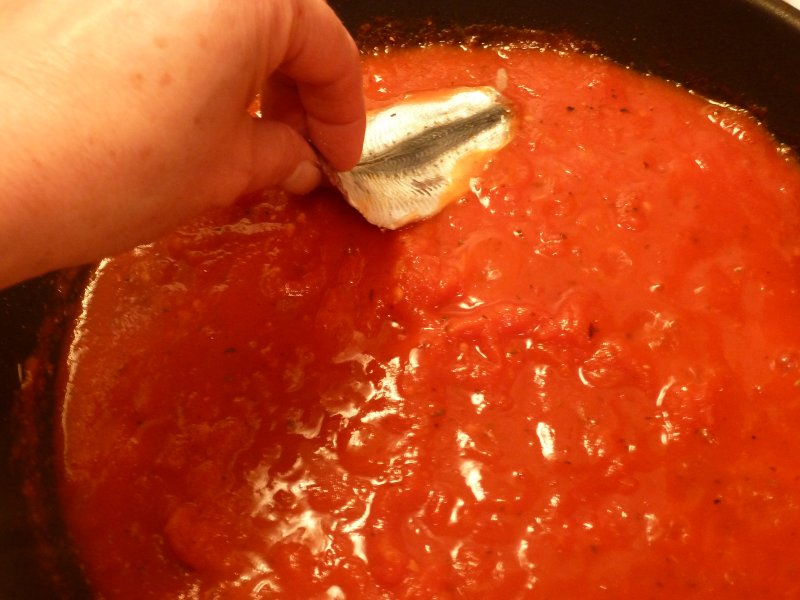
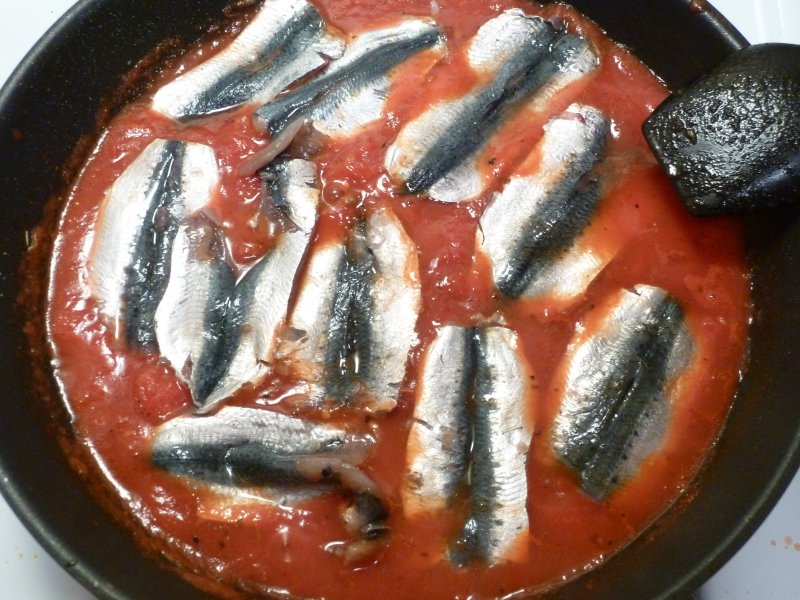
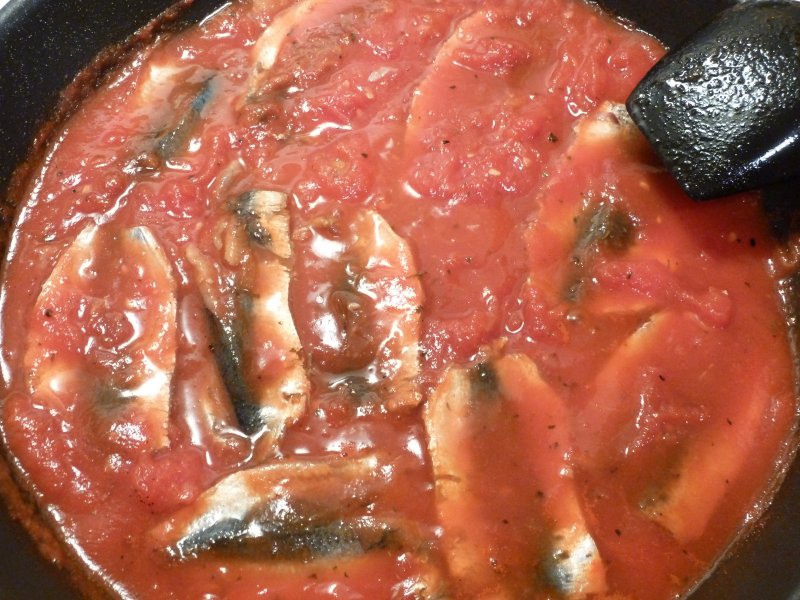
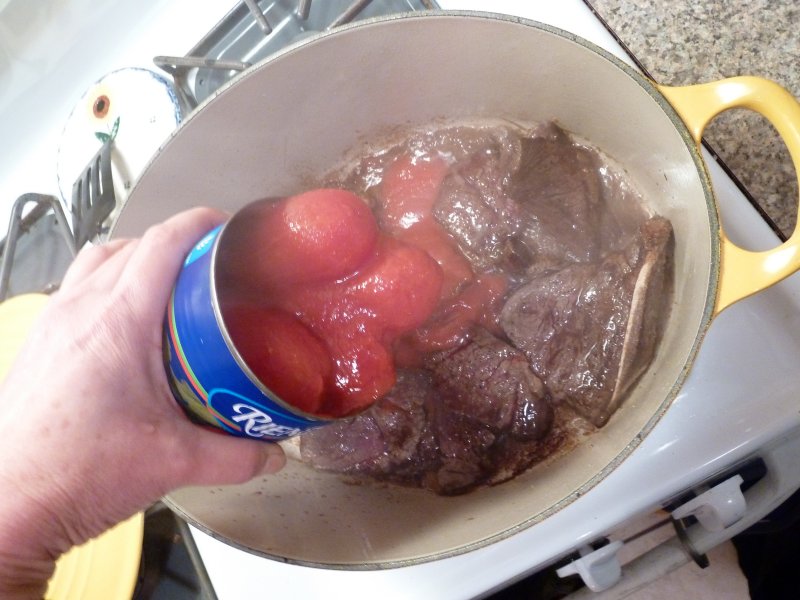
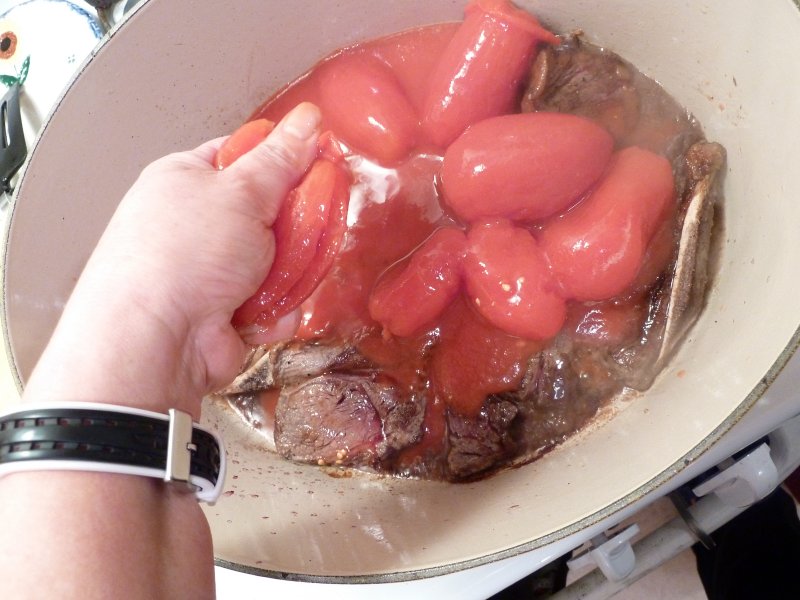
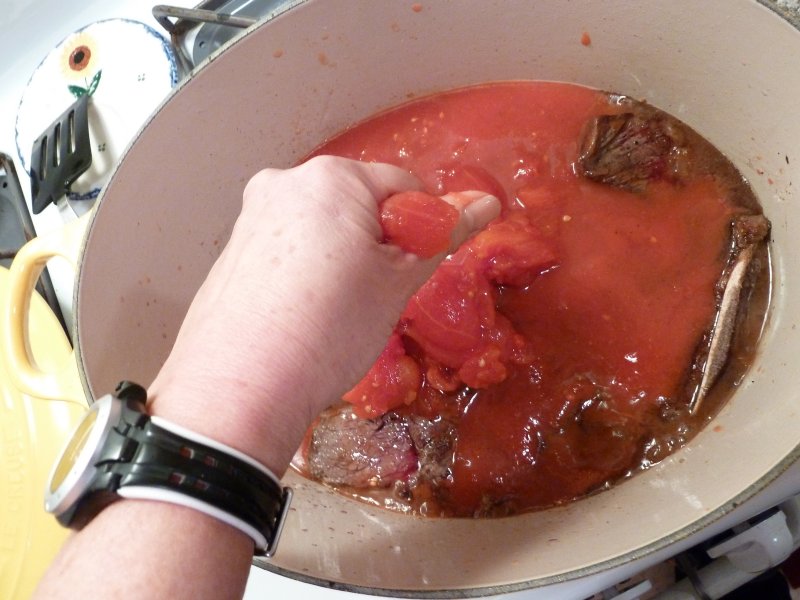
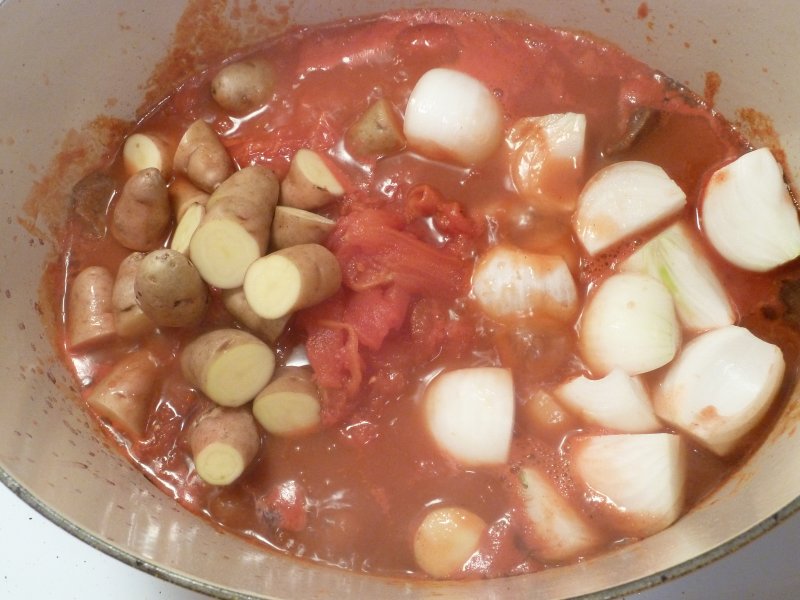
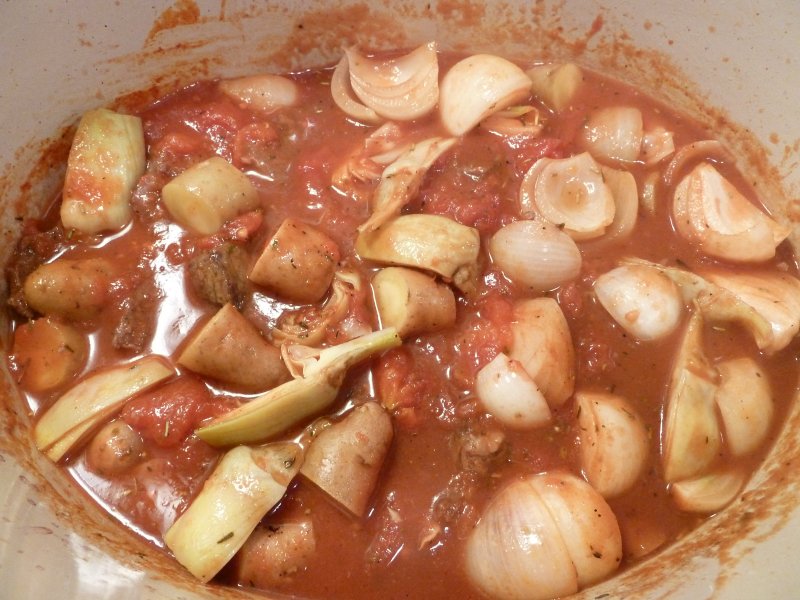
Of course, our pasta has to have a sauce, so we are taught how to make a basic, fresh tomato sauce:
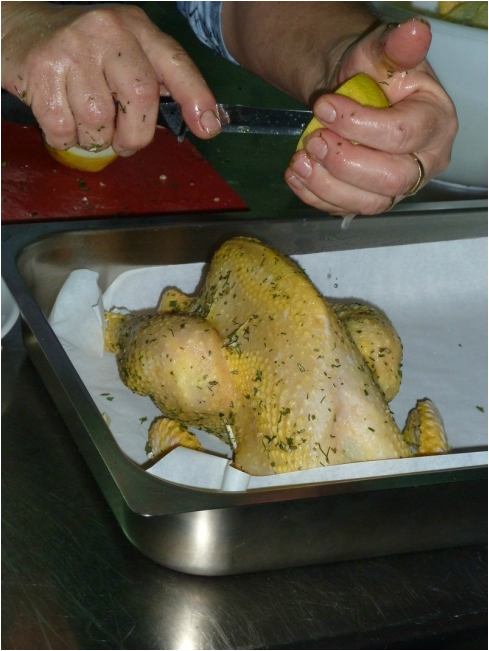
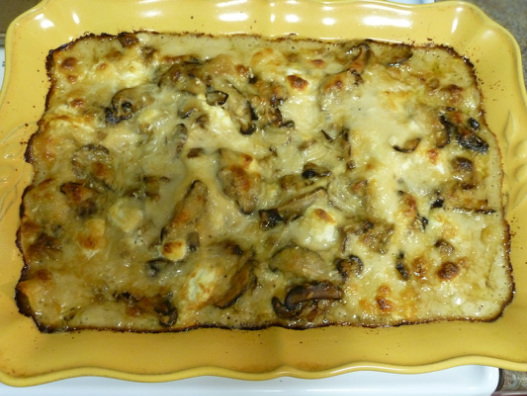
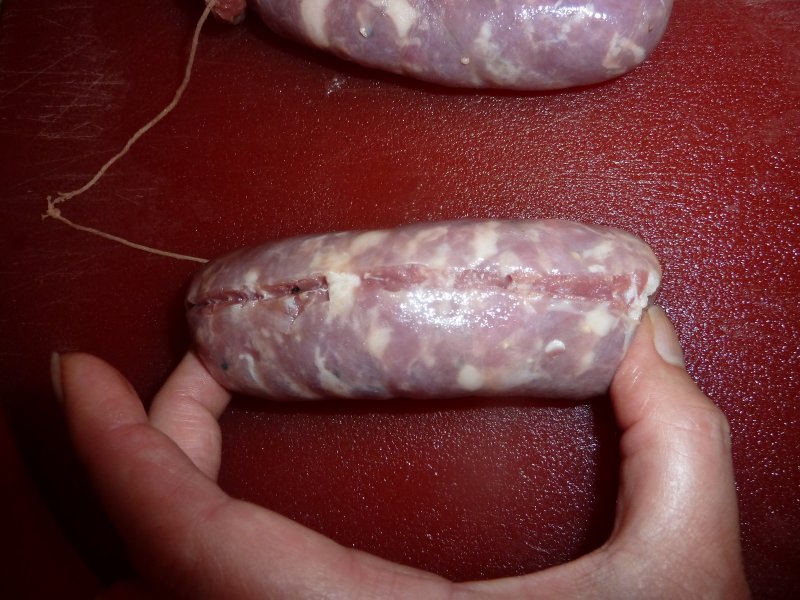
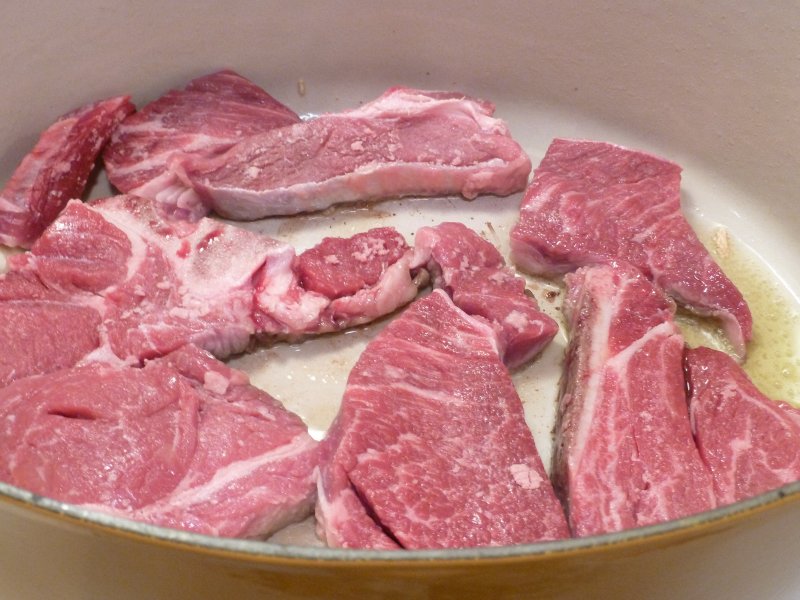
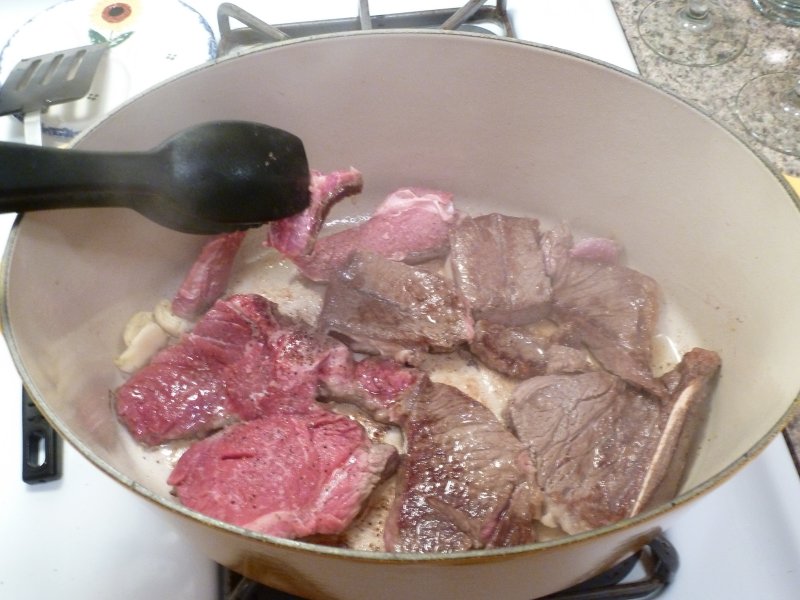
For our main course, our "secondo", we're taught how to make a classic, Umbrian roasted chicken.
Picture
Picture
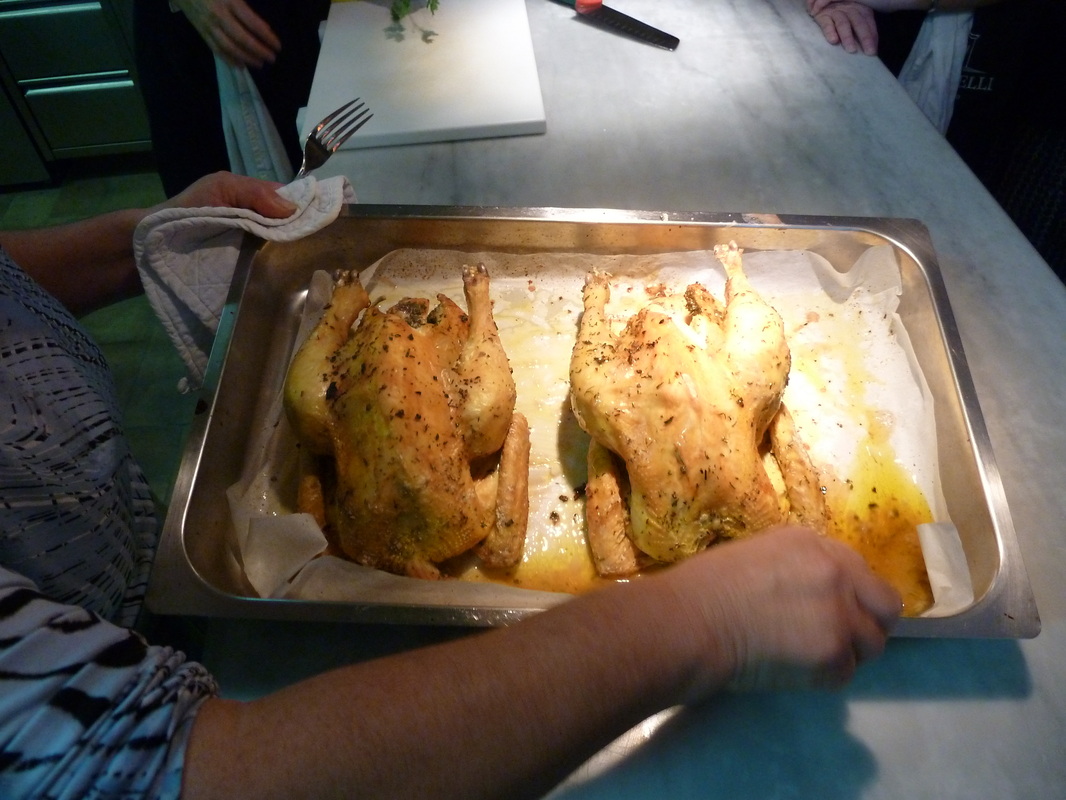
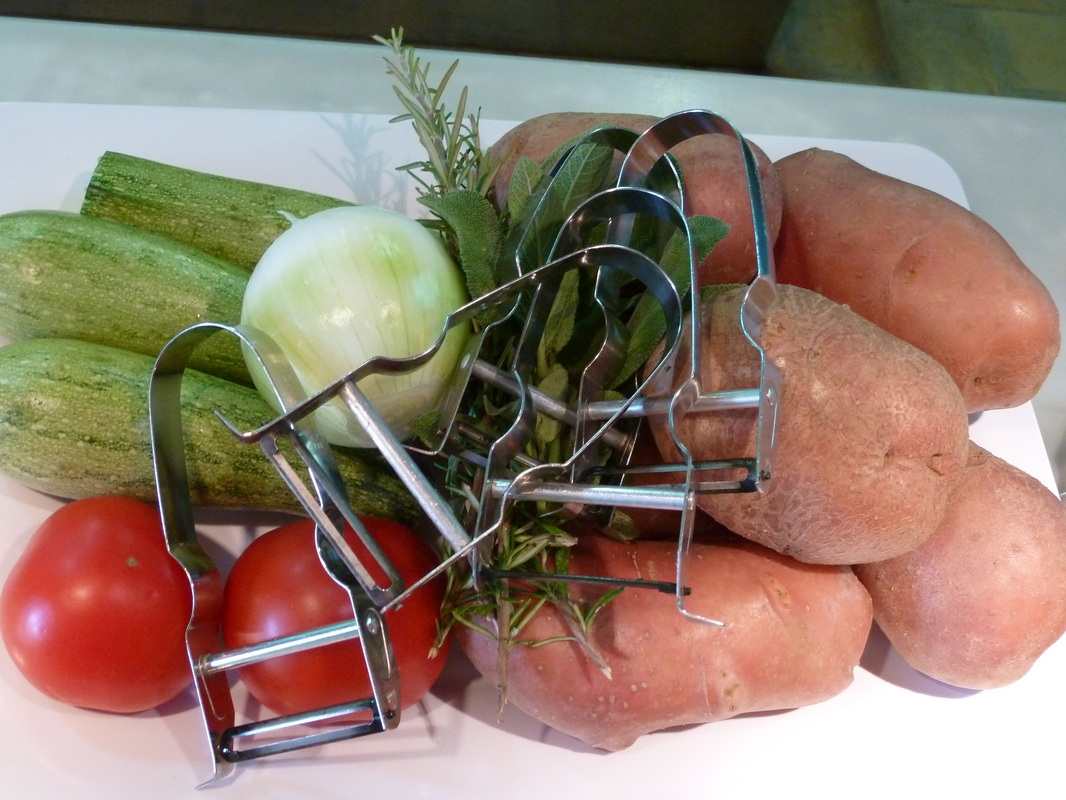
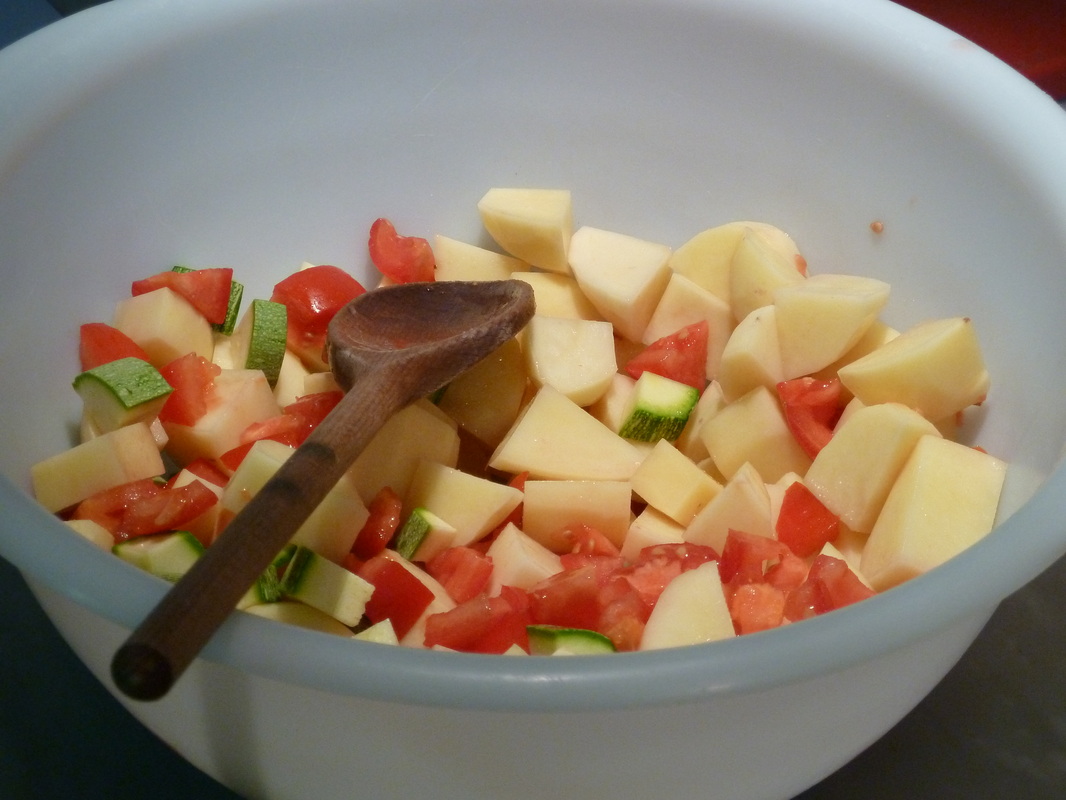
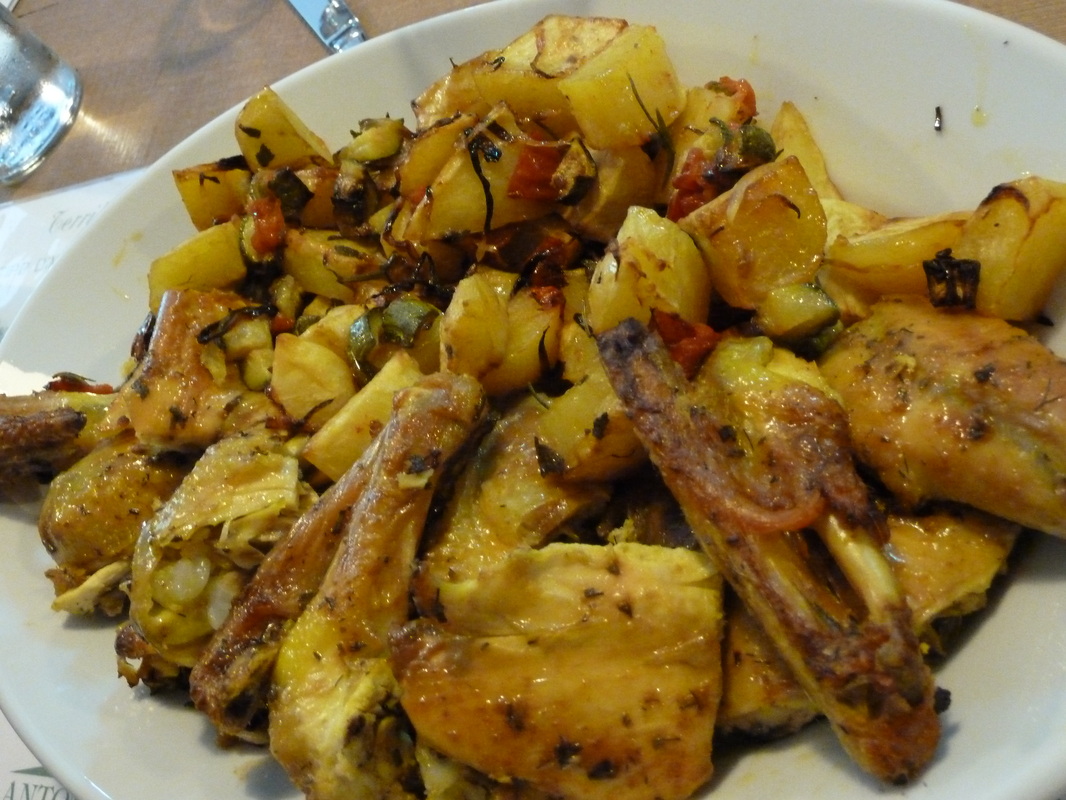
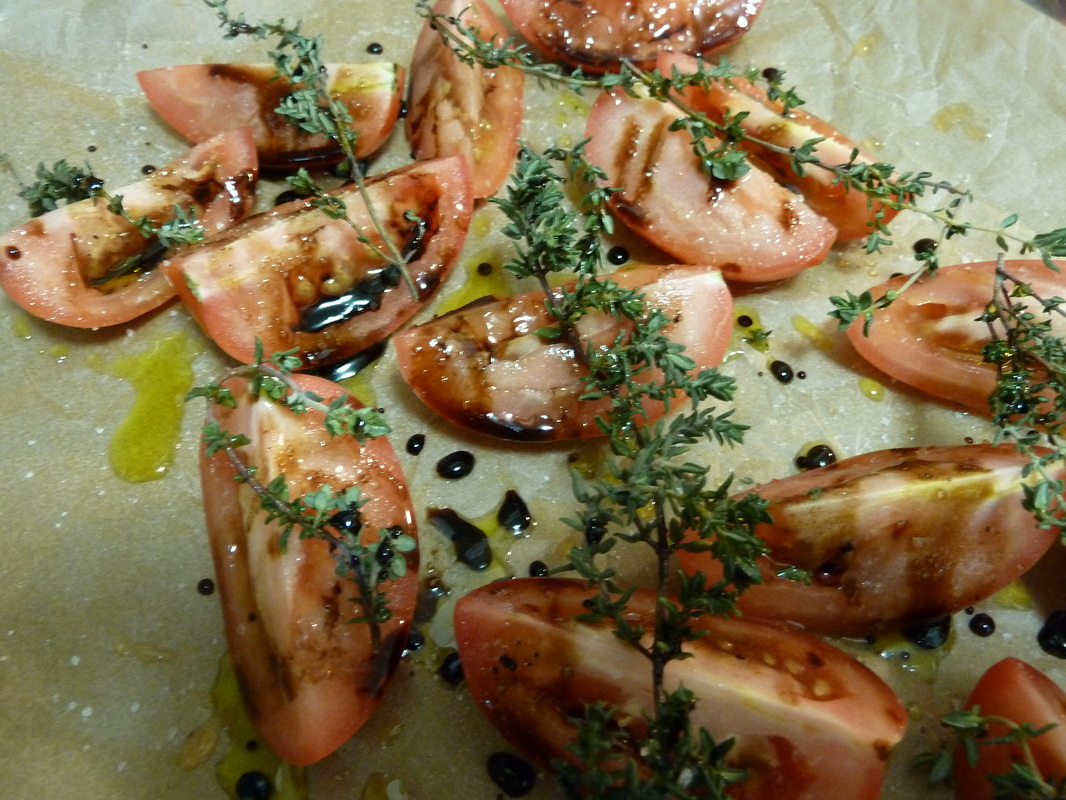
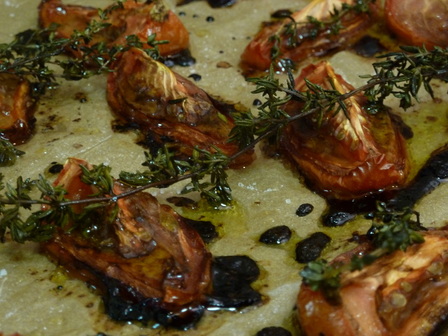
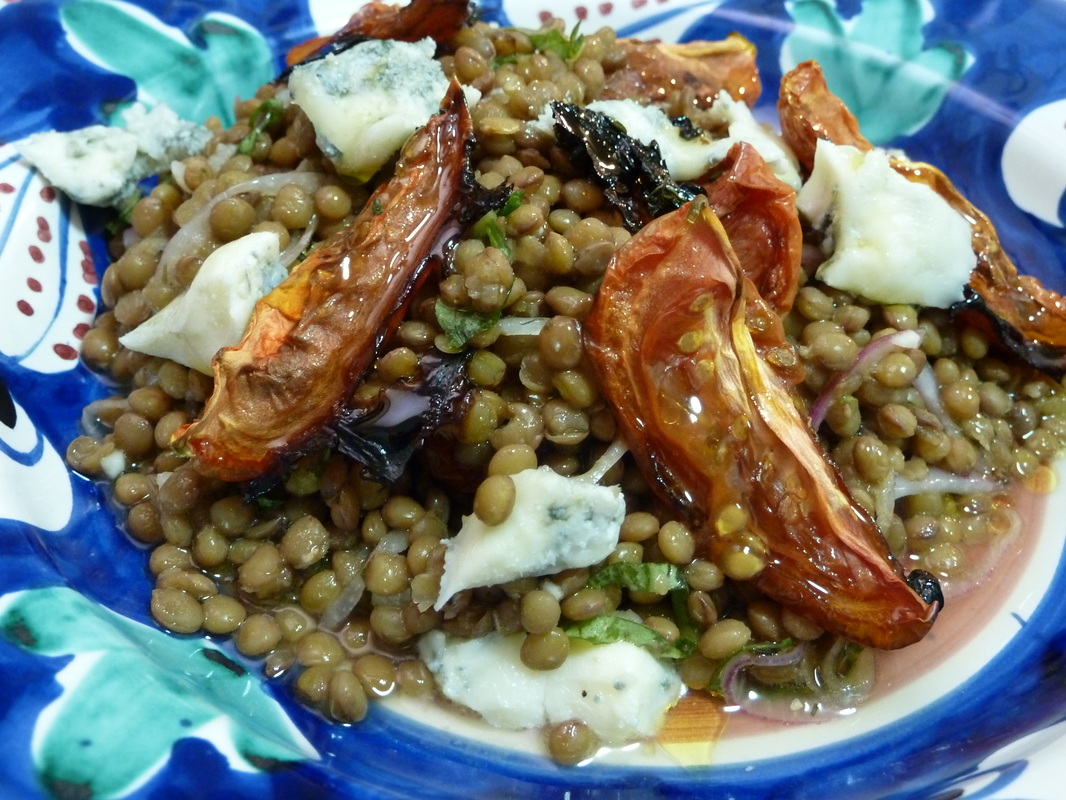
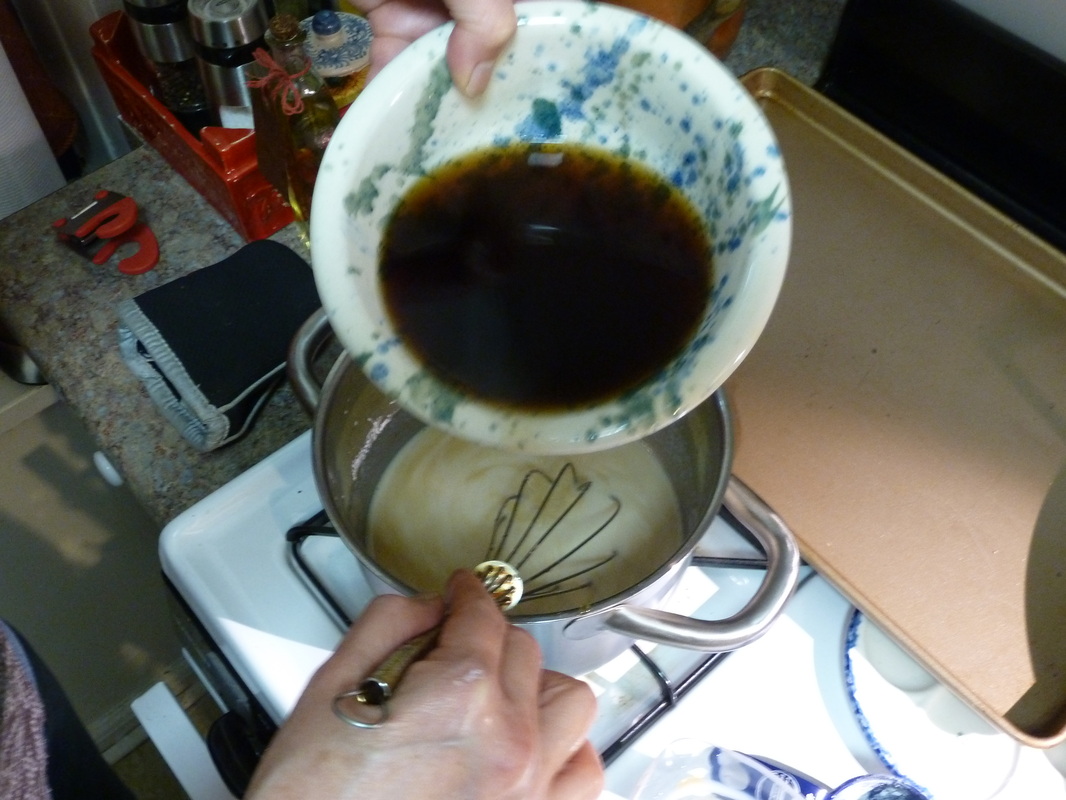
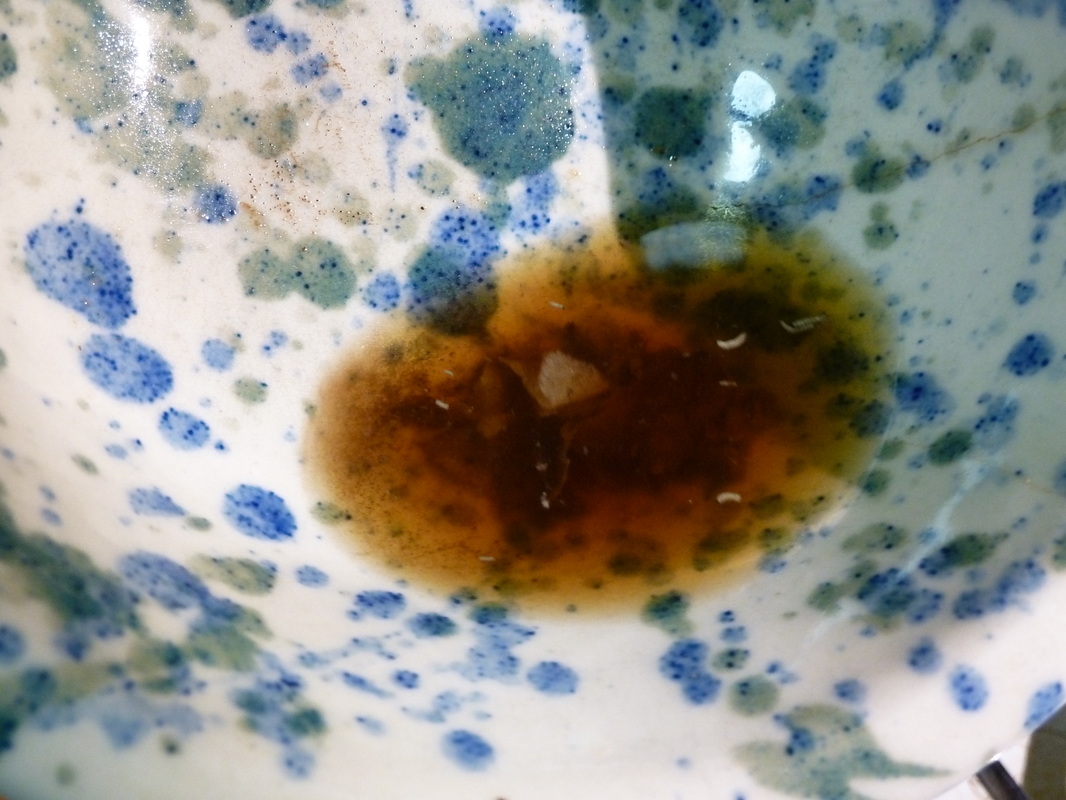
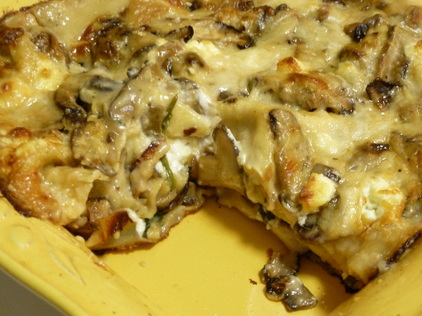
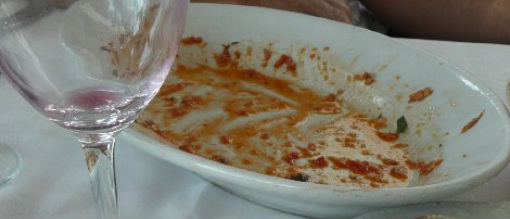
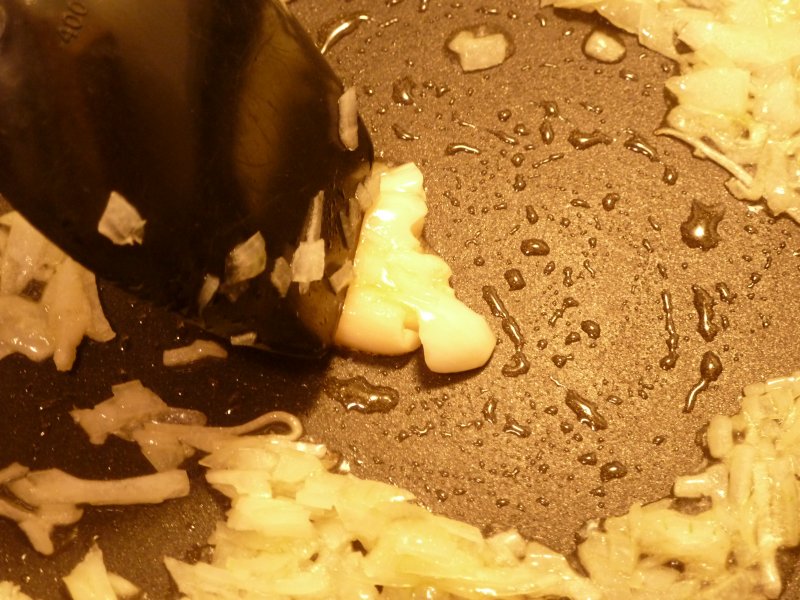
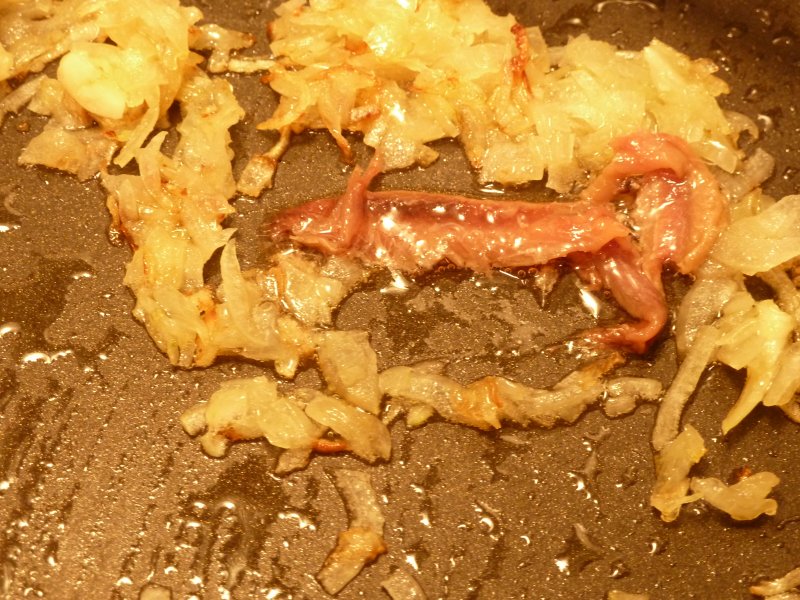
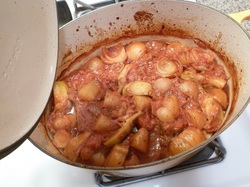
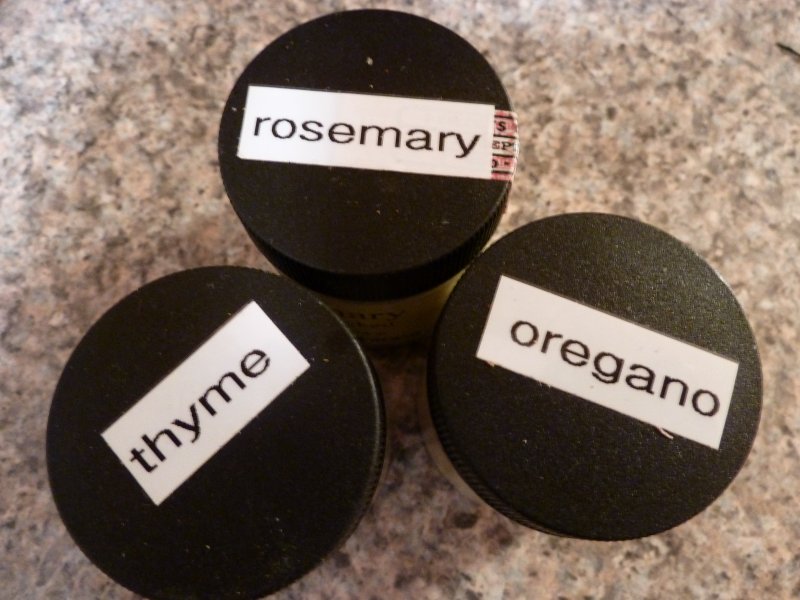
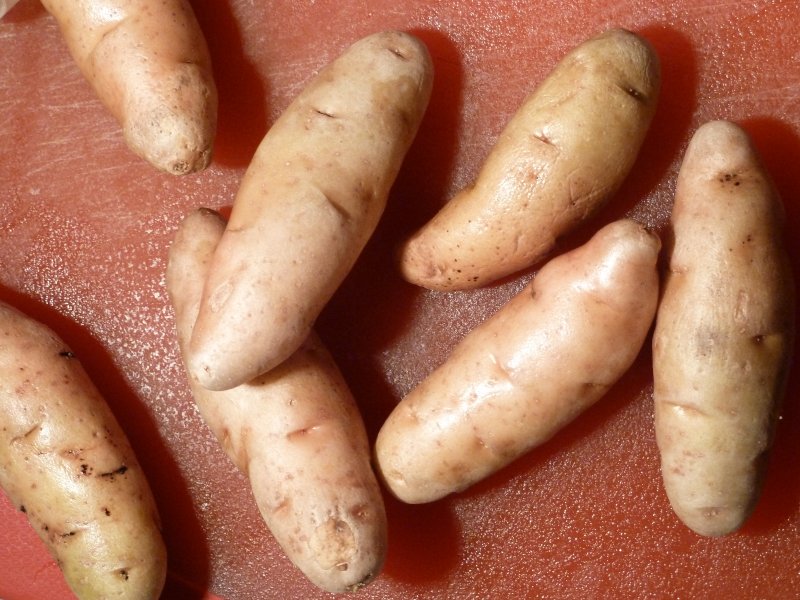
This chicken is amazingly flavorful and tender. It has been rubbed with a garlic and fresh herb mixture. Fresh lemon juice and liberal amounts of olive oil are poured over the top. Then it is baked in a convection oven. We can't get enough! 

Our side dish, or "contorno" is a roasted combination of potatoes, zucchini and tomatoes. So delicious...especially the little bites of tomato!
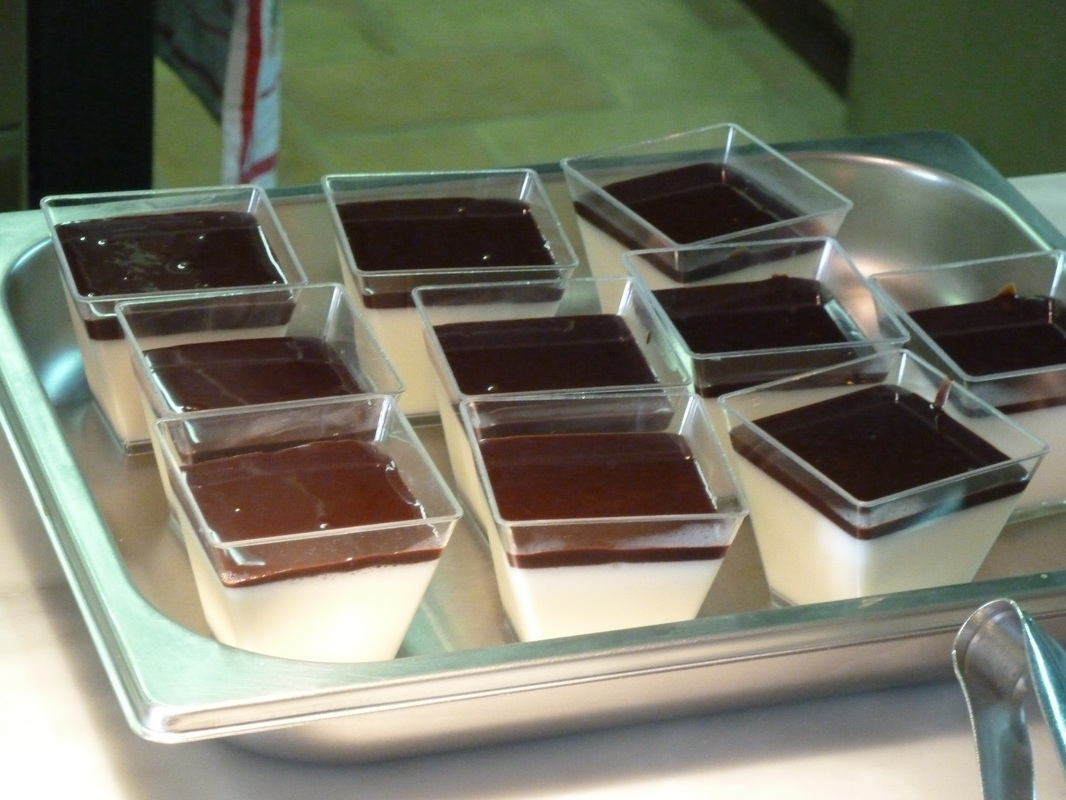
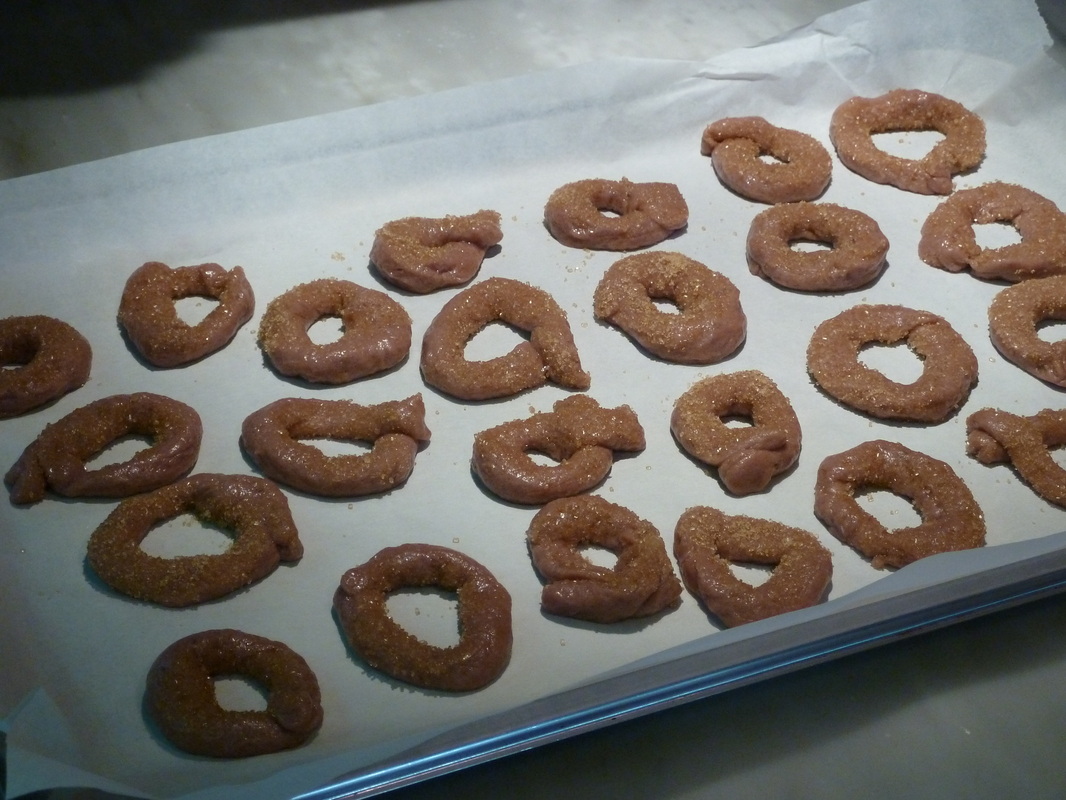
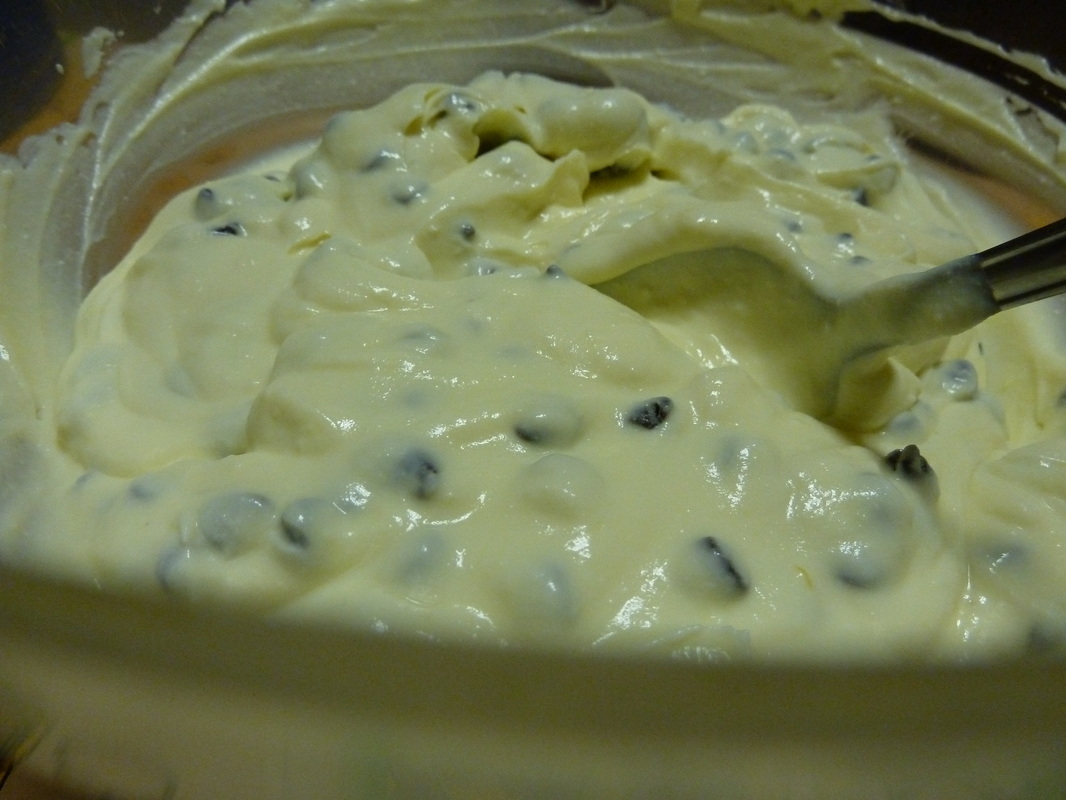
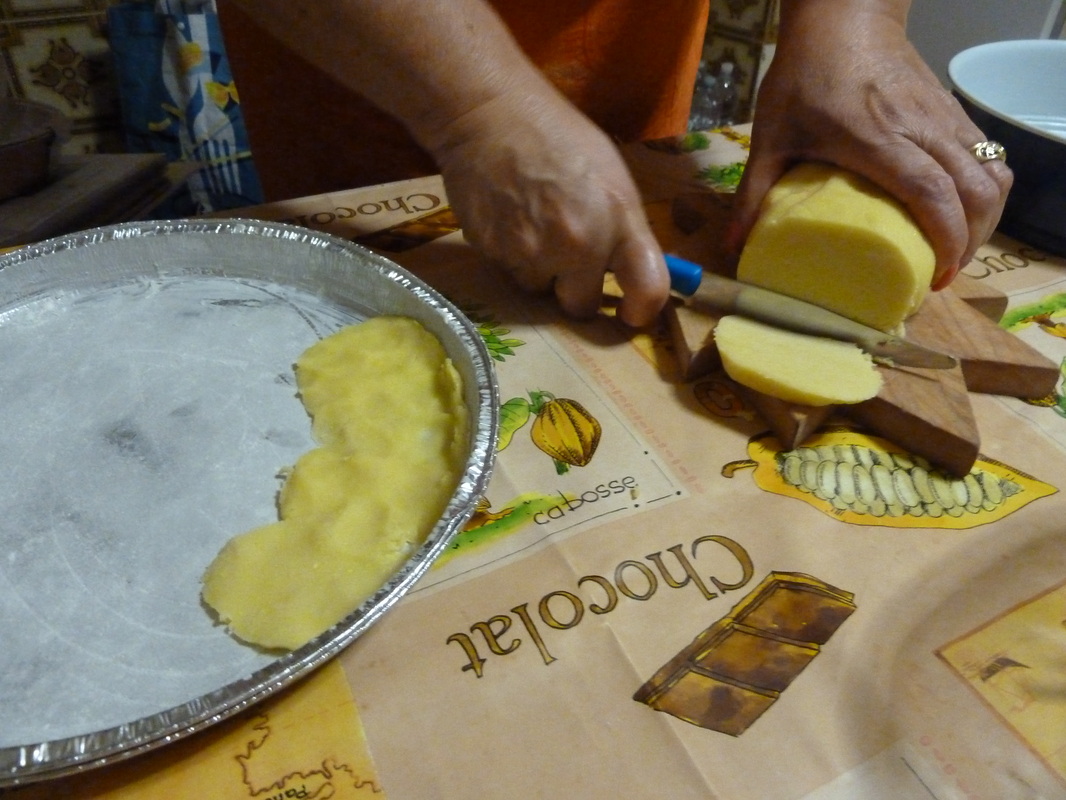
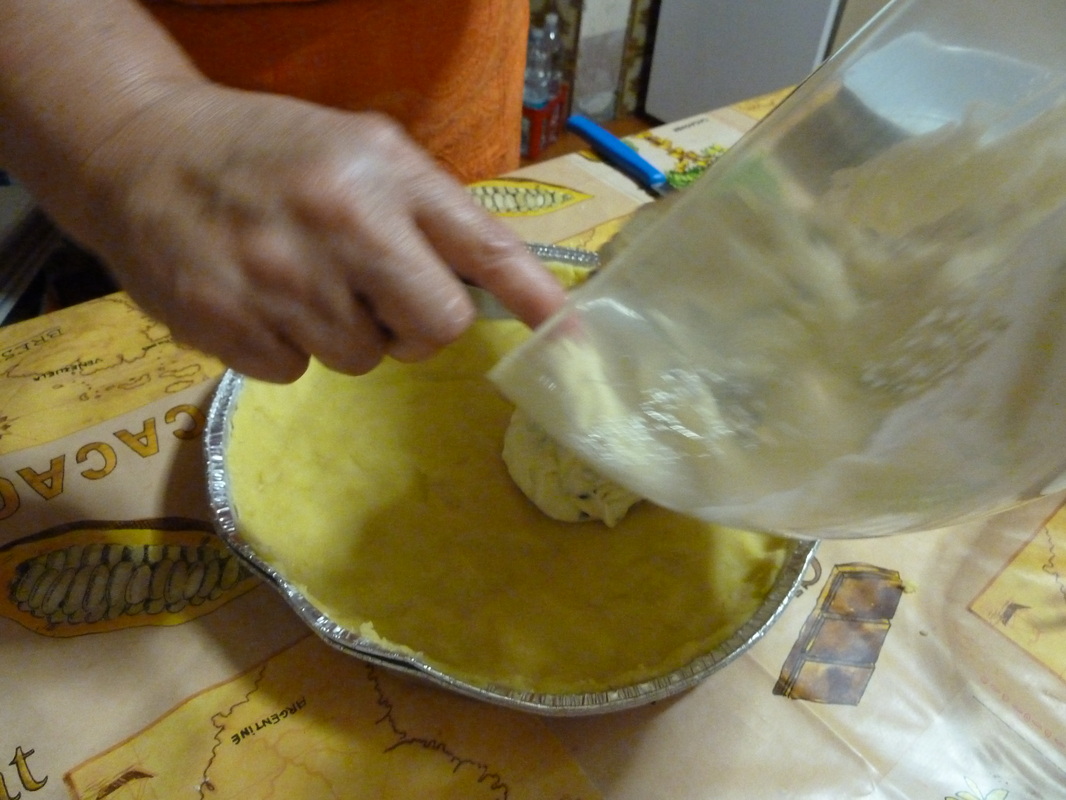
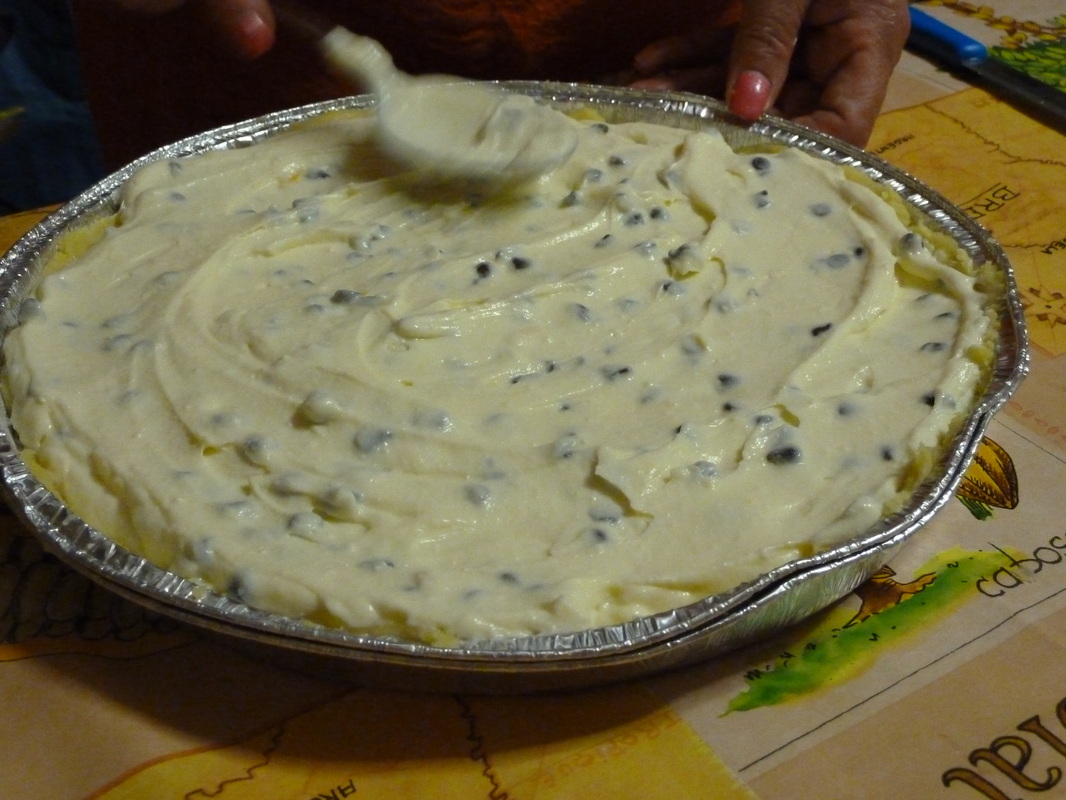
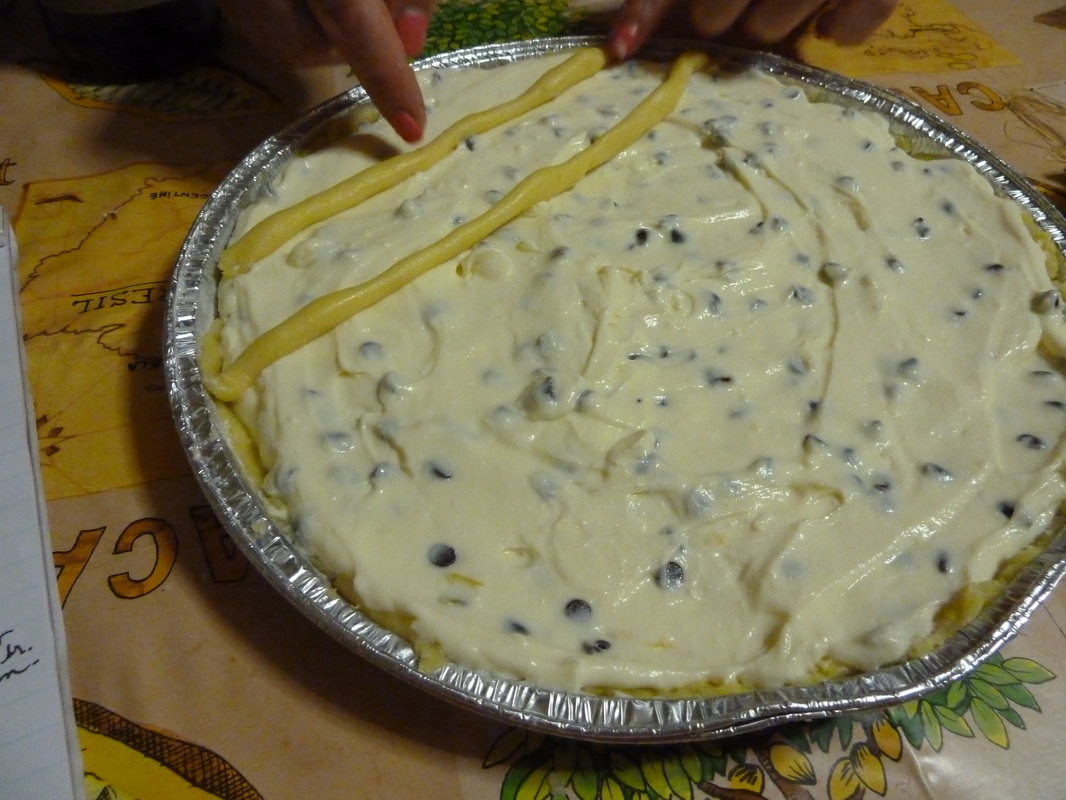
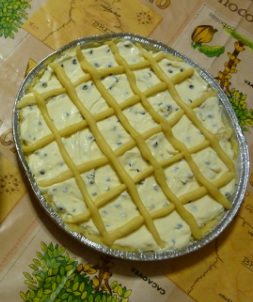
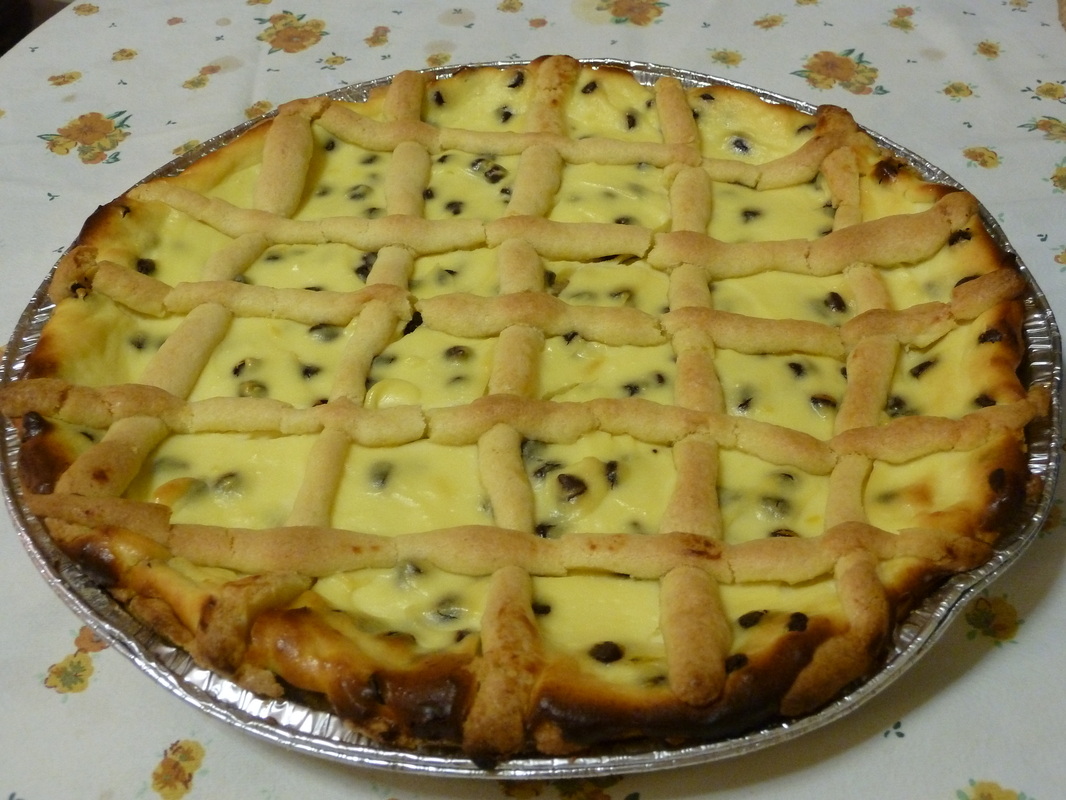
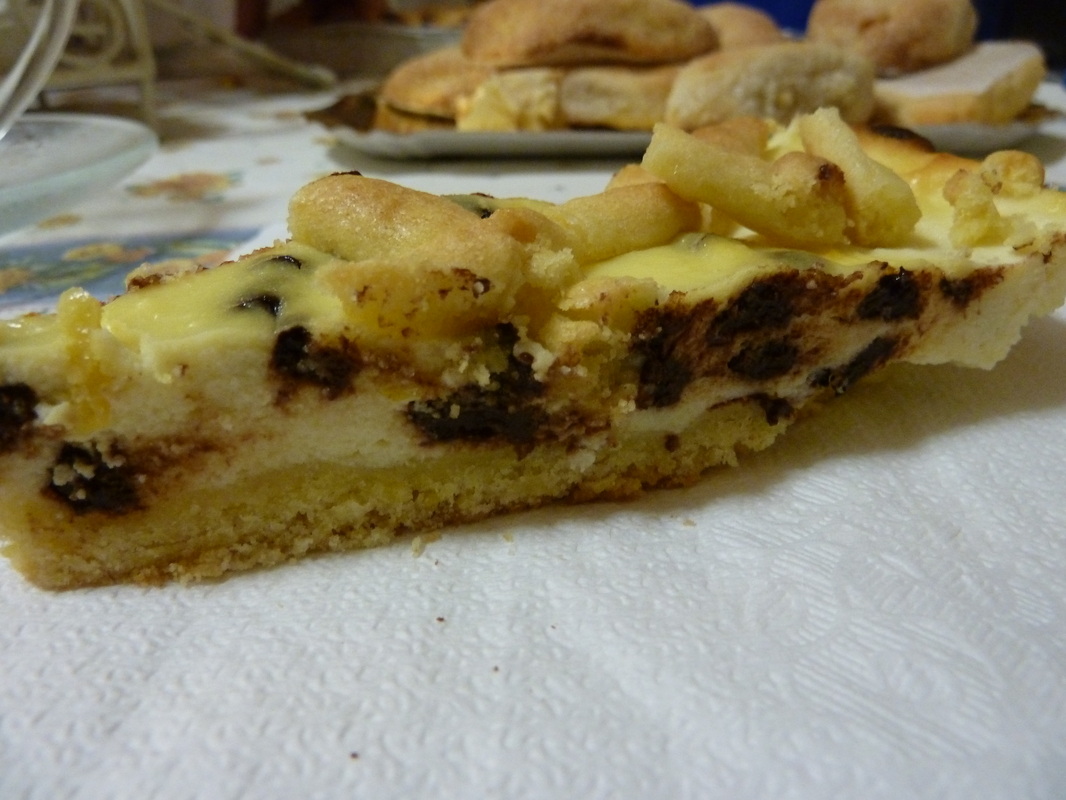
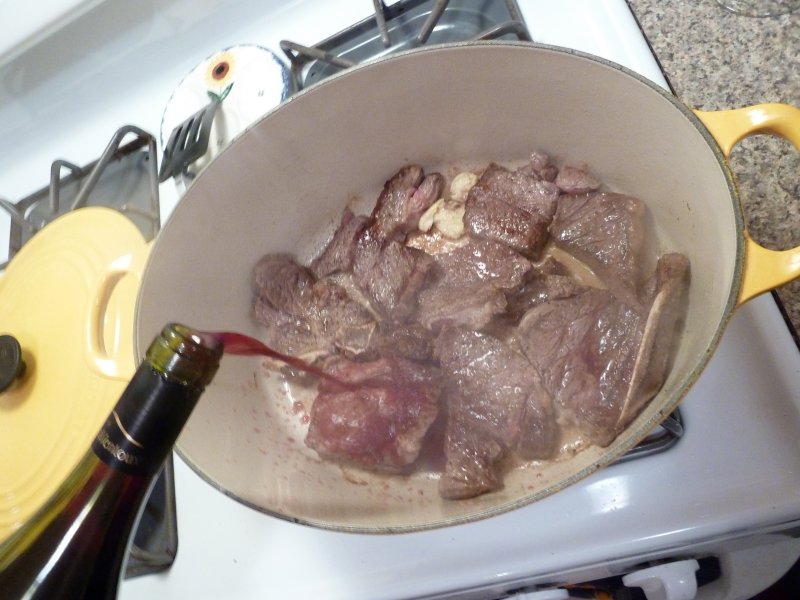
And what meal would be complete without dessert? We get to have two! First we make panna cotta with a chocolate ganache topping and also some delicious red wine cookies. We are so lucky. And it is all paired with the fantastic wines from Antonelli vineyards.
As usual, it has been a full and productive day. We are so grateful to Wendy and her helpers for showing us how to cook classic Umbrian cuisine. Everyone declares it.....truly delicious!
1 Comment

Umbrian Lentils from Castelluccio-Lentils with Roasted Tomatoes

2/25/2014

0 Comments

 
Picture
I was never a huge fan of lentils before I lived in Italy. Too many times, I was the victim of mushy, chalky lentil soups and stews. Then I was introduced to lenticchie di Castelluccio and everything changed. These small greenish-brown lentils grow on the high plains of Castelluccio in Umbria at an altitude of 4600 ft. I love these lentils because they hold their shape after cooking. They are so tender as to not require pre-soaking and cook up in a mere 30 minutes.  


Picture
This recipe for Lentils with Roasted Tomatoes has been adapted from the cookbook Plenty by Yotam Ottolenghi. This cookbook does a fabulous job of sharing recipes for veg and grains with Middle Eastern and Mediterranean flair. I served the dish at room temperature as a vegetarian main course, and I could certainly see myself eating something similar in Umbria.


We start by making roasted tomatoes. I was so thrilled with how these came out; I’m sure I’ll be making them many more times in the future to garnish dishes other than this one. They would also be great on an antipasto plate surrounded by salumi and cheeses, or even as a side to a nice grilled steak. Just be sure to give yourself enough time to make them. They need 1 ½ hours to bake. Next time, I’ll make more than I need. For this recipe, you need:

5 plum tomatoes
Olive oil
Balsamic vinegar
Fresh thyme sprigs
Salt
Preheat the oven to 275 and let’s get started:
Simply slice the plum tomatoes lengthwise into quarters.  Line a baking sheet with parchment paper, and place the tomato quarters on it, skin side down. Drizzle a tablespoon or two of olive oil over the tomatoes and follow that with a drizzle of balsamic vinegar. Sprinkle some salt over everything and group the tomatoes so you can lay fresh sprigs of thyme over several slices at a time. Pop the pan into the oven and set your timer for 1 ½ hours. You have time for a glass of wine now. 
Picture
When they are done, pick off the thyme and discard. Some of the small thyme leaves will have fallen off onto your tomatoes…that’s a good thing, don’t worry about it. Just leave the pan on the stove top to cool.

While the tomatoes are roasting, you can take your time with the rest of the dish. The salad will need some marinated red onions, so very thinly slice a small red onion and place it in a large bowl with a tablespoon or two of red wine vinegar and a sprinkle of good sea salt. Set it aside.

Set a pan of water to boil on the stove. Here are the ingredients we need to finish up:
1 1/3 cups lentils from Castelluccio
3 T. good olive oil
2 cloves garlic, minced
Black pepper
1 T dried dill (or 4T fresh)
Fresh basil, thinly sliced
3 oz. sweet gorgonzola, crumbled
Place the lentils in the pan of boiling water, and simmer for about 30 minutes, until tender.
Drain well in a colander, and while still warm, add to the large bowl with the marinated red onions.
Add the olive oil, minced garlic, and black pepper. Mix gently and set aside to cool a bit. 
Picture
Once it has cooled to room termperature, you can add the fresh herbs. The original recipe called for chopped parsley and chives and fresh dill, which I didn’t happen to have on hand, but if you do, toss those in as well. I simply added some dry dill and fresh basil. Mix gently.


Now that all your components are done, you just have to build the salad. I served this in individual pasta bowls. Place a large scoop of the lentil mixture in a bowl. Lay on a couple of tomatoes and a few crumbles of Gorgonzola cheese. I topped that with some more lentils and garnished with more tomatoes and gorgonzola. Composing it this way keeps the Gorgonzola crumbles in nice pieces, and keeps the tomato slices whole and delicious looking. Don’t you dare throw out the parchment paper without drizzling all that luscious olive oil, balsamic vinegar and tomato juice over the whole salad.I was so pleased with this main dish “salad”. Served at room temperature, the lentils were firm yet tender. The red onions having soaked first, were sweet, not bitter. The Gorgonzola and roasted tomatoes really give a great one-two punch of flavor.

Castelluccio lentils can be found at a good Italian grocer or importer of fine foods. Can’t find them in your area? Then come shopping with me in Italy! I’ll show you just where to pick some up. Book a tour now at www.bellagiornatatours.com.
0 Comments

Mushroom Lasagna: A Different Take on an Italian Classic

1/15/2014

0 Comments

 
Picture
We’ve all had lasagna; rich with meaty tomato sauce and stretchy mozzarella. So delicious. Why mess with a good thing? Well, “variety is the spice of life”, they say and sometimes it’s nice to have something a little different. Today I’m making mushroom lasagna with a béchamel sauce. It can easily be made with the addition of Italian sausage which is equally delicious, but today, I’m making a veg version with three different types of mushrooms; shitake, baby portobellos and dried porcini.

Here’s your list of ingredients:

Filling One:
1 c. Dried porcini mushrooms (soak in 2 c. hot water)
3 T. olive oil and 1T. butter
Lots of shitake mushrooms, sliced
Lots of Baby Portobello mushrooms, sliced
1 small onion, diced
2-3 cloves garlic, minced
¼ c. White wine
Italian seasoning, salt and pepper, pinch of red pepper flakes

Filling Two:
Spinach (If using frozen, thaw and drain. If using fresh, boil or sauté and drain.)
5 oz. goat cheese, crumbled

Béchamel Sauce:
4 T. Butter
1/3 c. Flour
2 ½ c. Milk
Reserved porcini mushroom soaking liquid
8 oz. Gruyere cheese, grated
Salt, pepper

Lasagna noodles (I used the no-boil variety.)
Grated parmesan

Picture
Let’s get started!

Our first order of business will be to reconstitute the dried porcini mushrooms because they need a little time to soften. (I use dried porcini that are already chopped in bits and pieces.) Place them in a medium bowl, and cover them with two cups of hot water. Swish them around with a spoon to be sure they all get wet so they can begin to soften. Just set them aside. We’ll come back to them in a few minutes.

Before we start working with the rest of our ingredients, just get your oven to preheating at 375 and grease a 13” x 9” baking pan with some olive oil.

Okay, now we’re really ready to get started. First up, we’ll make Filling One with the fresh mushrooms. Get them cleaned up, cut off the dried ends of the stems, and slice them all up. You should end up with quite a large pile. You know how much they shrink up when you sauté them. Dice up an onion, and mince two cloves of garlic.
Heat up about 3 T. of olive oil, and 1 T. of butter together in a large skillet and begin to sauté together all the fresh mushrooms, onions and garlic. Squeeze the excess water from the soaked porcini mushrooms, being sure to save the soaking water, and add them to the skillet as well. (Don’t drain the mushrooms. The dried porcini tend to accumulate a small amount of grit in the bottom of the soaking bowl. Just scoop the now soft mushrooms off the surface of the water, and squeeze any liquid back into the bowl, reserving the liquid.) 
Sauté everything together until the mushrooms release their liquid, that liquid evaporates, and they begin to shrink down. At this point, pour in a goodly glug of white wine; about ¼ c. or so. Add the herbs, salt and pepper and red pepper flake to taste. Continue sautéing until the wine has evaporated, the mushrooms are soft, golden and fully cooked. Remove the skillet from the heat, and set aside.
Now for Filling Two:
If using frozen spinach, just be sure it is thawed and drained. I happened to have some fresh in my fridge, so I boiled it and drained it well.
Have your crumbled goat cheese at the ready.
My original plan was to combine ricotta cheese with the spinach and add a beaten egg for my 2nd filling. But alas, I forgot to buy the ricotta. But that’s what I love about this recipe, or really any lasagna recipe. It’s so forgiving. Use different mushrooms, use different cheeses….go ahead, experiment!

Béchamel sauce:
The trick to this sauce is to never leave it alone. It thickens quickly, so make sure you stir it the whole time. In a large saucepot, melt the butter. When the butter has melted, sprinkle the flour over the top of it and use a spoon or whisk to combine it into a paste. Cook, stirring constantly for a couple of minutes to “cook” the flour. 
Now add about ½ c. of milk and whisk vigorously. You will find that it thickens quickly and begins to clump, so quickly pour in about ½ c. of reserved porcini mushroom liquid and keep whisking. As it continues to thicken, gradually add the remaining milk alternately with the remaining porcini mushroom soaking liquid.  A word of caution: Remember, I mentioned earlier that grit tends to accumulate at the bottom of the porcini mushroom bowl. So pour gently without agitating the liquid, and as you get to the bottom of the bowl, stop when you see a small grit pile.
When all the liquid has been added, and the sauce is the consistency of gravy, add the grated gruyere cheese. Again, continue to whisk to melt the cheese and blend it into the sauce. Season to taste with salt and pepper.  Ta-dah! It’s done.
Picture
Time to begin layering….we’re almost finished! 

Layer #1: Pour about 1 cup of the sauce into the greased 13 x 9 pan and swirl to coat the bottom. Lay down a layer of lasagna noodles, being sure to overlap the edges a bit. Next comes about 1/3 of your mushrooms. Then sprinkle half of the spinach and 1/3 of the goat cheese over the mushrooms.
Layer #2: Pour enough sauce over the whole thing to make sure the whole first layer is covered. Then, here we go again with half of the remaining mushrooms, all the remaining spinach and half of the remaining goat cheese.
Layer #3: Last layer! Pour sauce over the whole thing again. Lay down the last of your mushrooms and sprinkle with the last of your goat cheese. Pour any remaining sauce over the whole thing, and top it off with a good sprinkle of parmesan. 
Picture
Pop the whole thing in your pre-heated oven and bake for about 45 minutes. After about 40 minutes, stick a fork in it to see if the noodles are tender. The whole thing should be getting golden brown, and bubbling up around the edges. After you take it out, be sure to let it sit for about 10 minutes before digging in. It will help to let everything set and you’ll be able to cut nice squares without it slopping all over the place.

Time to take a bite. Oh, it is so good! I really think adding the porcini mushroom soaking water to the béchamel sauce really adds a depth of flavor to the whole casserole. We thought this was seriously delicious. I hope you do too!


Serve with a nice salad and a slice or two of crusty bread. And what to drink with it? Well, because it's so cheesy, a nice Italian pinot grigio would be nice. But because it's so earthy with all the mushrooms, I think a nice red pairs well too. Take your pick! Buon appetito!

0 Comments

Cooking with Giovanna-Ricotta Tart

12/15/2013

0 Comments

 
Picture
In a previous blog, from a previous trip to Italy, on a previous day with Giovanna, I wrote about the joy of cooking with Giovanna while we made a zucchini lasagna together. Luckily, I had a second chance to cook with her on my most recent trip. And lucky for you, Giovanna is most gracious to allow me to again share her recipes and the photos of our day together.

Today we are making a Ricotta Tart with a Pasta Frolla Crust. This is a dessert I have specifically asked her to show me how to make. It’s a common and delicious dessert in Italy; nothing too fancy…just something an Italian mom might make for her family for the weekend. I imagine every time anyone passes through the kitchen, they snag a bit to munch on. I would! I love the crispy, buttery crust, the creamy interior, and the little bits of dark chocolate with the tanginess of lemon zest. It’s all such a great combination of flavors and textures. I hope you love it too!

Here’s your list of ingredients:
For the Pasta Frolla crust (makes 2 crusts with enough for decorative trim):

250 grams butter, cold and cut into large chunks
200 grams sugar
500 grams flour
4 egg yolks at room temp
½ tsp. baking powder
1 tsp. vanilla extract

For the filling (makes enough for two tarts):
1 kilo (just over 2 pounds) of fresh ricotta cheese
250 grams of sugar
1 tsp. vanilla extract
Lemon peel, grated
4 eggs
Chocolate of choice: mini chocolate chips, dark chocolate flakes, chopped chocolate, etc.

Let’s get started with the crust ingredients:

This recipe is really quite simple, and Giovanna has some shortcuts that really help. The Pasta Frolla crust needs at least an hour to chill so take that into account when planning your time. It can also be made a day ahead if that helps your schedule.

1) Put the chunks of butter and sugar into a food processor and process until smooth.

2) Measure the flour onto a clean surface, and make a well in the center. Add the egg yolks to the center of the well.

3) Top the eggs with the sugar/butter mixture from the food processor. Also sprinkle over the baking powder and add the vanilla extract.

Now it’s time to get our hands dirty! Begin mixing by combining the wet ingredients with the flour from the interior of the well. Keep dragging in more flour. The mixture will become quite crumbly before it comes together into a dough. If it’s simply too dry, you can add another egg. If it’s too moist, add a little more flour. It can all be dependent on the size of your eggs. Ours is just right and before long, Giovanna has a nice dough all kneaded together into a log. She wraps in plastic wrap before putting it in the fridge for an hour.
Since we had time to kill, we went on a wine tour while we were waiting for the dough to chill! But that’s a whole different story for another blog post :)
Picture
Time to work on the filling. The filling couldn’t be easier. Simply combine the ricotta cheese, sugar, vanilla extract, lemon peel to taste, and eggs in a food processor and process until smooth. By hand, stir in the mini chocolate chips (as much as you like), and it’s done!


Before laying down the crust, butter and flour your pan. Here is one of Giovanna’s shortcut secrets: She doesn’t roll her dough out. When the dough has been thoroughly chilled, she slices it! Then she just lays the slices in the pan, overlapping and pressing to make them stick together. (At home, I would do this in a tart pan with a removable bottom.) Time to pour the filling over the crust.
Now Giovanna makes a simple decorative basketweave crust topping with an extra portion of the dough leftover from laying the crust. She rolls the dough just as if she were playing with clay. Lay these strips across the top of your tart .......
Picture
.......and Tahdah!......It’s ready to go into the oven. Bake at 350 for about 40 minutes. 


When it comes out, the edges are golden, the center is set and it smells fabulous!


Oh, I'm dying for a slice right now! Thank you once again to the lovely Giovanna for allowing me into her home, sharing her knowledge and cooking skills with me and for being an all around good friend.

Join me in Italy in 2014. You too just might get yourself invited into Giovanna's Kitchen. We'll see if we can work something out. Drop me a line at: mailto:[email protected]
Let's get cooking!
0 Comments

Chickpeas and Sausage in Tomato Sauce

5/17/2013

0 Comments

 
Picture
A friend of mine recently told me about a great dinner he had cooked for him and his wife that was so delicious, yet simple. Though he is not Italian, his basic list of ingredients had so many familiar Italian components to it; I decided to give it a try.  He basically used onions, peppers, sausage, chickpeas and tomatoes. I changed the recipe up a bit based on what I had in my refrigerator at the time. 


Here’s your list of ingredients:
Olive oil
1 red bell pepper, chopped
1 small onion, chopped
2 celery ribs, chopped
1 garlic clove, minced
2 sweet Italian sausages
1 can of chickpeas, drained and rinsed
A glug of white wine
1 28-32 oz can of whole Italian plum tomatoes in puree
Salt, pepper, Italian seasoning

Bread slices and a garlic clove (optional)
Let's get started!
Set a large skillet on the stove and add a swirl of olive oil to it. Set your burner to med/hi.  Add the chopped peppers, onions, celery and minced garlic.  Sauté to wilt the vegetables.
With your knife, make a slit through the casing of the sausages, enabling you to quickly remove and discard the casing.  Crumble the sausage meat into the skillet with the vegetables and continue to sauté to brown the sausage.  Season with a little salt, pepper and Italian seasoning.
Add the drained chickpeas to the skillet when the sausage has browned.  (I always rinse and drain my canned beans.  This washes away the salty liquid, enabling me to season the dish to my liking.)

Add a glug of white wine, and let the mixture cook to evaporate the wine.
Add in the tomatoes, giving each one a good squeeze to release its juices. (I love this part!  Yes, sometimes, I squirt the stove, or me…but that’s why they make cute aprons.) Taste to see if it needs more salt and pepper.  Simmer the whole shebang for about 10 minutes, and you’re done!
At the last minute, I decided to serve my “stew” over bruschetta.  I quickly toasted some bread, rubbed it with a raw garlic clove, and placed it in the bottom of my soup bowl.  I drizzled some good olive oil over the bread before ladling my stew over the top.  It was a wonderful, hearty and delicious one-pot meal. 
My delicious dinner came out the consistency of stew.  When my friend, Zvi makes it, it’s more like soup.  You could certainly add more tomatoes and some water. You could also change this up with whatever you have in the frig.  I think it would be great with chopped spinach, diced carrots, leeks, or even cubes of zucchini. Thanks for the idea Zvi!

Oh, and don’t forget to wash it down with something delicious.  In this case, a lovely bottle of Aglianico from Villa Matilde Rocca dei Leoni in Campania, available from www.vino100whiteplains.com
Sigh.
0 Comments

Can onions be adorable?  Cipollini can!

3/12/2013

1 Comment

 
Picture
Italians love a good appetizer. (I think I should have been born part Italian.) There are many restaurants and wine bars in Italy where one can make a meal from the appetizer bar. “Appetizer bar?” you ask. Yes….isn’t that a wonderful concept? Italians are of a mind that wine should be consumed with food, an idea I whole-heartedly agree with. When you order a glass of wine, it almost always comes with something to nibble on. Maybe it’s just potato chips or olives; sometimes it will be adorable little pizzette (half dollar sized baby pizza!). But often times, for an extremely reasonable price, you can visit the appetizer bar, where there’s a little smorgasbord of delights. A taste of this, a bite of that, oooh and a spoonful of this and……..a lovely glass of Italian red wine.

One of the things that can often be found at an appetizer bar are sweet and sour onions. These are not just any onions, but adorable baby cipollini onions cooked down with vinegar and sugar; a method of cooking called agrodolce (which basically means sweet and sour). There are many recipes out there requiring various amounts of cooking time, using different types of vinegar and different types of onions. This recipe is a very simple way to make them thanks to Mario Batali. In a previous blog post I gave you a recipe for Thelma’s Roasted Red Peppers. These cipollini would be a great accompaniment to that recipe along with a bowl of olives for the makings of an at-home appetizer bar, along with……………. a lovely glass of Italian red wine.


Here’s your list of ingredients:
Adorable baby cipollini (about 20 of them)
Olive oil
2 bay leaves
1 T. sugar
2 T. red wine vinegar

salt and pepper to taste

Bring a pot of water to boil while we start prepping the onions.  Cipollini onions are small and quite flat compared to regular onions.  Simply trim off the root and stem ends.  Don’t bother to peel them.

When the water comes to a raging boil, toss in the unpeeled, trimmed onions.  Boil them for about 7 minutes.
While the onions are cooking, stir the sugar and red wine vinegar together in a small bowl to completely dissolve the sugar. Set aside.
After 7-8 minutes, drain the onions in a colander and as soon as they are cool enough to handle, peel away the skins.  If you find that the center little “nubbins” of some of the onions have fallen out, be sure to save them; they are especially tender….like chicken dimples.
Heat a good, healthy drizzle of olive oil in a deep saucepot (I use the same pot I just boiled my onions in.)  and add the 2 bay leaves.  When the oil is nice and warm, toss in the cooked, peeled, still-warm onions.  Turn the heat up a bit and give everything a good stir to coat the onions with the oil.  Very shortly, they will begin to brown.  Now things are smelling lovely, aren’t they?
When the onions have become nice and browned, pour in the vinegar/sugar mixture.  Stand back a bit, as it tends to sputter and bubble up.  Very quickly now, the mixture will become dark brown, and syrupy and deliciously gooey.  Make sure all the onions get a nice coating of syrupy vinegar, but don’t let the mixture burn.
Picture
That’s it…..all done!  You now have a delicious little appetizer.  I served these onions on top of homemade hummus atop little toast rounds recently and they were delicious.  They were equally delicious when I served the leftovers as a side dish to a small steak. I actually recommend you make a double batch because by the time you're done popping "a few" into your mouth, you won't have many left for your appetizer bar. They are amazing while they are still warm.  Buon Appetito!

Isn’t an appetizer bar a lovely idea?  Come to Rome with me and let’s go to one together! Booking now for  Late spring/early summer and October 2013!

1 Comment

Norcia, Sausages and Lentils: A Winning Combination

3/1/2013

0 Comments

 
I’ve been obsessed with Norcia of late; since I realized I missed “Nero Norcia”.  This festival spans two weekends at the end of February and the beginning of March, and celebrates all things having to do with black truffles.  Norcia is located in the southeast of Umbria and though it is a little out of the way, it’s well worth a visit.  Located near the Sibillini Mountains, Norcia is a hunter’s paradise, especially for hunters seeking the thrill of chasing a wild boar, or for foragers seeking truffles.  As such, this little town is overflowing with really delicious earthy food.  This is a town for steaks, sausages, and of course the ever prevalent black truffle.  In fact, this town is so famous for its sausages and meats that there are shops (all over Italy) called “norcineria”. These shops sell nothing but pork products.  These are the shops to look for when shopping for prosciutto, guanciale, coppiette, salumi, etc.

Picture
There is another product the area of Norcia is famous for as well, and that is lentils or lenticchie.  These are grown in the high plains of Castelluccio di Norcia.  Grown at this altitude, in the shadow of the mountains, these lentils are very special.  They are thin-skinned, but when cooked still maintain their shape and texture.  Lentils are an important part of diets in many places around the world. I have eaten lentils in other countries and found them to be somewhat mushy and not to my liking; these however, are quite different.  It wasn't until I lived in Italy that I began to appreciate lentils at all.  Lentils from this area are so specialized as to have received “IGP” certification.  This stands for Indicazione Geografica Protetta which stands for “Protected Geographic Indication” and is your guarantee they come from Castelluccio di Norcia.


This recipe is for pork sausages with lentils, a very basic, very homey, very comfort food kind of meal…..one of my favorites!

Here’s your list of ingredients: (Serves 4)
Olive oil
One garlic clove, smashed
Pork sausages
Onions, diced
Carrots, diced
Lentils (I used 200 grams which made enough for four people)
2 cups of water, plus a little more as necessary
Fresh sage, chopped (or dried)

This is a stove top recipe and the beauty of it is that it’s a one-dish meal.  You just need one large skillet to get started.

Heat your pan, give it a good drizzle of olive oil and toss in your smashed garlic clove.  Rub the clove around in the oil a bit, and add the sausages.
As the sausages are browning on one side, dice your onions and carrots.
Turn the sausages over after the first side is brown.
Move the sausages to the side of the pan and add the onions and carrots.  (I would have used diced celery as well if I’d had any on hand.)  Saute the onions and carrots for a bit before adding in the lentils.  Mix the onions, carrots and lentils well, making sure they all get nicely coated with the olive oil and sausage fat that’s in the pan.  Then gently pour in two cups of water.

Bring the whole mixture to a boil, and reduce the heat to keep it simmering.  The lentils will need about 30 minutes to cook.  Check in on them once in a while, adding a little more water if necessary and turning the sausages over now and then.  After about half an hour, taste the lentils to see if they are done, and if they need some salt and pepper.  I added some chopped fresh sage at the end.  Be sure not to add too much extra water at any given time.  The lentils should be absorbing the water; this is not a soup.
Picture
And there you have it; salsicce con lenticchie.  There really is something special about Italian sausages; I simply can’t get enough of them, and if you can’t find lentils from Norcia at your local store, drop me a line.  Let’s go shopping together in Norcia!  Travel with me and Bella Giornata Tours and you will never go hungry….I promise.
mailto:[email protected]
    

0 Comments

Pasta con le Sarde: Spaghetti with Sardines

2/22/2013

0 Comments

 
Picture
Pasta con le Sarde
at our favorite restaurant in Praiano, Amalfi Coast....before

Picture
.....and after.

Picture
And here is my version.  I was so excited to make this!  The recipe is below.

In a previous blog, I discussed my cookie “history”. Well, believe it or not, I have a sardine history as well. As a small child, I grew up in the Canary Islands, back in the day before we worried about where our children were every second of the day. When I was about seven years old, I used to be invited to lunch quite often by a family of Spanish strangers. I was drawn to their doorstep by the great food smells emanating from within. I guess when I kept showing up around lunch time, they thought they should take me in. I remember being served sardines in tomato sauce on bread….and loving it. My mother would be mortified to know I dined with strangers like a stray cat, and to this day I haven’t told her.  Shh….

When we lived in Rome, we were lucky enough to experience many lovely weekend trips to the Amalfi Coast. In the tiny hillside, seaside town of Praiano we would often order Pasta con le Sarde or Pasta with Sardines, (along with the seabass baked in salt crust featured in a previous blog). It was always so incredibly rich, aromatic and flavorful making it necessary to perform la scarpetta at meal’s end. I have tried to replicate that recipe here to pretty good success. 

Here’s your list of ingredients:
Fresh sardines
Olive oil
Onion, chopped
One garlic clove, smashed
One anchovy fillet (jarred)
14-15 oz. can of Italian plum tomatoes in puree
Italian seasoning
Italian flat leaf parsley

Put a big pot of pasta water on to boil, and let’s get started:

Picture
A note on how many sardines to buy:  Sardines are very small fish to begin with, and after you clean and debone them, there’s simply not that much left. In this recipe, they’re all going to break down into the sauce anyway. I bought 10 for two generous portions. 

Our first order of business will be prepping the sardines. In Italy, the fishmonger will clean them, but he will leave the de-boning to you. Here, my fish guy wouldn’t do the cleaning, so….

First, chop off the head. Leave the tail on for the moment as it gives you something to hold on to. With your knife perpendicular to the fish skin, scrape gently in the opposite direction of the way the scales lay, to remove scales. This only takes a moment. I have spared you a photo of gutting the fish, but it’s a very simple process. Make a slice along the belly and wash out the entrails, leaving a nice clean fish body to work with. Dig your fingers under the spine at the tail end of the fish, and lift and pull the whole skeleton away from the body. Now the fish opens very easily, like a spineless book and you can trim off the tail and fins.  It is not necessary to remove the skin of the sardine.  Now that you have all your little fishes prepped, we can start on the sauce.
Heat some olive oil in a sauté pan.  Toss in some chopped onion and your smashed garlic clove.  Rub the garlic clove around in the hot oil to spread its flavor and discard it when it browns.  As the onions begin to soften and brown, toss in an anchovy fillet.  Anchovy fillets are very helpful to flavoring sauces.  They simply melt away into the sauce leaving behind a nice salty hit and adding a depth of flavor.
Pour in your can of tomatoes, giving each one a squeeze to release its juices and hasten the breaking down of the tomatoes into the sauce.
Now lay your sardines “open-book”, meat-side down on the sauce.  Use a large spoon to bring some sauce to the top to cover the sardines.  Let them simmer.  While the sardines are cooking, you can go ahead and start cooking your pasta, being sure to salt the pasta water generously before adding the spaghetti.

The sardines will cook very quickly and before long, it will be easy to start breaking them up with your cooking spoon.  Add a good pinch of Italian seasoning, and taste to see whether you should be adding some salt and pepper.  Just before serving, throw in some chopped Italian flat leaf parsley.  Remember to never throw out all your pasta water when you drain your spaghetti.  If your sauce has become too thick, adding a little starchy pasta water is the perfect way to thin it out a little. 
Picture
Add the drained spaghetti to the sardine sauce, toss and serve……..with a nice red wine, of course!  Buon appetito!

Would you like to eat Pasta con le Sarde in Praiano? That can be arranged. Drop me a line at [email protected].


0 Comments

Braised Beef in Tomato Sauce

1/30/2013

0 Comments

 
Picture
I love my yellow pot. It’s one of those cast iron enameled Le Creuset pans. It weighs a ton and costs an arm and a leg. But it holds a special place in my kitchen heart because it seems everything I cook in it comes out perfectly. I know, I sound like an advertisement. I don’t mean to, but…….I love my yellow pot.

I recently made a delicious braised beef dish in my sunshine yellow pot. I made it up on the spot, using what I happened to have on hand. As a result, know you can change this recipe up very easily by using a different cut, or even a completely different kind of meat. I used a very inexpensive cut of beef. The wonder of braising is this method of cooking turns potentially tough cuts of meat into tender, juicy delights. Different vegetables could be easily substituted as well. 
Here’s your list of ingredients:
Olive oil
1 clove of garlic, smashed
Beef chuck, center cut steak, bone-in (about 2 pounds), trimmed of excess fat and cut into large pieces
Salt and pepper
Red wine, a goodly glug
28 oz. can of Italian whole plum tomatoes in tomato puree
1c. water
Oregano, thyme and rosemary, about 1/2 tsp. each
Fingerling potatoes, cut into chunks
Sweet onions, cut into chunks
Artichoke hearts, quartered (I used canned this time, though I’ve used fresh before and like them even better)
Let's get started:
Preheat the oven to 350.
(This dish does take about 1 1/2 hours in the oven, so plan accordingly.)

Set your pan on the stove, pour in a good glug of olive oil, add the smashed garlic clove and turn the heat up to med/high.  Rub the garlic clove all around in the hot oil to really flavor up the oil. With regard to the beef, I like to leave the bone in, trim off the excess fat and leave my meat in large chunks.
Lay your meat chunks down in the hot oil and let them brown on one side. Season the top side with salt and pepper. When the bottoms are brown, turn them over and season the brown side with salt and pepper as well.
Now it's time to start adding in our real flavor enhancers:
When both sides of the meat are done browning, add a nice healthy dose of red wine….about 6 oz….at least. Let the wine cook down, before adding the can of tomatoes. I always splurge here and buy a can of imported Italian tomatoes. I honestly think they taste better and are so worth the extra pennies. It is always my preference to use fresh herbs, but I didn’t happen to have any on hand. As a result, I used dried oregano, thyme and rosemary; about ½ tsp of each. 
I dump the whole can of tomatoes in after the wine has cooked down, and then before they can get too hot, I reach in there and give each one a good squeeze to release the juicy interior. There’s something very satisfying about squeezing a tomato and having it ooze out between your fingers. Add about 1 c. of water to the pot as well.  And now is the time to sprinkle in your herbs.
Now, it's veg time.  I found these adorable little organic Mayan sweet onions at the market.  I also had on hand some fingerling potatoes, and when I took a peek in the pantry, I found a can of artichoke hearts.  Yum!
Just cut the potatoes and onions into chunks and slide them into the pot.  Add the artichoke wedges as well. Give everything a good stir and check to be sure the meat chunks are submerged under the tomato sauce. Time to put the lid on and slide it into the oven.

You’ve got time on your hands now, so you may as well pour yourself a glass of whatever wine you poured into the pot. For me, in this case, it was a Grenache-Syrah combo. Whip up a quick salad, slice some crusty bread and dinner will be on the table soon.

Over the next hour, you will slowly come to realize the kitchen; nay the entire house smells wonderful. It means dinner is almost ready. After 1 ½ hours in the oven, take a peek. If the meat is tender enough to cut with a fork, ring the dinner bell. If not, put it back in for another 30 minutes. Buon appetito! 

 Have I told you how much I love my yellow pot?
0 Comments

Sea Bass Baked in Salt Crust

12/7/2012

0 Comments

 
Picture
The first time I had this dish was in lovely Praiano, a gem in the necklace of stunning coastline that is the Amalfi Coast.  The Amalfi Coast is one of those places where upon arrival, you pull off to the side of the road, lean over the rail and try to take in its beauty; try to breathe it in deeply; try to infuse it into your skin in case you never see it again.  The small towns, cascading from mountain tippy tops to the ocean.  The colorful boats bobbing on see-through blue waters.  Purple bougainvilleas, giant yellow lemons, pink-washed stucco buildings.  Sigh.  Oh, I was supposed to be writing about fish.  Sorry..... 

When the waiter rolled a trolley up to our table containing a large molten lump of salt, I wasn’t sure what to think.  With a heavy spoon, he thumped the top, and the whole thing cracked open.  Buried inside was a beautifully cooked sea bass.  He quickly brushed away the coarse grains of salt, and with quick, deft hands, skinned and de-boned the fish onto our plates lickety-split.  Then he grabbed a nearby bowl, gave the contents a swirl, and drizzled a wonderfully seasoned olive oil over our pieces of fish.

Picture
Upon taking a bite, I couldn’t help but close my eyes and groan.  The fish was soooo tender and moist.  Considering it had been covered in salt, it was not salty.  It was in fact perfectly seasoned.  The olive oil topping was a mixture of olive oil, balsamic vinegar, fresh mint and a pinch of red pepper flakes.  This golden dressing made our fish glisten, and only added another note of flavor to what was already a heavenly dish.

Here’s your list of ingredients: (for two people)
Sea bass, whole (cleaned by your fishmonger, but head, tail, and skin definitely left on)
Lots of coarse salt

Olive oil, about ¼ c.
Balsamic vinegar, about ½ T.
Fresh mint, chopped, to taste
Red pepper flakes, to taste

Let’s get started:
Preheat the oven to 350.

In order to not waste, or have to use too much coarse salt, it’s best to use a pan that fits your fish as perfectly as possible.  Since I rarely have the exact size pan I need, I just improvise as you see in the pictures.  I have baked as many as three fish at one time in a 13 x 9 pan.  But in this particular instance, I was only baking one fish, and didn’t have a smaller pan to fit. So you will see that I’m simply “building” my own pan with tin foil.  So simple.
Once you have your pan “built”, pour a layer of course salt to cover the bottom of your pan; a bed, for your fish to lay on.  Rinse the fish, pat it dry with paper towels, and lay it down on the bed of salt.

Now, you just cover, and I do mean cover, the fish with more salt.  Really.  Until you can’t see the fish any more.  Really.  I mean it.  Wet your hand under the faucet, and flick drops of water over the mound of salt covering the fish.  Pop it in the preheated oven, set the timer for 30 minutes. Now you have the time to mix together the remaining ingredients in a small bowl.
Picture
After 30 minutes, take it out of the oven.  If you poke the salt mound with your finger, you will find that it’s hardened into a crust.  This dish is very forgiving.  If the rest of your dinner isn’t done, the fish won’t mind sitting there for another 10 or 15 minutes.  It won’t overcook, and it will stay nice and hot.  When you’re ready, we’ll start with the unveiling and serving.  


Okay, here comes the fun part!  The skin of the fish has kept the meat of the fish from absorbing too much salt, so it’s important that you keep the salt away from the meat of the fish as you are deboning.  Crack the crust, and brush as much salt away from the surface of the fish as you can.  
With a fork or knife tip, break the skin of the fish.  It will peel right off, and you will instantly see how moist the fish is inside.  
Peel off the top layer of skin, and remove the top half of the fish meat to a plate. Now that you’ve exposed all the bones, you can remove them in pretty much one piece.  Gently peel all the bone structure away.  What you’re left with is the bottom half of the fish meat and the bottom half of the skin.  With your fork, remove this second half of the meat from the remaining skin, to the second dinner plate.
Picture
Now, all that’s left to do is to give your “dressing” in the bowl a swirl with a spoon before drizzling it over the fish chunks.  I think you’ll find the fish to be moist, flaky, perfectly seasoned, and oh, so delicious.  This is one of those dishes that appears elegant and difficult, but in reality is so simple and truly delicious.  Buon Appetito!

And every time I make it, I think of Praiano.  Golden sunsets, warm waters, glistening suntanned skin, rocky shores, cactus, watermelon granita, buffalo milk mozzarella, Ferdinando’s Beach, striped lounge chairs, men in Speedos (which in Italy,  is usually a good thing).

0 Comments
<<Previous
    Instagram

    RSS Feed

    Follow Me on Pinterest

    Italophile......
    are  you one?

    According to Webster's, if you are "friendly to or favoring what is Italian", you are one! Interested in Italy?  Me too! Follow my ramblings and recipes if so inclined.  I'll try to visually capture memories of Italy and share some of my favorite recipes.  Want the real flavor of Italy though?   Then.....let me take you there.

    Archives

    January 2018
    November 2016
    July 2016
    May 2016
    November 2015
    October 2015
    April 2015
    March 2015
    December 2014
    November 2014
    October 2014
    September 2014
    May 2014
    April 2014
    March 2014
    February 2014
    January 2014
    December 2013
    November 2013
    October 2013
    September 2013
    July 2013
    June 2013
    May 2013
    April 2013
    March 2013
    February 2013
    January 2013
    December 2012
    November 2012
    October 2012
    September 2012
    August 2012
    July 2012
    June 2012
    May 2012
    April 2012
    March 2012
    February 2012
    January 2012

    Categories

    All
    Amalfi Coast
    Art
    Assisi
    Bagnoregio
    Bevagna
    Bomarzo
    Capri
    Carnevale
    Chocolate
    Coffee
    Culture
    Deruta
    Drink
    Florence
    Food
    Girlfriends On The Go!
    Gubbio
    Lazio
    Lecce
    Markets
    Montalcino
    Montefalco
    Naples
    October 2013
    Olive Oil
    Orvieto
    Perugia
    Pienza
    Pompei
    Positano
    Praiano
    Puglia
    Recipes
    Rome
    Semproniano
    Shopping
    Sicily
    Spello
    Spoleto
    Spring 2013
    Todi
    Tuscany
    Umbria
    Walla Walla
    Washington State
    Wine
    Wine Tour October 2012
    Wine Tour October 2014